User’s Manual
58
⑧
Event Search
: Click to enter the event search mode which allows you to search for event
log entries using specific conditions and play back the images associated with those event entries.
⑨
Setup
: Click to set up the image drawing mode and OSD display. You can adjust the display
speed by changing the image drawing mode, and select OSD information to be displayed on
the screen.
⑩
Save Video
: Click
to save any video clip of recorded data as a video file.
⑪
Save Image
: Click
to save the current image in a bitmap or JPEG file format.
⑫
: Click
to print the current image on a printer connected to your computer.
⑬
Reload
: Click to reload the recording data.
⑭
Timetable
: Displays recorded data of the camera by time (in hour segments). If the camera’s
time and date have been reset to a time that is earlier than some recorded video and more than
one video segment exists in the same time range, select the video segment you want to search
from the
SEGMENT
menu at the top-right corner on the timetable.
⑮
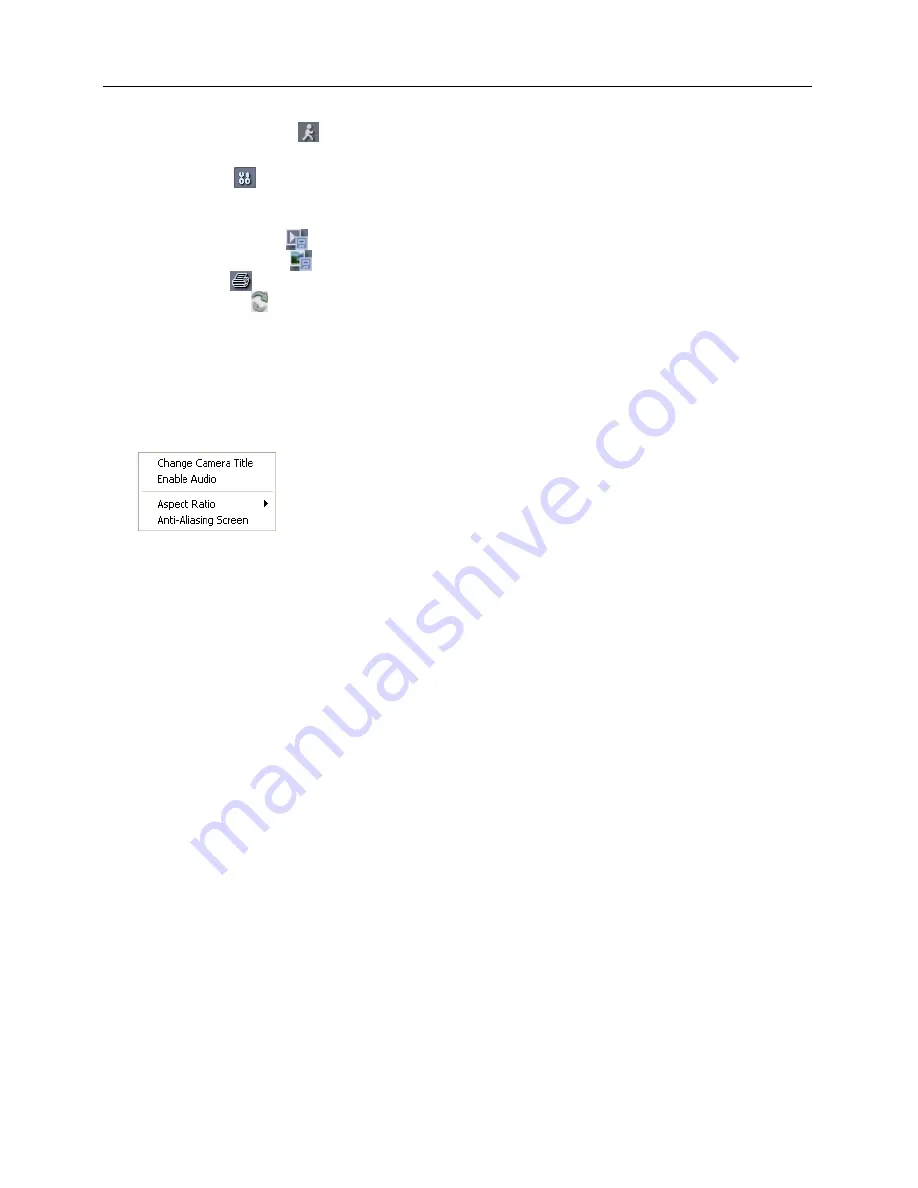
Screen Popup Menu
: Clicking the right mouse button on the screen displays the screen popup
menu.
−
Change Camera Title
: Select to change the camera title.
−
Enable Audio
: Plays audio while playing back recorded video that
has recorded audio.
−
Aspect Ratio
: Changes the image aspect ratio.
−
Anti-Aliasing Screen
: Select to enhance image display quality by
eliminating stair stepping (aliasing) effects in the enlarged image
.
NOTE:
A camera name change in the Web Search mode does not affect the camera name set
up on the camera. Leaving the Camera Title blank causes the camera name set up on the camera
to display
.
Содержание network camera
Страница 1: ......
Страница 2: ......
Страница 9: ...Network Camera 3 Remote Recording Webcasting...
Страница 10: ...User s Manual 4...
Страница 18: ...User s Manual 12...
Страница 58: ...User s Manual 52...
Страница 70: ...User s Manual 64...
Страница 74: ......


