User’s Manual
18
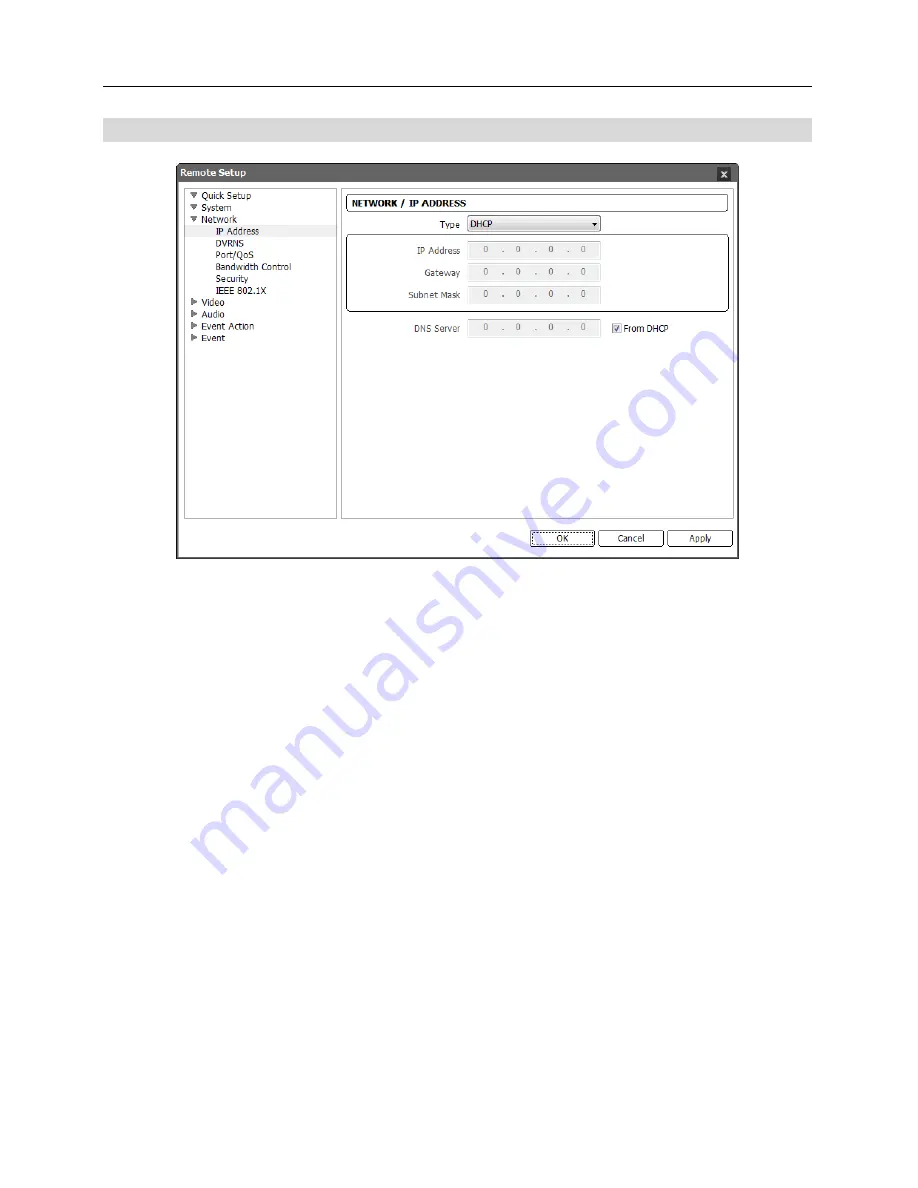
IP Address
Type
: Select the type of network configuration. Remote Setup closes after saving the changes.
−
Manual
: Select when the camera is using a static IP address for network connection, and set
up LAN parameters manually.
−
DHCP
: Select when the camera is networked via DHCP (Dynamic Host Configuration Protocol).
Click the
OK
button, and a temporary IP address is automatically assigned to the camera. The
camera periodically will be issued a new IP address automatically.
−
ADSL
: Select when the camera is networked via ADSL. Enter the ID and password for ADSL
connection, and click the
OK
button. A temporary IP address is automatically assigned to the
camera. The camera periodically will be issued a new IP address automatically.
DNS Server
: Enter the IP address of the DNS server. If you set up the DNS server, the domain
name of the server can be used instead of the IP address during the DVRNS, time or SMTP server
setup. Ask your Internet service provider for the IP Address of the DNS Server. When the camera
is networked via DHCP, selecting
From DHCP
automatically assigns the IP address of the DNS
server.
The assigned IP address is displayed the next time it is connected.
NOTES:
Ask your network provider for details about the network connection type and connection
information for the camera or the IP address of the DNS server.
If the camera is configured for a DHCP or ADSL network, it is best to use the DVRNS function
because the camera IP address might change frequently.
Содержание network camera
Страница 1: ......
Страница 2: ......
Страница 9: ...Network Camera 3 Remote Recording Webcasting...
Страница 10: ...User s Manual 4...
Страница 18: ...User s Manual 12...
Страница 58: ...User s Manual 52...
Страница 70: ...User s Manual 64...
Страница 74: ......


