Step 2: screenshot
Now you should only see the actual map on the screen – no status bar, no scroll bars ... If
you still have extra elements on your screen, you'll have to cut those away later on using a
graphics program.
Note: at this stage you can still move the map to select a different map sector.
If you're at a PC, press the „Print“ or „Prt“ key to make a screenshot (which will be put to the
clipboard).
Now click
once
and
without moving the map
anywhere on the map to get to the next step.
Step 3: save screenshot and position file
Position file? What the hell is that?
Fact is that we need a map – and the information where exactly the map is situated. I.e. the
exact geographic position and extension of the map. We use a simple XML file which
contains the coordinates of both the north-west and south-east corners of the map.
Now switch back to non-fullscreen mode by pressing F11 (on a PC) again.
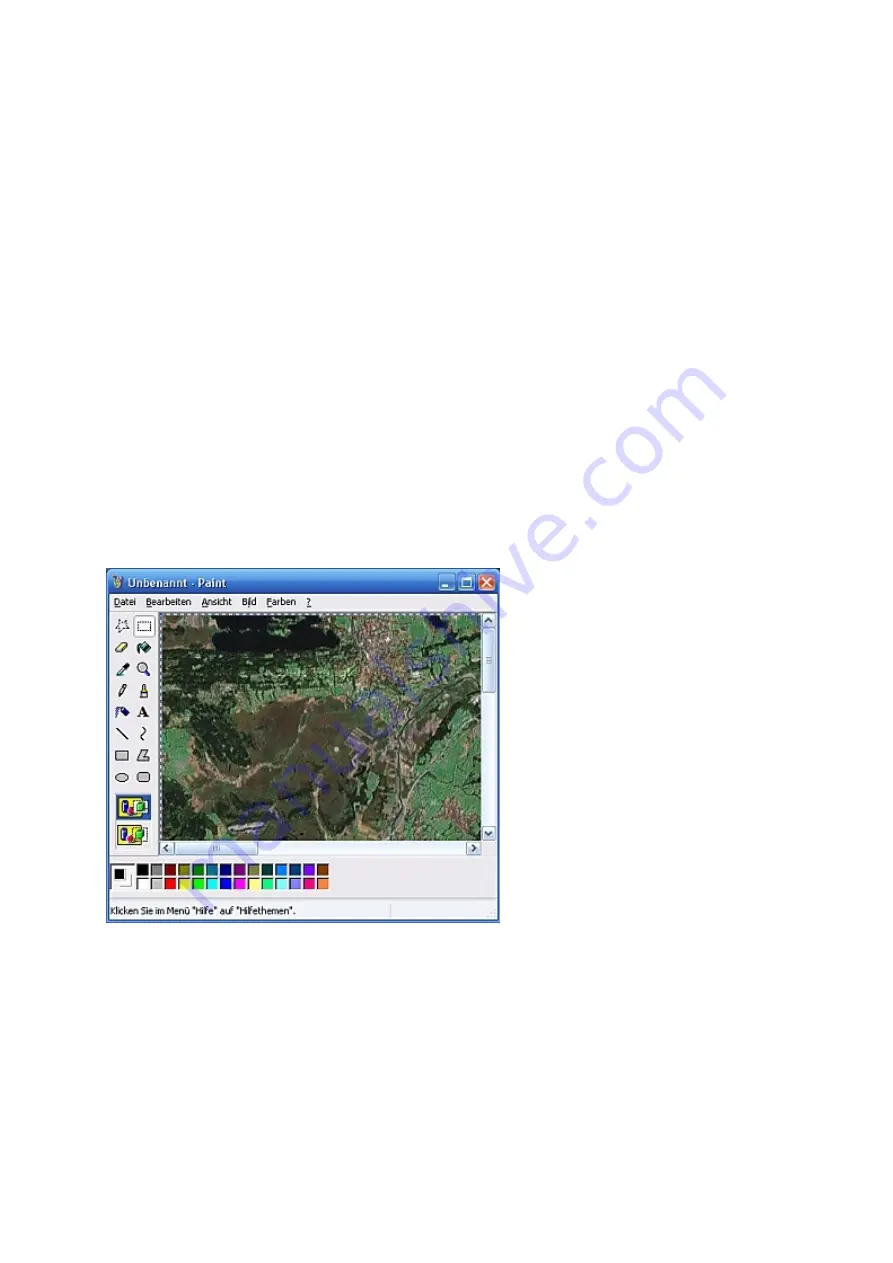
Start „MS Paint“ or any other graphics program to store the screenshot. Press „Ctrl-V“ to
paste the content of the clipboard into the program.
If there are extra elements like scroll bars in the image, cut those off. Then store the map
image in JPEG format giving it the name „<map_name>.jpg“ (suffix must be lower-case)
where „<map_name>“ is the name you've already entered in step 1.
88
Содержание Run.GPS UV
Страница 1: ...Manual for Run GPS Trainer UV and Run GPS Trainer UV Pro Version 2 4 1 August 1st 2012 1...
Страница 33: ...33 Wikipedia Guide always shows the Wikipedia article located closest to you...
Страница 112: ...7 Go to directory Storage Card My Documents and paste the previously cut out Run GPS directory here 8 Start Run GPS 112...


