53
5. Select these settings:
■
Roll Paper
as the Paper Source; this leaves a margin of at least 0.12-inch
(3 mm) on both sides of your printout
■
Banner
as the Roll Paper Option
■
Click the
Customize
button and enter the size of your panoramic or banner,
name the size, and click
OK
. The custom size is automatically selected as the
Paper Size setting.
If you added margins to the top and bottom of your panoramic or
banner, click the Save roll paper checkbox. This retains your margin
and feeds less paper before your next print job on roll paper.
If you want to print a cutting line at your page boundaries, select Cut
Sheet Mode, then click the Print page frame checkbox.
6. Click
OK
.
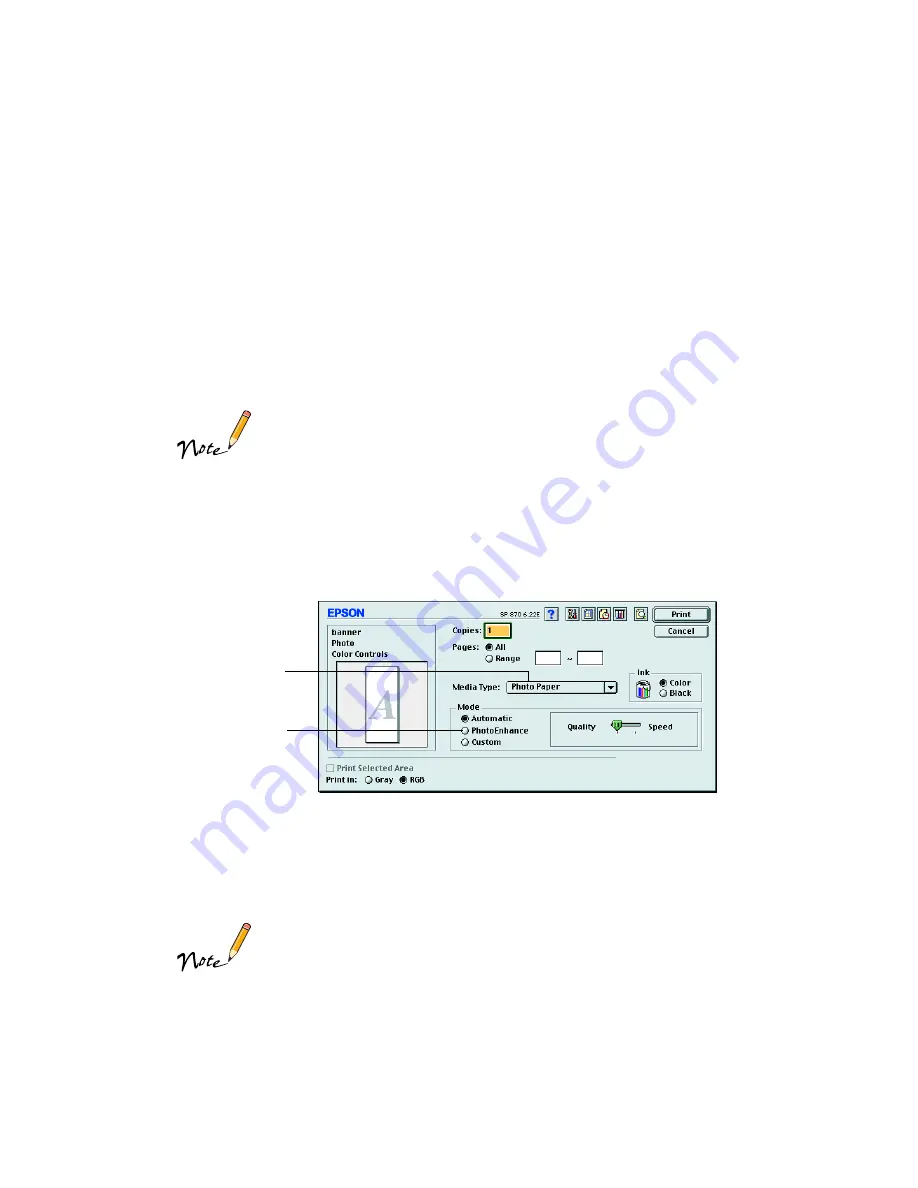
7. Select
from the File menu. You see your printer settings dialog box:
8. Select
Photo Paper
as the Media Type setting. Also make sure the PhotoEnhance
setting is turned
off
.
9. Click
. Your banner prints with 0.12-inch (3 mm) margins on each side.
Follow the steps on page 56 to remove and store your banner.
The spaces between pages or print jobs on roll paper may vary
depending on the application you’re using and the way you create
your document.
If you select Save Roll Paper when printing 4
×
6-inch images, you
may create a space between each print job.
Select
Photo Paper
Make sure
PhotoEnhance
is turned
off


