45
Printing Snapshots with PhotoDeluxe
First load 4-inch wide roll paper in your printer, as described on page 33. Then follow
the steps in the section for your operating system below.
Adobe PhotoDeluxe comes with the EPSON Stylus Photo 870 only.
Windows Instructions
1. Start PhotoDeluxe. Click the
Adobe PhotoDeluxe
shortcut on your desktop, or
click
Start
, point to
Programs
,
Adobe
,
PhotoDeluxe Home Edition 3.1
, and
double-click the
PhotoDeluxe Home Edition 3.1
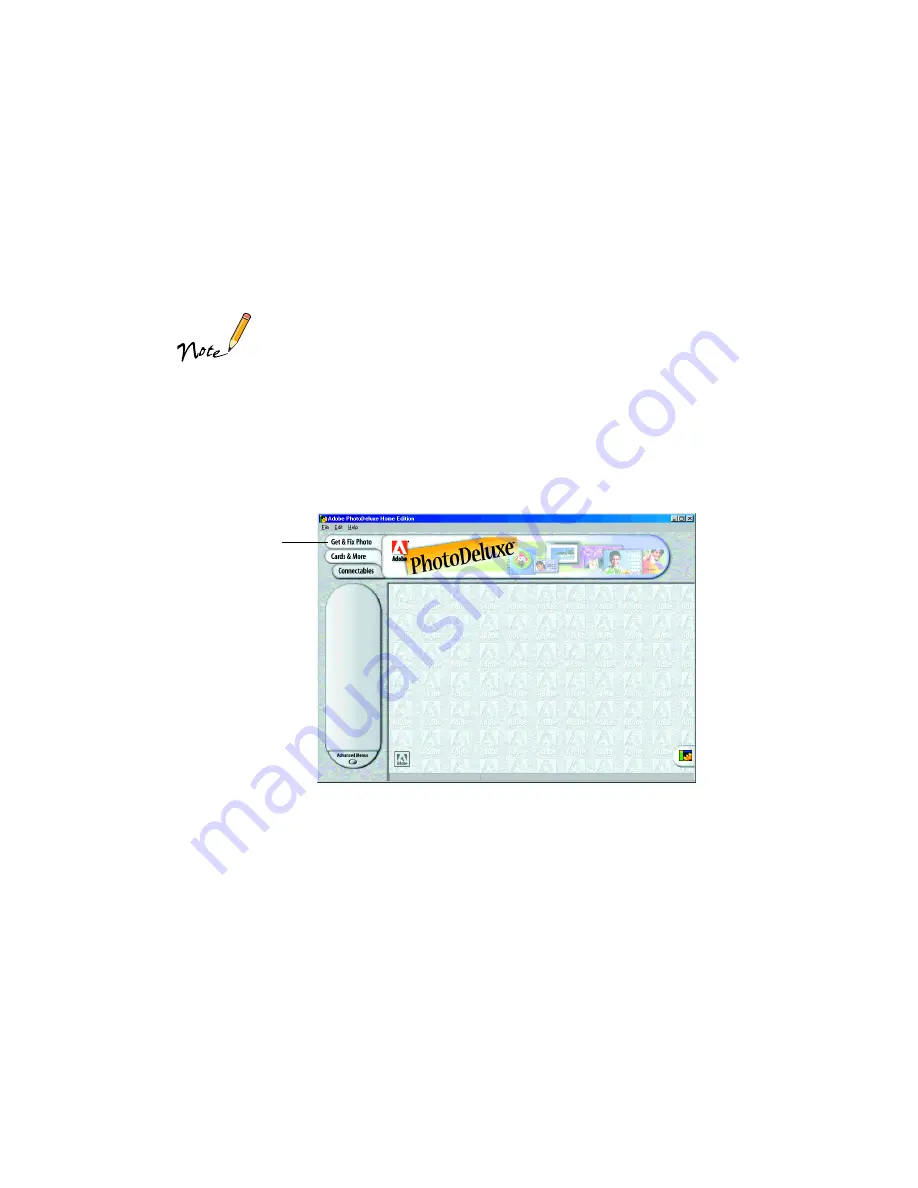
icon. You see the PhotoDeluxe
main screen:
2. Click the
Get & Fix Photo
tab, then click the
Get Photo
icon. Select your picture
from one of the options on the menu that appears.
3. Modify the picture as necessary and size it to 4
×
6 inches. (See PhotoDeluxe Help
for instructions.)
4. Click the
icon, then select
from the menu that appears. You see the
Page Setup dialog box.
5. Click the
Setup
button. You see the Print dialog box.
6. Click the
Properties
button. You see your printer settings dialog box.
Get & Fix
Photo tab


