94
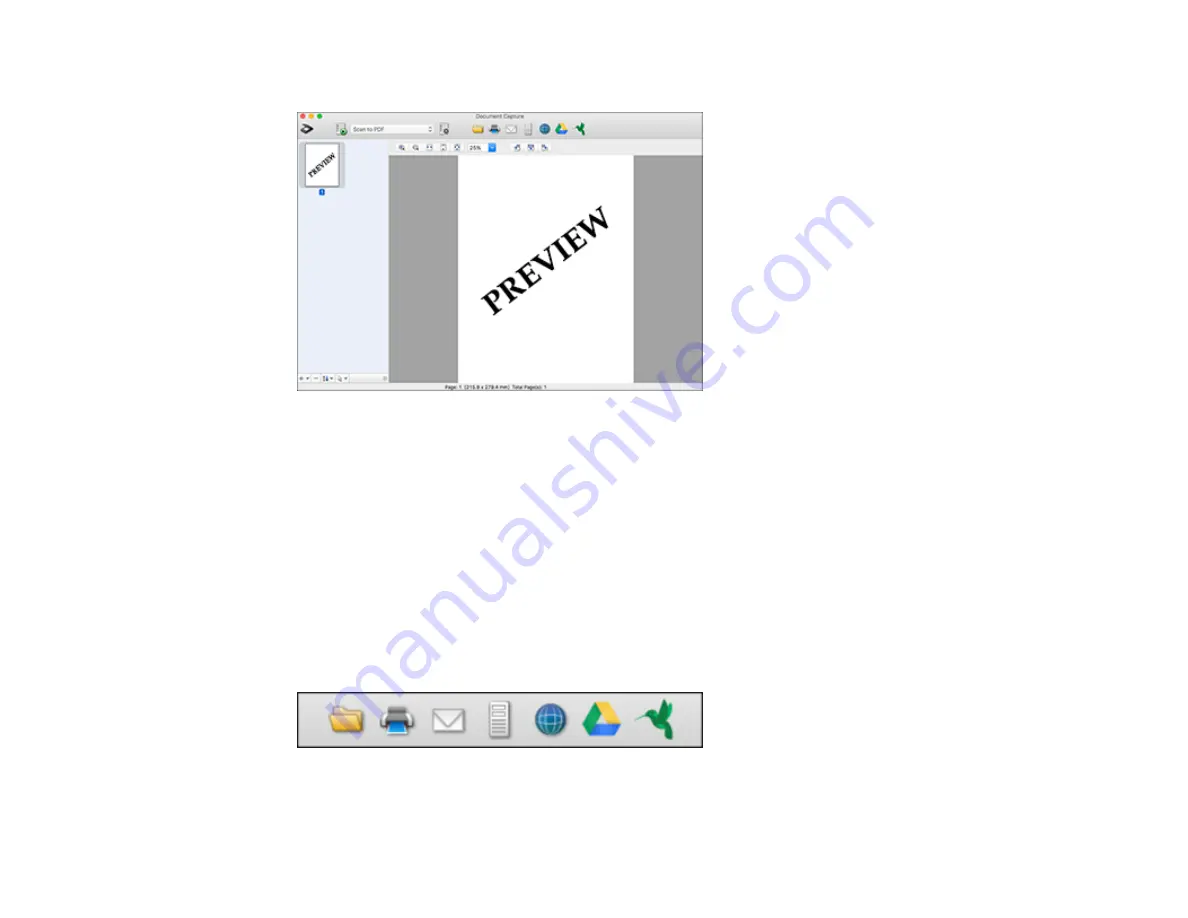
You see a preview of your scan in the Document Capture window.
Note:
You may have to close the Epson Scan 2 window to view your scan in the Document Capture
window.
8.
If you would like to scan additional originals and add them to the current captured images, click the +
icon, select
Acquire from Scanner
, and repeat the previous steps.
9.
Check the scanned images and edit them as necessary.
10. Open the
File
menu at the top of the Mac desktop and select
Save As
.
11. Select
as the
File Type
setting and click the
Options
button.
12. Select the
Create Searchable PDF
checkbox and click
OK
.
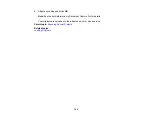
13. Click one of the Destination icons to choose where to send your scanned file. (If you cannot see all
of the icons below, click the arrow next to the icons.)
14. Depending on the destination you chose, click
OK
or
Send
to complete the operation.
Содержание ES-400
Страница 1: ...ES 400 ES 500W ES 500WR User s Guide ...
Страница 2: ......
Страница 10: ...10 3 Power inlet 1 Cover open lever 2 Scanner cover 3 Pickup rollers 4 Separation rollers 1 AC adapter ...
Страница 21: ...21 ...
Страница 32: ...32 Note Do not load plastic cards vertically ...
Страница 38: ...38 6 Load the carrier sheet in the input tray as shown until it meets resistance Folded original ...
Страница 59: ...59 You see an Epson Scan 2 window like this ...
Страница 61: ...61 You see an Epson Scan 2 window like this ...
Страница 72: ...72 You see this window ...
Страница 85: ...85 You see an Epson Scan 2 window like this ...
Страница 108: ...108 2 Open the flatbed scanner cover ...
Страница 125: ...125 5 Press down on the pickup roller cover latch and pull up the cover to remove it ...
Страница 160: ...160 Parent topic Technical Specifications ...


