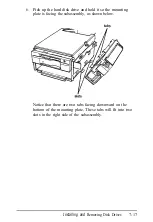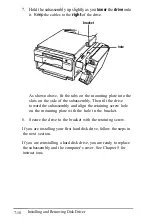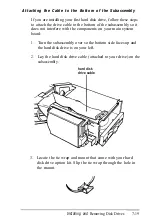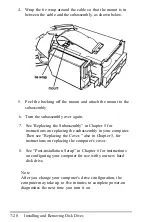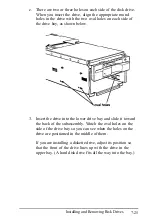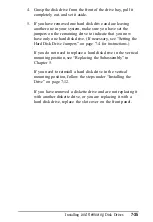
4.
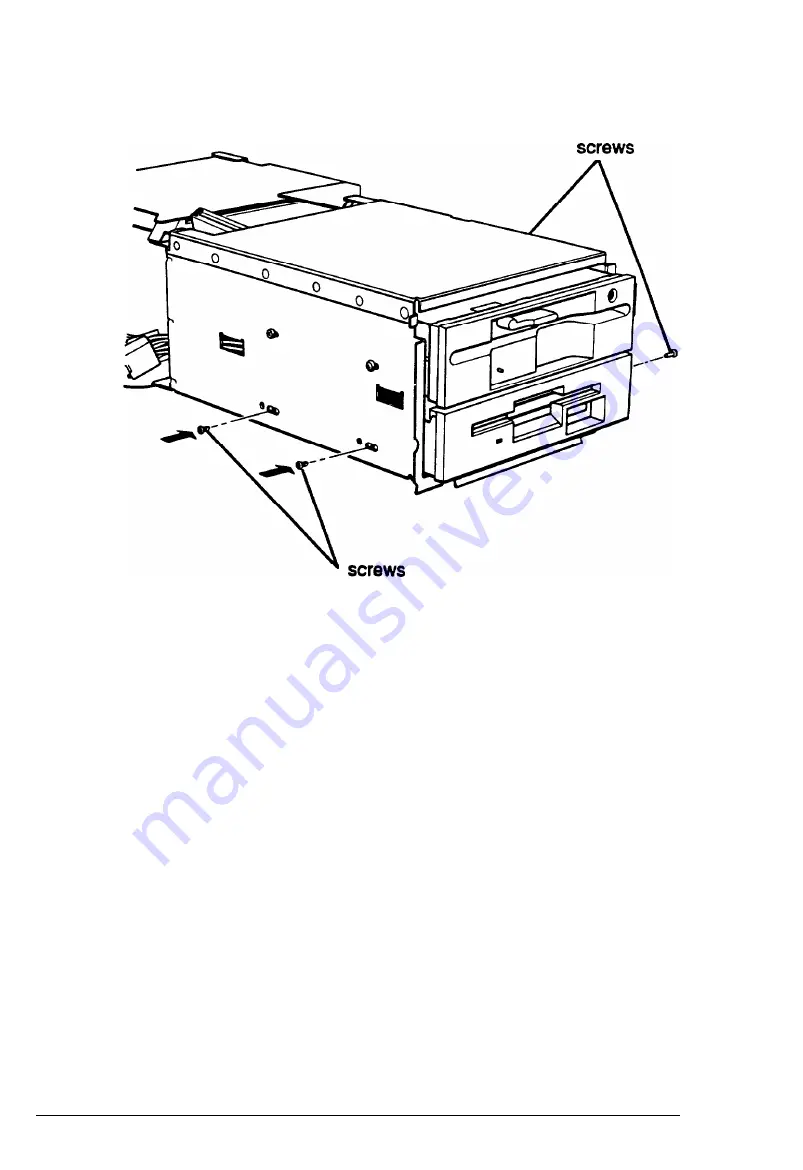
After you
align
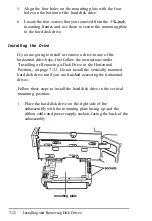
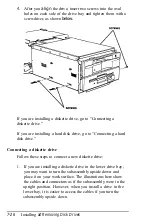
the drive, insert two screws into the oval
holes on each side of the drive bay and tighten them with a
screwdriver, as shown
below.
If you are installing a diskette drive, go to “Connecting a
diskette drive.”
If you are installing a hard disk drive, go to “Connecting a hard
disk drive.”
Connecting a diskette drive
Follow these steps to connect a new diskette drive:
1.
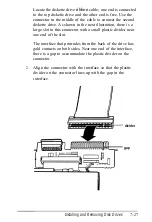
If you are installing a diskette drive in the lower drive bay,
you may want to turn the subassembly upside down and
place it on your work surface. The illustrations here show
the cables and connectors as if the subassembly were in the
upright position. However, when you install a drive in the
lower bay, it is easier to access the cables if you turn the
subassembly upside down.
7-26
Installing
ad Removing Disk Drives
Содержание EQUITY 3865X/20 PLUS
Страница 1: ...EPSON E Q U I T Y 3 8 6 5 X 2 0 P L U S U s e r s G u i d e ...
Страница 2: ...EPSON E Q U I T Y 3 8 6 S X 2 0 P L U S USER S GUIDE X EQ386 20PLUS ...
Страница 136: ......
Страница 266: ...E Q U I T Y 3 8 6 S X 2 0 P L U S U s e r s G u i d e ...
Страница 269: ...Epson America Inc 20770 Madrona Avenue Torrance CA 90503 ...

