


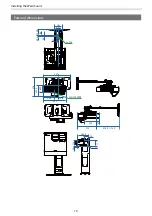
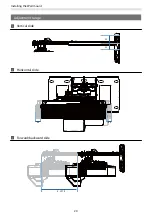


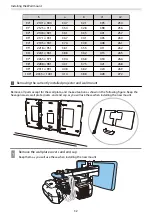

Installing the Wall mount
17
Caution
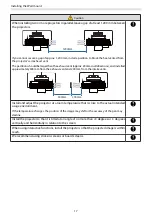
When installing two or more projectors in parallel, leave a gap of at least 1,200 mm between
the projectors.
1200mm
If you cannot secure a gap of approx. 1,200 mm, install a partition to block the heat vented from
the projector's air exhaust vent.
The partitions should be larger than the exhaust vent (approx. 20 mm in all directions), and installed
approximately 400 mm from the exhaust vent and 200 mm from the intake vents.
400mm
200mm
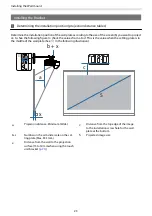
Install and adjust the projector at a room temperature that is close to the actual intended
usage environment.
If the temperature changes, the position of the image may shift or the accuracy of the pen may
decline.
Install the projector so that it is tilted at an angle of no more than +3 degrees or -3 degrees
vertically and horizontally in relation to the screen.
When using interactive functions, install the projector so that the projected image is within
reach.
We recommend using stick-on screens or board screens.
Содержание EB-1480Fi
Страница 1: ...Installation Guide ...
Страница 53: ...Installing the Wall mount 52 b Select Geometry Correction from the Installation menu c Select Arc Correction ...
Страница 55: ...Installing the Wall mount 54 b Select Geometry Correction from the Installation menu c Select Quick Corner ...
Страница 65: ...Installing the pen stand 64 b Attach the cover c Store the interactive pens ...
Страница 75: ...Installing the Touch Unit 74 Wavelength 932 to 952 nm ...
Страница 78: ...Installing the Touch Unit 77 Adjustment range 79 5 140 5 15 76 ...


