Setting the Projector
102
b
Connect the USB flash drive to the projector's USB-A port
c
Connect the USB flash drive directly to the projector. If the USB flash drive is connected to the
projector through a USB hub, the settings may not be saved correctly.
Connect an empty USB flash drive. If the USB flash drive contains data other than the batch setup
file, the settings may not be saved correctly.
The file name for the batch setup file is PJCONFDATA.bin. If you need to change the file name,
add text after PJCONFDATA. If you change the PJCONFDATA section of the file name, the
projector may not be able to recognize the file correctly.
You can only use single-byte characters for the file name.
c
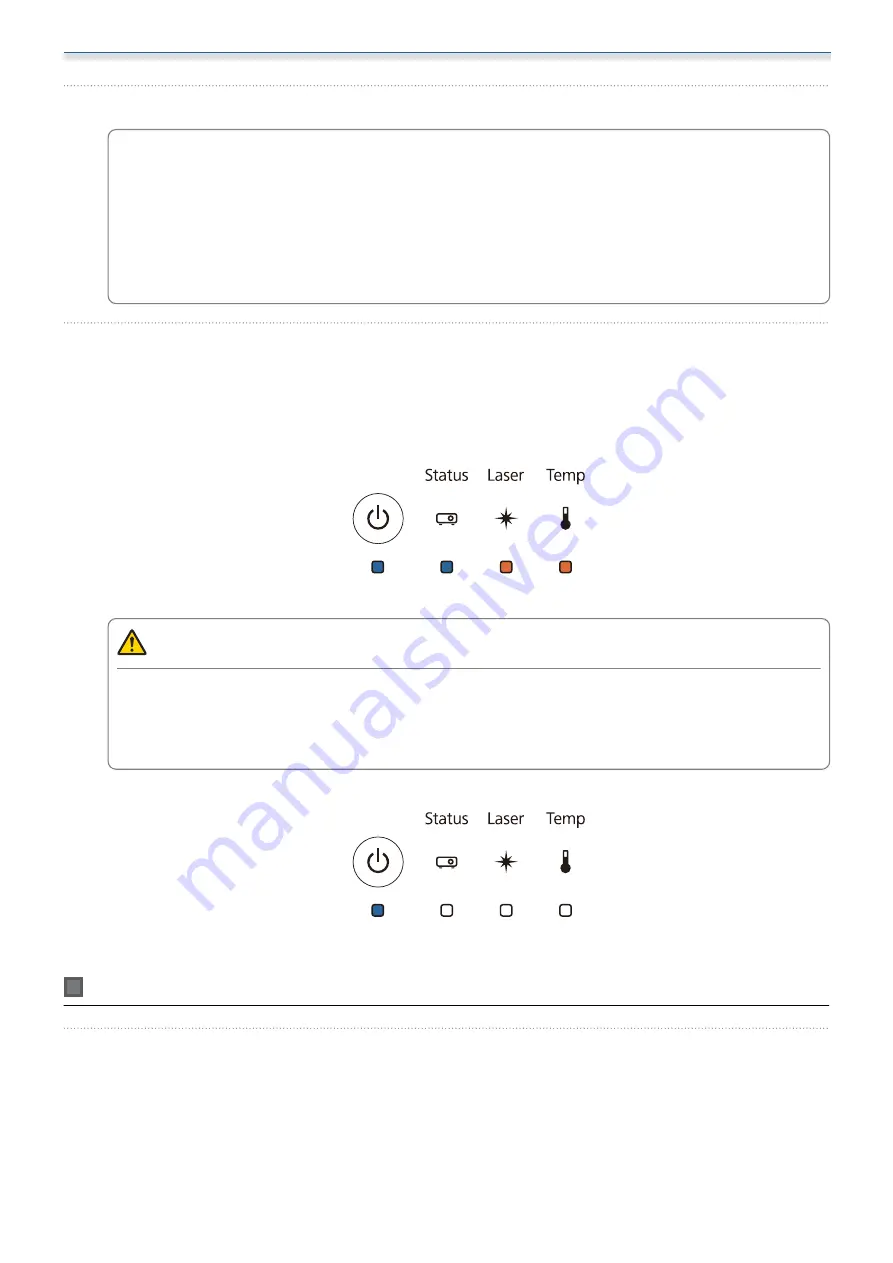
While holding down the [Esc] button on the remote control or the control panel, connect
the power cord to the projector
The Power indicator and the Status indicator turn blue, and the Laser indicator and the Temp indicator
turn orange.
When all of the projector's indicators turn on, release the [Esc] button.
When all of the indicators start flashing, the batch setup file is being written.
Caution
Do not disconnect the power cord from the projector while the file is being written. If the power cord
is disconnected, the projector may not start correctly.
Do not disconnect the USB flash drive from the projector while the file is being written. If the USB flash
drive is disconnected, the projector may not start correctly.
When writing completes normally, the projector turns off, and only the Power indicator is lit blue.
When the power turns off, remove the USB flash drive.
Copying saved settings to other projectors
a
Disconnect the power cord from the projector, and check that all of the projector's
indicators have turned off
Содержание EB-1480Fi
Страница 1: ...Installation Guide ...
Страница 53: ...Installing the Wall mount 52 b Select Geometry Correction from the Installation menu c Select Arc Correction ...
Страница 55: ...Installing the Wall mount 54 b Select Geometry Correction from the Installation menu c Select Quick Corner ...
Страница 65: ...Installing the pen stand 64 b Attach the cover c Store the interactive pens ...
Страница 75: ...Installing the Touch Unit 74 Wavelength 932 to 952 nm ...
Страница 78: ...Installing the Touch Unit 77 Adjustment range 79 5 140 5 15 76 ...


