68
Chapter5 | User Interface
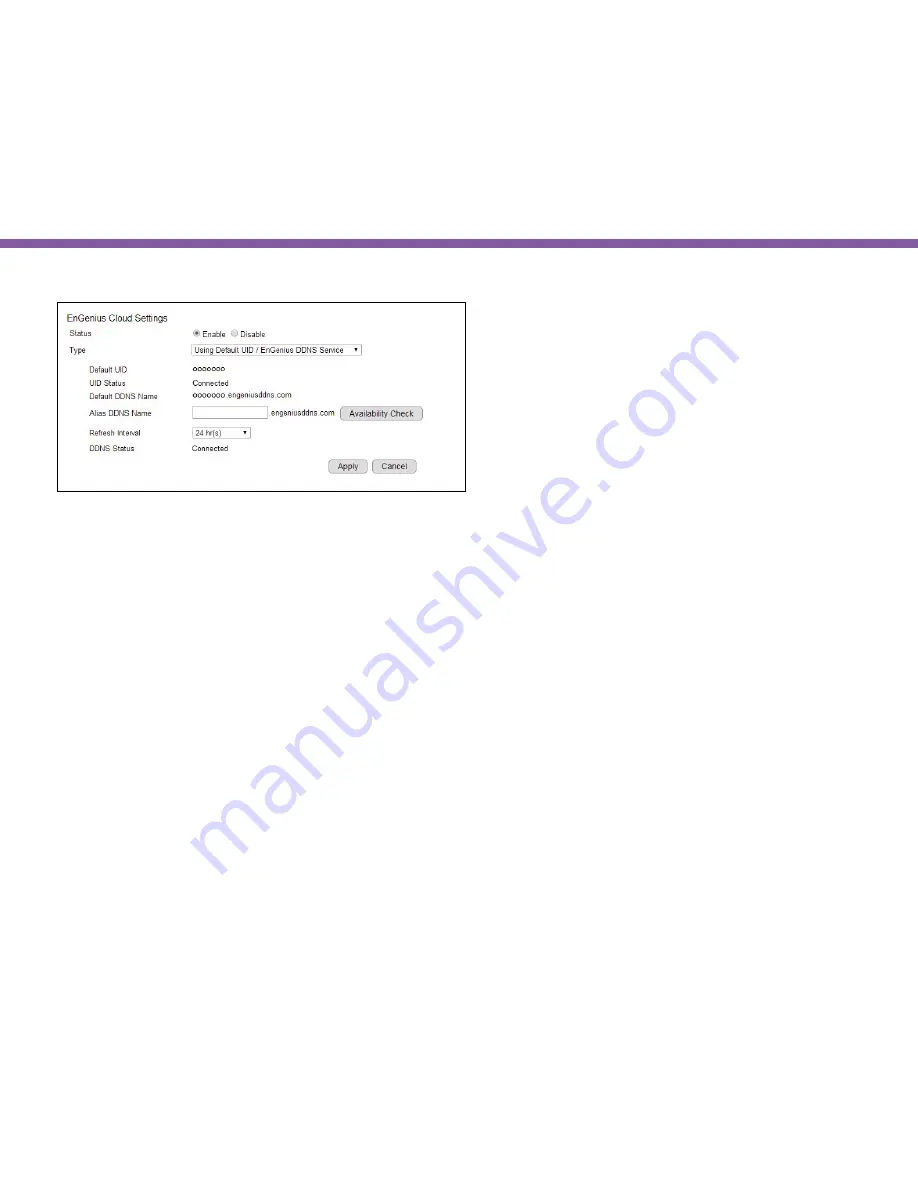
Default UID
: Each device is distributed with an exclusive unique identification (UID). You can find the default UID shown here.
UID Status:
when working properly, it should show “Connected”.
Default DDNS
: Each device is distributed with an exclusive DDNS. You can find the default DDNS shown here.
Alias DDNS Name
: You may find that your DDNS is too difficult to remember. EnGenius provides free DDNS name registration as long
as the alias is not yet been taken other EnGenius product users. You can check the availability by clicking on the button
Availability
Check
for verification. For example, if “superman” is available and when the setting is activated, both DDNS name “
superman
.
engeniusddns.com” and “
ooooooo
.engeniusddns.com” can be used to access this camera.
Refresh Time
: options are 3HRs, 6HRs, 9HRs, 12HRs and 24HRs. DDNS server needs to synchronize with your IP address often so
that you can access your device over the Internet with DDNS name. Depends on your Internet Service provider, your WAN IP address
lease time will be different. You can check with your local Internet Service provider for WAN IP address refresh time. The default
setting is
24 HRs
(which means DDNS server will check the synchronization every 24 hours). Normally, the default setting 24 HRs is
okay for most cases.
DDNS Status
: when working properly, it should show “Connected”.
Note:
DDNS will only work only if your gateway/router is connected to the Internet. If gateway/router is not connected to the
Internet, your DDNS status will show “Disconnected”.
Содержание EDS1130
Страница 1: ...Intelligent IP Camera User Manual EDS1130 HOME Guardian ...
Страница 5: ...Chapter 1 Product Overview ...
Страница 10: ...Chapter 2 Installation ...
Страница 16: ...Chapter 3 Accessing the Camera after Installation ...
Страница 20: ...20 Chapter3 Accessing the Camera after Installation EnViewer Finder Network ...
Страница 23: ...23 Chapter3 Accessing the Camera after Installation EnViewer Finder EnGenius Cloud Service ...
Страница 25: ...25 Chapter3 Accessing the Camera after Installation EnViewer Finder Config ...
Страница 34: ...Chapter 4 Basic Settings ...
Страница 45: ...Chapter 5 User Interface ...
Страница 118: ...Chapter 6 Camera Connecting to EnGenius Gateway Router ...
Страница 133: ...Chapter 7 Camera Connecting to Other Router ...
Страница 135: ...Chapter 8 EnViewer APP ...
Страница 160: ...Chapter 9 Application Guide ...
Страница 170: ...170 Chapter9 Application Guide Step 5 Setting EnViewer Notification Set Push Message ON and enter the device name ...
Страница 172: ...172 Chapter9 Application Guide Step 1 Disable Alarm Disable Event Alarm so that Schedule Recording can be configured ...
Страница 176: ...Chapter 10 Troubleshooting ...
Страница 182: ...Appendix ...


