


52
September 2020
Service Instructions
MAN-02-08-77-0714-EN Rev. 2
Section 8: Customizing Smart EHO Settings
Customizing Smart EHO Settings
8.2.3.1
Toggle the NO/YES Selector Knob to YES to begin entering the Passcode.
Figure 35
Change Settings (7)
8.2.3.2
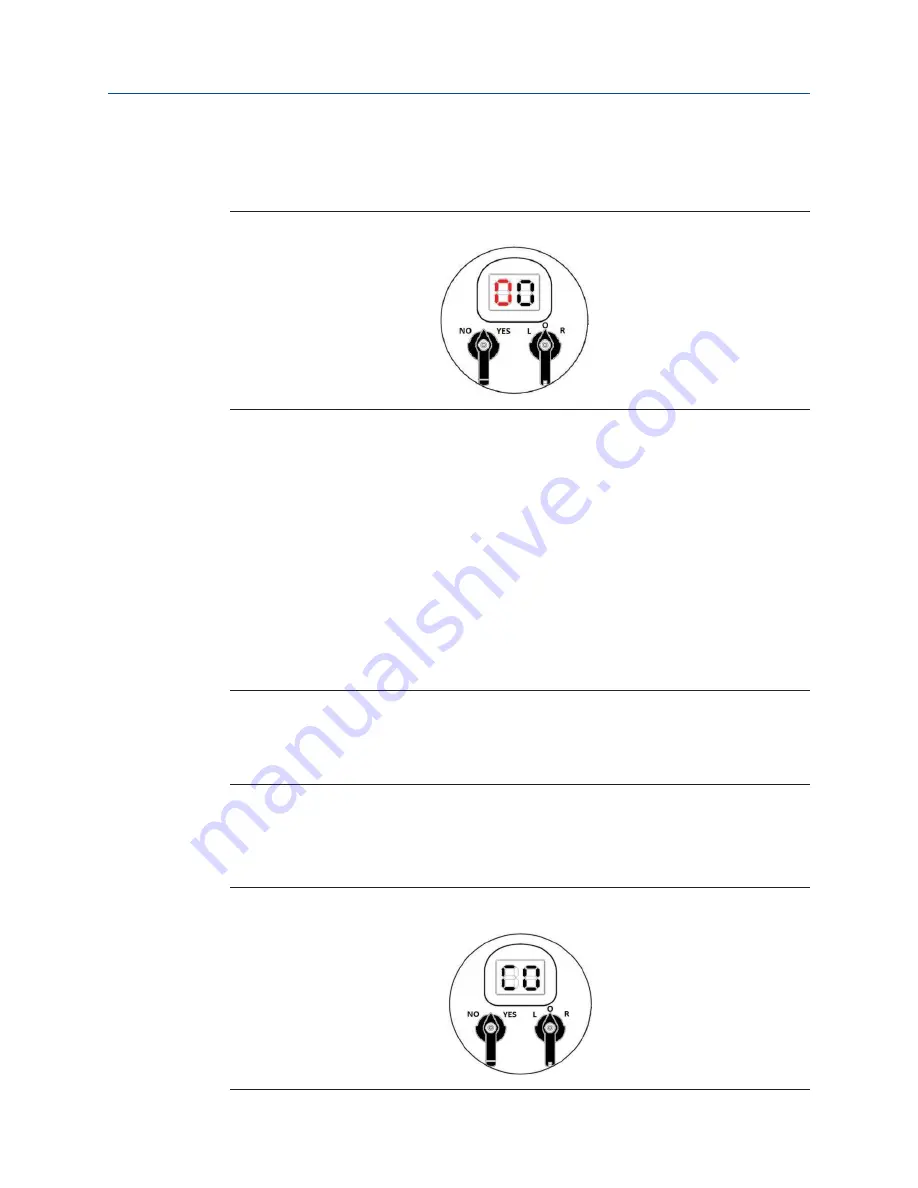
[0][0] will appear on the Menu Key, with the [0] on the left of the LCD
Display flashing. The flashing digit signifies which of the two digits is
being modified.
8.2.3.3
Toggle the NO/YES Selector Switch to NO until the correct Passcode
number or letter is found.
8.2.3.4
Toggle the NO/YES Selector Switch to YES when the correct Passcode
number or letter is found.
8.2.3.5
Repeat steps 8.2.3.3 to 8.2.3.4. until all four Passcode numbers and/or
letters have been entered.
8.2.3.6
Once the correct Passcode has been entered, Change Settings can be
accessed and the SMART EHO’s settings can now be viewed and changed.
NOTE:
If an incorrect Passcode has been entered, the SMART EHO Menu will return to the [C][H]
Menu item and the Passcode will have to be attempted again. Repeat steps 8.2.2. to 8.2.3.6
to re-attempt entering the correct passcode.
8.2.4
Toggle the NO/YES Selector Switch to navigate through the setting categories.
Toggle the NO/YES Selector Knob to YES to enter a setting category.
Figure 36
Change Settings (8)


