13. GLOBAL MENU
52
Select LOAD TO PROJECT and press
[YES/SAVE]
. The samples you selected (ticked) will now appear
in the first available empty slots out of the 127 user sample slots of the active project. To view the user
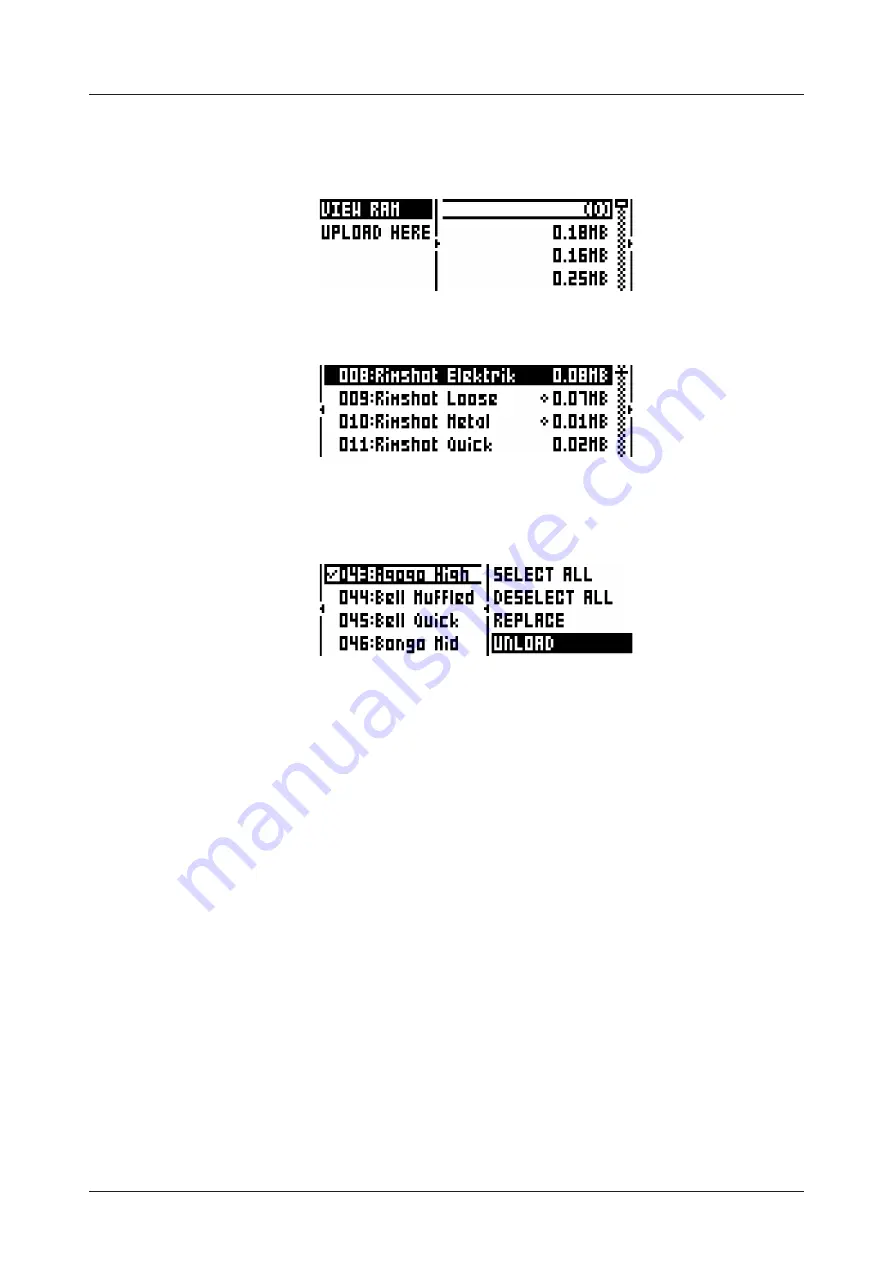
samples currently in the RAM of the active project, press the
[LEFT]
arrow key twice. This will bring up
the left side menu.
Select VIEW RAM and press
[YES/SAVE]
. A list will appear, showing all 127 user sample slots. A circle at
the very right end of the row means that the sample is currently unused in the active project.
On this screen, the 127 user samples may be unloaded individually or collectively to empty the slots.
Scroll the list using the
[ARROW]
keys
[UP]
/
[DOWN]
or the
LEVEL
knob. Press
[YES/SAVE]
to tick
individual samples, or bring up the right-hand menu by pressing
[RIGHT]
and choose SELECT ALL. On
the right-hand menu, select UNLOAD to empty the slots of the ticked samples.
Any sample in the RAM may be individually replaced. Simply highlight the slot containing the sample
you wish to replace, open the right-hand menu by pressing
[RIGHT]
and select REPLACE. Browse the
directories of the +Drive, locate the desired sample and press
[YES/SAVE]
to place it in the previously
highlighted sample slot. If you wish to go back to browsing the +Drive storage directories, press
[LEFT]
twice and select VIEW +DRIVE.
13.2.2 RECEIVING A SAMPLE FROM A COMPUTER
Set up a USB connection between the computer and the Analog Rytm. Make sure the Analog Rytm is
switched on. Open the Elektron C6 utility software on the computer. Drag and drop the samples to the
main C6 window. Click on the samples you want to transfer with the mouse pointer to highlight them.
Click on the Send icon to send the selected samples to the designated destination directory (the default
directory, if no other is set, is called INCOMING) in the +Drive storage of the Analog Rytm.
The time of the transfer depends on the size of the samples. During the transfer, a progress bar on the
LCD screen will show how much of the sample has been received, provided the destination directory
(INCOMING, by default) is open.
Note that the samples transferred will remain in the destination directory of the +Drive. To use them, they
need to be loaded to the active project (see instruction LOADING A SAMPLE TO A PROJECT above and
substitute FACTORY directory with INCOMING - or another - destination directory).
The Analog Rytm supports reception of samples via MIDI Sample Dump Standard (
SD
S) and Extended
SDS. The Elektron C6 supports this. You need to enable SDS Handshake in order to secure the trans-
mission over fast interfaces like USB MIDI, and you also need to enable the transmission of the Extended
SDS header if you want the sample name to be sent to the machine (if not, the samples will simply be
named 1, 2, 3... and so on in the destination directory of the Analog Rytm). In C6 version 1.5 these settings
are found in the config window.
13.2.3 CREATING A NEW DESTINATION DIRECTORY
On the main screen, press
[ARROW]
key
[RIGHT]
to access the right side menu. Select CREATE DIR
to create a new directory by pressing
[YES/SAVE]
. A naming screen will appear. See section “6.5 THE


