11. THE SEQUENCER
38
11.1.3 TEMPO
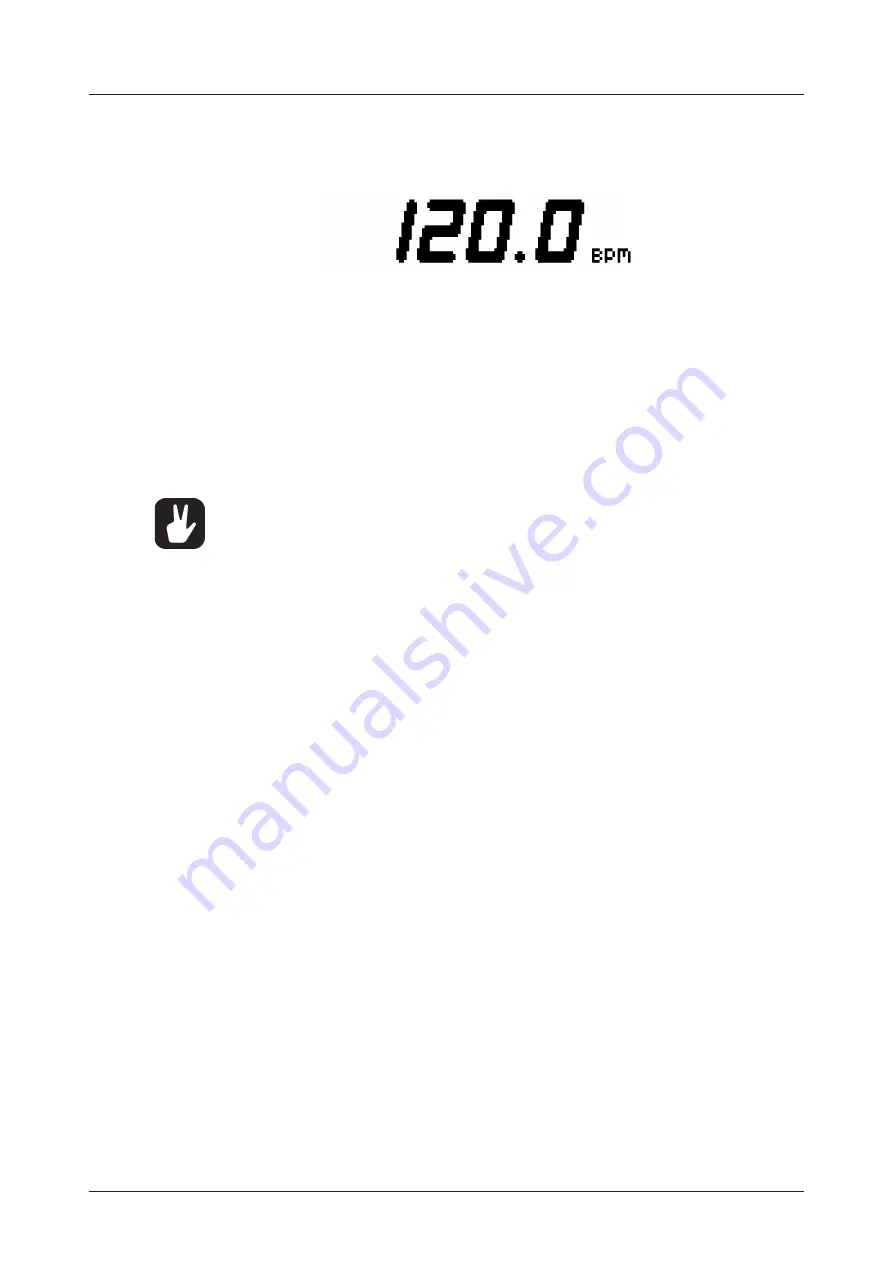
Pattern tempo is global and will affect all patterns. Pattern tempo is set in the TEMPO menu. Press
[TEMPO]
to open it.
Use the
LEVEL
knob to change the tempo setting. The
[UP]
and
[DOWN]
key changes the decimal part
of the tempo.
To tap a tempo setting, hold the
[FUNCTION]
key and tap the
[TEMPO]
key in a steady rhythm. After
four consecutive taps, the average tempo of the taps will be calculated. By continuing tapping, the aver-
age tempo will keep on updating.
The tempo can be temporarily nudged up or down by 10% by pressing the
[LEFT]
or
[RIGHT]
arrow
keys. When the key is released the BPM will revert back to the original setting.
When in the TEMPO menu, holding
[FUNCTION]
while turning the
LEVEL
knob will not change the tem-
po to the selected value until the
[FUNCTION]
key is released. While doing this, “PREP.” will flash in the
bottom left corner of the screen.
Tempo shift is very handy when manually syncing Analog Rytm to a turntable or an exter-
nal sound source. Note that you do not need to be in the TEMPO menu to perform tempo
shifting
11.2 PATTERN MODES
When changing patterns, different modes affecting the way the active pattern will be changed exist. Toggle
between the PATTERN modes by pressing
[FUNCTION]
+
[BANK GROUP]
. The <PATTERN MODE> LED
shows which mode is selected. Three PATTERN modes exist.
DIRECT START
will immediately change patterns. The new pattern will start playing from the beginning.
This mode is shown with a red <PATTERN MODE> LED.
DIRECT JUMP
will immediately change patterns. The new pattern will start playing from the position where
the previous pattern left off. This mode is shown with a green <PATTERN MODE> LED.
SEQUENTIAL
will change patterns after the pattern currently playing reaches its end. This mode is the
default mode. It is shown with an unlit <PATTERN MODE> LED.
11.3 EDITING A PATTERN
Analog Rytm offers two main modes of input when editing or creating a pattern, GRID RECORDING mode
and LIVE RECORDING mode. In these modes, two types of trigs can be entered: note trigs and trigless
locks.
11.3.1 TRIG TYPES
Two types of trigs exist, note trigs and trigless locks. Note trigs trig notes while trigless locks can be
used to apply parameter locks without trigging notes. Setting SYN and SMP (see “TRIG MENU” on page
38) to zero on a trig will turn it into a trigless lock. Note trigs are shown with full-bright <TRIG> LEDs and
trigless locks are shown with half-bright <TRIG> LEDs. <TRIG> LEDs above steps not containing any
trigs remain unlit. Read more about parameter locks in section “11.10.1 PARAMETER LOCKS” on page
43. The two types of trigs are entered differently depending on whether GRID or LIVE recording mode
is active.
11.3.2 GRID RECORDING MODE
GRID RECORDING is a method of composing where trigs are added by using the
[TRIG]
keys.
Enter GRID RECORDING mode by pressing the
[REC]
key. A lit red <REC> LED indicates GRID RE-
CORDING mode is active. Select the track to which you want to add trigs, the active track, by pressing
the
[TRACK]
key + one of the
[PADS]
. Place note trigs on the sequencer by pressing the
[TRIG]
keys
1-16 in the sequence desired. When CHROMATIC mode is active, the pitch value of the note trig will be
recorded according to which
[PADS]
key is pressed. To add a trigless lock, press
[FUNCTION]
and
[TRIG]
. Add micro timing to a note trig by pressing and holding the
[TRIG]
key while pressing
[ARROW]
keys
[LEFT]
or
[RIGHT]
. A micro timing pop-up menu will appear, showing the time offset.


