background image

50

51

OSD setting-Expand

Security

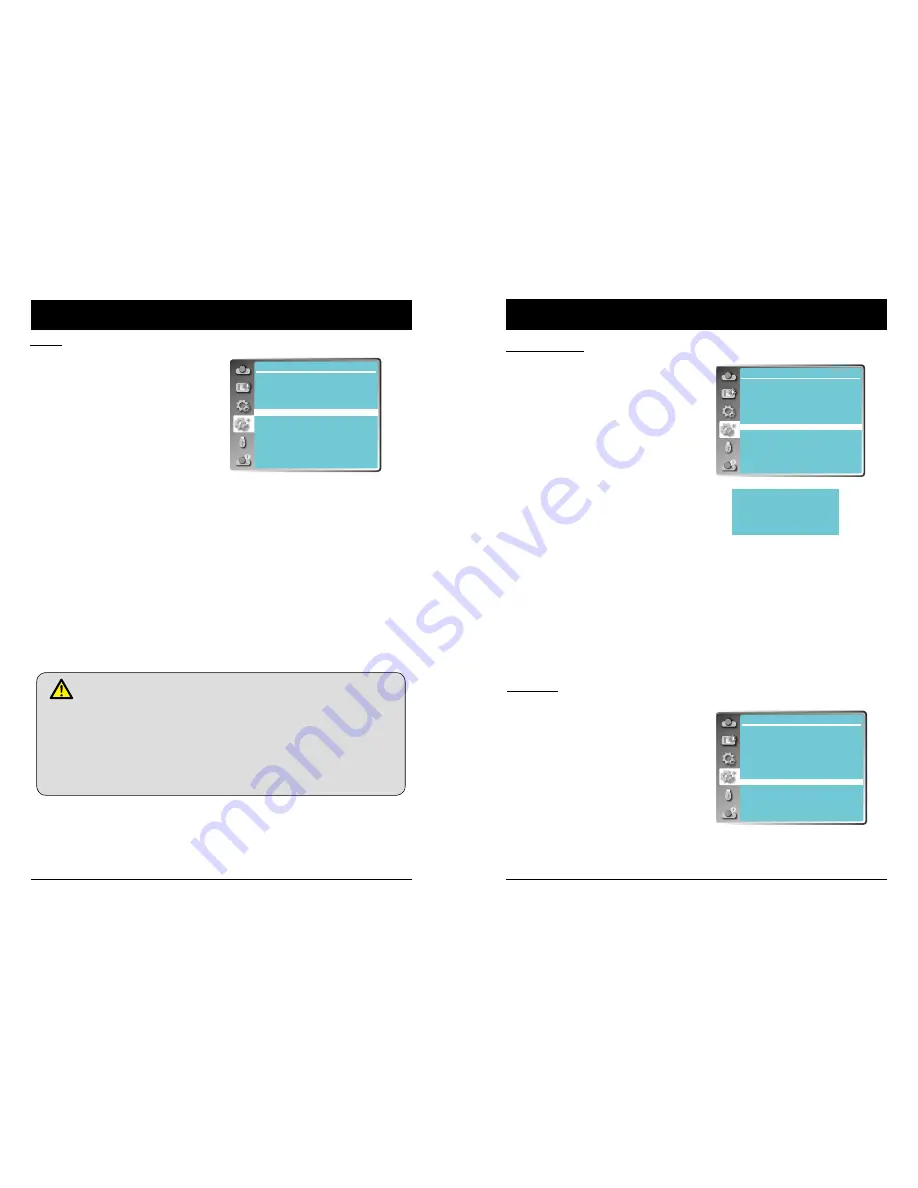
This function allows you to use the PIN code 

lock and PIN code change functions to set the 

security for the projector operation.

PIN code lock

This function prevents the projector from 

being operated by unauthorized persons 

and provides the following setting options for 

security.


Off

 ....Unlocked.


On

 .... Enter the PIN code every time turning 

on the projector. If you want to change 

PIN code lock setting or PIN code, you 

must enter the PIN code.  

The default PIN code is "111".

Security

If you want to change the PIN code lock setting, press the OK button, then PIN code dialog box appears.

Press 

◄►

 button to select a number,  and then press the OK button to enter this number, the cursor 

automatically moves to next box. If you fixed an incorrect number, press MENU button to reset it again.

Repeat this step to complete entering a three-digit number.

After entering the three-digit number, the cursor automatically move to "Set", and press the OK button, 

then you can change the PIN code lock setting.

If you entered an incorrect PIN code, the number (***) turn red, it will be reset automatically within one 

second. Enter the correct PIN code all over again.

PIN code change

The PIN code can be changed to three-digit number. Press 



 button to select PIN code change. Pin 

code dialog box appears, Press 

◄►

 button to enter the correct code. The New PIN code input dialog 

box appears. Set a new PIN code.

CAUTION:

WHEN YOU HAVE CHANGED THE PIN CODE, WRITE DOWN THE NEW PIN CODE IN 

COLUMN OF THE PIN CODE NO. MEMO ON PAGE 87, AND KEEP IT SECURELY. SHOULD 

THE PIN CODE BE LOST OR FORGOTTEN, THE PIN CODE SETTING CAN NO LONGER BE 

CHANGED.

Expend

Language
Auto setup
Keystone
Logo
Security
Power management
Filter counter
Test pattern
Network
Factory default

This function is used to set a frequency for filter 

cleaning.

When the projector reached a specified time 

between cleanings, a Filter warning icon 

appears on the screen, notifying the cleaning 

is necessary. After cleaning the filter, be sure 

to select RESET and set the timer. The Filter 

warning icon will not turn off until the filter 

counter is reset.

Filter counter 

Display the using time of the filter. 

Timer

Set the time to display the warning icon.

Filter counter reset

Reset the filter counter.

Filter counter

Filter counter

For reducing power consumption as well as 

maintaining the LED light source life, the Power 

management function turns off the projection LED 

light source when the projector is not operated for a 

certain period. Select one of the following options:

Ready

When the LED light source has been fully cooled 

down, the POWER indicator changes to green 

blinking. In this condition, the projection LED 

light source will be turned on if the input signal is 

reconnected or any button on the remote control or 

control panel is pressed.

Shut down

When the LED light source has been fully cooled 

down, the power will be turned off.

Off 

Disable the Power management function.

Timer

If the input signal is interrupted and no button is 

pressed for more than 30 seconds, the timer display 

with No signal appears. It starts the countdown until 

the LED light source is turned off. Press 



 button 

to set the Timer(1~30min.)

Ready countdown

Set the time that ready status transfers to standby 

status automatically.(0-30min. 0 Min: not transfer 

automatically)

In ready status, press POWER button to switch to 

standby status, and press any other button to turn on 

the projector.

Power management

Note:


Factory default: "Timer: 5 min",

   "Ready countdown: 5 min".

Power management

    No signal


01


:


20

Time left before LED light source is off.

Expend

Language
Auto setup
Keystone
Logo
Security
Power management
Filter counter
Test pattern
Network
Factory default

Expend

Language
Auto setup
Keystone
Logo
Security
Power management
Filter counter
Test pattern
Network
Factory default

OSD setting-Expand

What is a password  (PIN)?

A password (PIN) is an ID code for identifying people with knowledge about it to 

operate the projector. A password (PIN) setting may help preventing the projector from 

unauthorized use.
You password (PIN) code is a 3-digit number. To find out more about protecting the 

projector with a password (PIN), please refer to the PIN Code Lock function in the 

Setup menu on Page 50 for details.
Precautions on password (PIN) operation 

You cannot operate a password (PIN) protected projector without correct password 

(PIN)   Please set up a new password (PIN) and keep the operation manual in safe 

place. In case the password (PIN) is lost or forgotten, call the dealer or service center.

Содержание EK-350U

Страница 1: ...Owner s manual Multimedia Projector EK 350U EK 351W V1 0...

Страница 2: ...e pressing the AUTO button on the remote control Colorboard Function At the time of simple projection on the colored wall you can get the close color image project ed on a white screen by selecting th...

Страница 3: ...operation and connections and try solutions given in the Troubleshooting section at end of this manual If the problem persists call the dealer or our service center The projector s LED light source is...

Страница 4: ...Damaged or broken power cord or plug b Liquid splashed in the projector c The projector exposed to rain or water d If the projector fails to work as expected by following operation instructions adjust...

Страница 5: ...will get very hot once the projector starts oper ating DO NOT place any object atop the pro jector They may not only be damaged but also lead to fire after being over heated Cooling fans are designed...

Страница 6: ...y the letter E or by the safety earth symbol or coloured green or green and yellow The wire which is coloured blue must be connected to the terminal which is marked with the letter N or coloured black...

Страница 7: ...sories Quick Start Guide AC Power Cord Remote Control with batteries AA or LR6 Safety Information VGA Cable This chapter presents names and functions of individual component Overview US type x 1 Euro...

Страница 8: ...PRECAUCION CALIENTE APPARECCHIO CALDO 138 0 39 8 157 6 161 0 CAUTION HIGH TEMPERATURE PRECAUCION CALIENTE APPARECCHIO CALDO ATTENTION CHAUD WARNUNG HEISS 138 0 39 8 157 6 161 0 138 0 39 8 157 6 161 0...

Страница 9: ...rol or operate the projector Power cord connector AUDIO IN Connect audio signals AUDIO OUT Output audio signals to amplifier or other audio equipment Speaker Name and function of the projector Laser T...

Страница 10: ...of the projector Please follow the following rules for safety operation Use two of AA or LR6 alkaline batteries Replace both batteries at the same time Do not mix new and old batteries as one pair Ke...

Страница 11: ...They may differ from the actual ones EK 350U EK 351W 16 10 Unit cm Screen size 40 100 150 200 300 Width Height Width Height Width Height Width Height Width Height 86 54 215 134 323 202 431 269 646 40...

Страница 12: ...s Lens shift range When the setting of LENS SHIFT as the maximum position the corner of projection image might be darker Installation Lens shift adjustment The electric lens shift function may adjust...

Страница 13: ...ll external equipment before connecting any cable to them S video input S video output Video output Video input Component output Component input S video conversion cable Component conversion cable Vid...

Страница 14: ...phase power cord with neutral ground cable Do not use any other type of power cords or you may face the risks of electric shock In case you have any doubt on type of power cord you are using please ca...

Страница 15: ...details Precautions on password PIN operation You cannot operate a password PIN protected projector without correct password PIN Please set up a new password PIN and keep the operation manual in safe...

Страница 16: ...n existence The arrow mark indicating the adjustment direction turns red The arrow mark disappears when the maximum adjustment limit reaches The keystone adjustment will be canceled if you press the k...

Страница 17: ...ank Image Blank Basic operation Input selection Direct operation Press HDMI 1 HDMI 2 VGA1 VGA2 VIDEO HDBase T COMPONENT or USB A on the remote control as input source When input source is from compute...

Страница 18: ...Input selection When input source is from network connected to LAN terminal with LAN cable please select Network When input source is from the device connected to Micro USB terminal please select USB...

Страница 19: ...format Color adjust For computer input source the color adjust options are Image mode Cinema Black board Green DICOM Colorboard User Image Dynamic Standard Bright Contrast Brightness Color temp Red G...

Страница 20: ...uto PC adj Menu Display Auto PC adj Fine sync H Position V Position H Size Aspect Project way Menu position Background display System 17 0 0 0 Normal Front Center Blue 1024 x 768 60Hz Aspect menu Disp...

Страница 21: ...de to fit the image source and the projector Dynamic The light output is maximized for use in bright areas Standard The picture becomes suitable for moving images in general Cinema Enriched grayscale...

Страница 22: ...roller and the OSD displays Press button to select Setting icon press button or OK button to confirm the selection 2 Press button to point to required item and press OK button to confirm the selection...

Страница 23: ...the number you pressed The code is set successfully when the light indicator on the remote controller flashed Note The projector and the remote controller must be paired with the same code Setting On...

Страница 24: ...Display Project way is set to Ceiling Front or Ceiling Rear Expend Language Auto setup Keystone Logo Security Power management Filter counter Test pattern Network Factory default Expend Language Auto...

Страница 25: ...Logo PIN code change functions Logo Select This function decides on the starting up display from following options Default Show the factory set logo User Show the image captured by user Off Show the c...

Страница 26: ...mer Set the time to display the warning icon Filter counter reset Reset the filter counter Filter counter Filter counter For reducing power consumption as well as maintaining the LED light source life...

Страница 27: ...of this projector IP address Displays the IP address of wired network of this projector Network setting DHCP On Set Cancel IP address Subnet Gateway DNS Move Next Back LAN MENU ENTER Expend Language A...

Страница 28: ...r not to fit with the projected screen On Display the image to fit with the aspect of the projected screen Off Display in the normal pixels of the image Press to select Apply and press the OK button t...

Страница 29: ...n the projector 2 Obtain network address DHCP set is displayed as on and obtain network address automatically If familiar with network you can set DHCP as close and obtain network address manually Exp...

Страница 30: ...p The Picture Setup page is displayed by clicking this item Image Setup The Image Setup page is displayed by clicking this item Network Setup The Network Setup page is displayed by clicking this item...

Страница 31: ...ize Adjusts the total number of dots of the projected Freeze Switches the freeze function between on and off Auto PC adj Executes the Auto PC adj function V Keystone Corrects the keystone in vertical...

Страница 32: ...and connect it Please setting the same IP address of the projector in pwPresenter software such as 192 168 1 100 Both the initial name and passwords are admin Note Before use PwPresenter software to...

Страница 33: ...the remote control or on the control panel to select the input source as Memory Viewer 2 Insert the USB memory into the USB A terminal of the projector directly the standby screen of please press RC E...

Страница 34: ...ctor of a computer It will not work when connecting through a USB hub When terminate the USB display remove the USB cable directly There is no need to follow Remove hardware safely when a USB cable is...

Страница 35: ...Monitor app in the virtual disk that has been mounted Description on using Edge Blending function Edge Blending Edge Blending function could project bigger and brighter with high resolution pictures...

Страница 36: ...when it is cooled down to normal operation temperature Check the following Is adequate clearance provided for the projector s ventilation Check the installation status and any air outlet block Is the...

Страница 37: ...ean casing of the projector Wipe the casing surface with clean and soft cloth Gently wipe the casing with clean and soft cloth dampened with small amount of neutral detergent to remove heavy dirt Do n...

Страница 38: ...tion distance The projection lens requires cleaning Moving the projector from a colder environment to a hotter one may result in condensing on the lens If this is the case wait until the condensing wa...

Страница 39: ...IN Code lock Please call the dealer or service center Make sure the projector is correctly connected to external equipment Make sure all devices have plugged in an AC power source and have been powere...

Страница 40: ...5 734 59 940 13 500 4 720x480i 60Hz 15 734 59 940 27 000 5 720x576i 50Hz 15 625 50 000 13 500 6 720x576i 50Hz 15 625 50 000 27 000 7 720x483 60Hz 31 469 59 940 27 000 8 720x576 50Hz 31 250 50 000 27 0...

Страница 41: ...djust Contrast 0 63 32 Component Input S Video Input Video Input Brightness 0 63 32 Color 0 63 32 Tint 0 63 32 Red 0 63 32 Green 0 63 32 Blue 0 63 32 Sharpness 0 15 8 Setting On start On Off Off Stand...

Страница 42: ...255 255 255 0 Gateway 192 168 1 1 DNS 192 168 1 1 Network status MAC address IP address 192 168 1 100 Factory default Memory Viewer Set slide Slide transition effect Slide down Slide right Slide right...

Страница 43: ...age and power consumption AC 100 240 V Max 5 5A 50 60 Hz Fuse 10A 250V Internal speaker 10W RMS 8ohm 2 Operating Environment Operating temperature 0 C 40 C Storage Temperature 20 C 60 C High land 2700...

Страница 44: ...Appendix Write down the PIN code in the blank below and keep it If you forgot or lost the number and unable to operate the projector contact the service center PIN code lock Logo PIN code Lock No Fact...

Страница 45: ...435 E Mail info eiki cz China EIKI Shanghai Co Ltd LAKESIDE OASIS MIDDLE RING BUSINESS CENTRE Block 1 Room 606 1628 Jin Sha Jiang Road Shanghai 200333 CHINA China Tel 86 21 3251 3993 Service Hot line...

Отзывы: