34
35
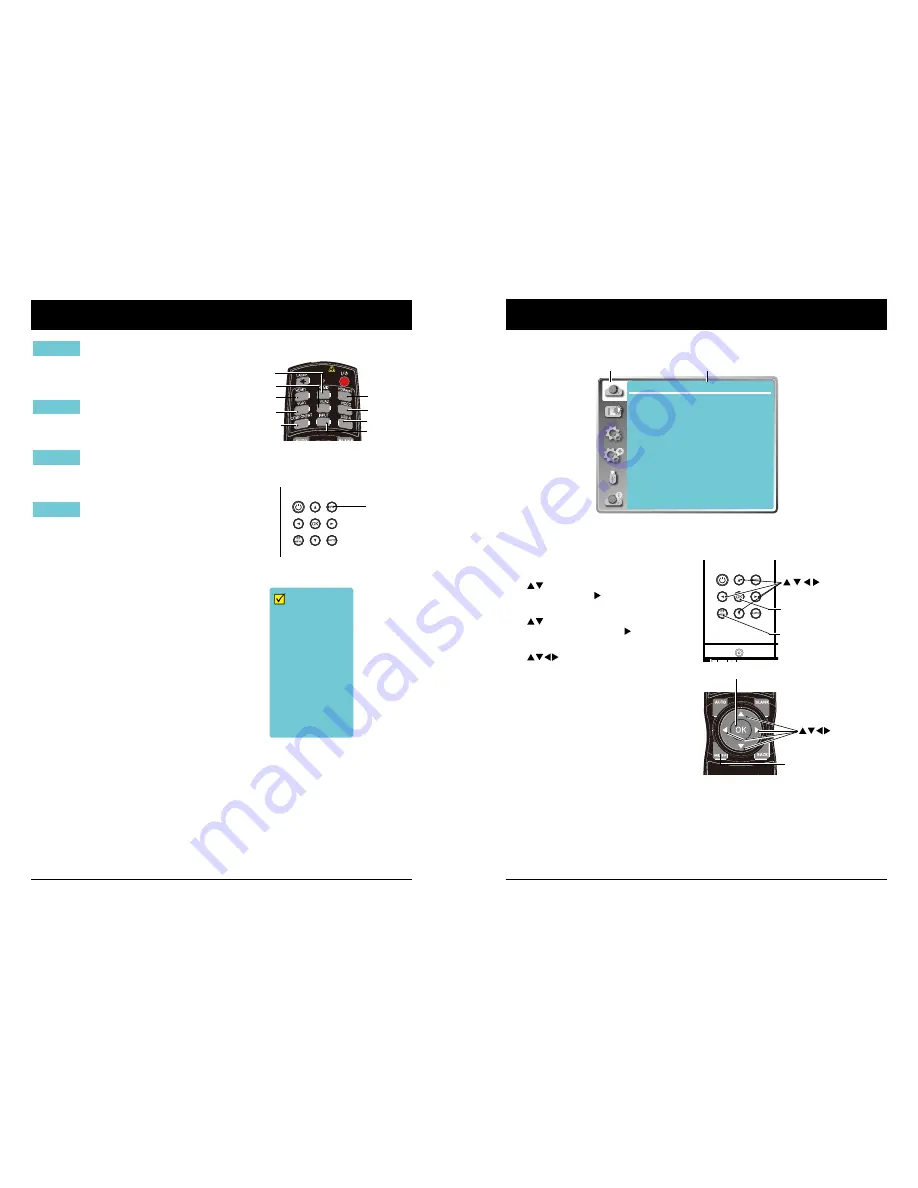
How to use the OSD
Menu operation
1. Press the MENU button on the rear control
panel or remote controller and the OSD
displays.
2. Press
button to act on or select one
main menu item. Press button or OK
button to enter a submenu.
3. Press
button to select required sub-
menu, then press OK button or button to
set up or enter an option.
4. Press
button to select settings or
navigate options, then press OK button to
act on the item and exit.
5. Press
button to return to mainmenu.
Press the MENU button on remote control-
ler or control panel to exit the OSD.
OK
Menu
Menu
OK
Basic operation
Main menu
Sub menu
Display
Auto PC adj.
Fine sync
H Position
V Position
H. Size
Aspect
Project way
Menu position
Background display
System
17
0
0
0
Normal
Front
Center
Blue
1024 x 768, 60Hz
Input selection
When input source is from network
connected to LAN terminal with LAN
cable, please select "Network".
When input source is from the device
connected to Micro-USB terminal,
please select "USB Display".
Network
USB Display
Note:
- When the "Input search" function is set to "On" in the "Auto setup" function, the input signal
except "USB Display", "Memory Viewer" and "Network" will be searched automatically.
- When signal is in "USB Display","Memory Viewer" and "Network", FREEZE, ASPECT, IMAGE,
AUTO SETUP, TEST PATTERN and SCREEN function cannot work.
Input select menu
VGA 1
VGA 2
HDMI 1
HDMI 2(MHL)
HDBase T
Component
Video
S-video
Memory Viewer
Network
USB Display
Select it when the video input signal
is connected to VGA IN 2(YPbPr/
S-VIDEO) terminal via S-Video to
VGA adaptor cable
S-video
When input source is from device
connected to USB-A terminal, please
select "Memory Viewer".
Memory Viewer
Remote control
Control Panel
INPUT
USB-A
VIDEO
VGA 1
VGA 2
HDBaseT
HDMI 1
HDMI 2
COMPONENT
INPUT


