42
43
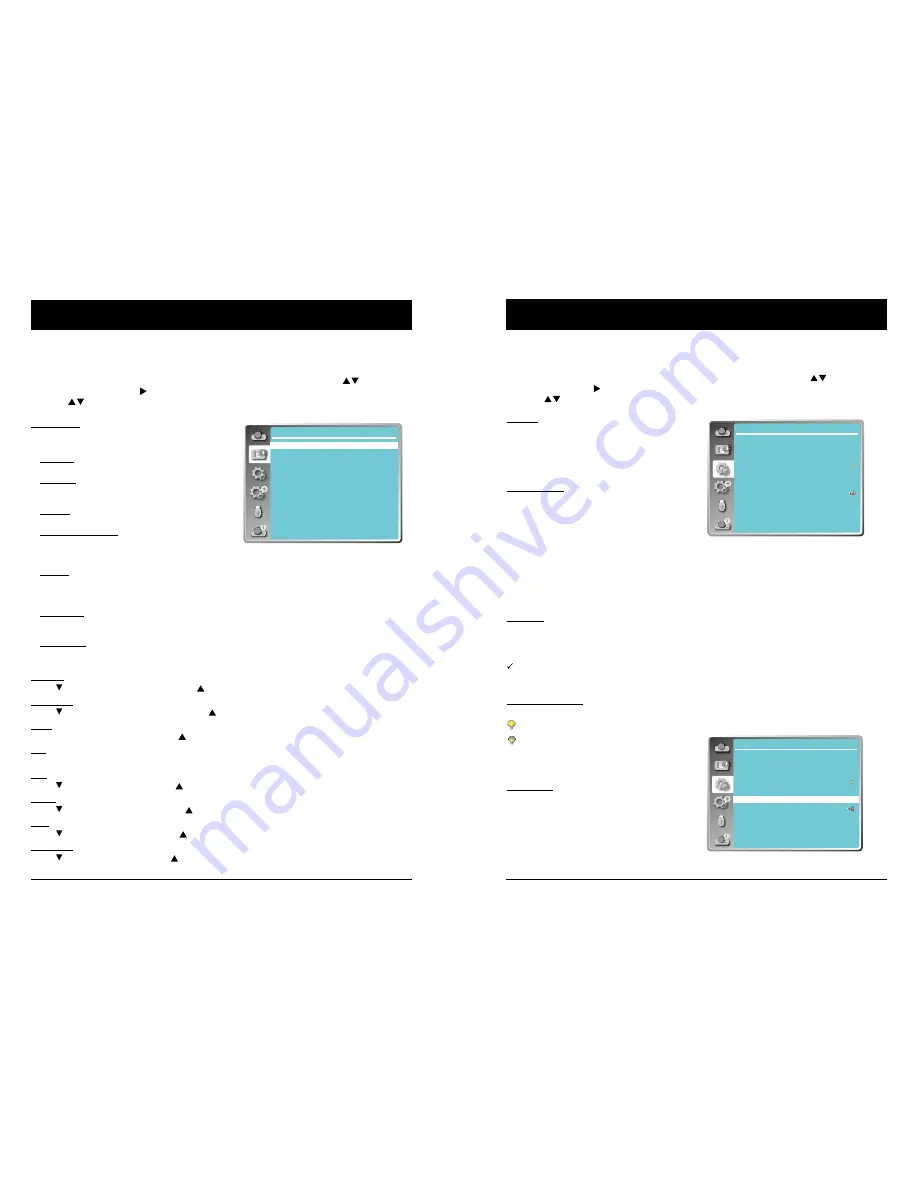
Color Adjust
Menu operation
1 Press the MENU button on remote controller and the OSD displays. Press
button select
Color Adjust icon , press
button or OK button to confirm the selection.
2 Press
button to point to required item and press OK button to confirm the selection.
Image mode
Switch image mode to fit the image source and the
projector.
Dynamic
The light output is maximized for use in bright areas.
Standard
The picture becomes suitable for moving images in
general.
Cinema
Enriched grayscale for viewing movies.
Chalkboard (Green)
An image mode designed for displaying on a chalk-
board (Green). It boosts quality of image projected
on chalkboard (Green).
DICOM
A highly clear X-ray image is reproduced. Digital
radiographs with excellent detail and clarity for med-
ical training, presentations and conferences.
Colorboard
Image mode suitable for image projecting on sur-
face of wall in red, blue, yellow or green.
User Image
Default image mode set by users in the Image
Adjust menu.
Contrast
Press button to decrease contrast, press button to increase contrast.
Brightness
Press button to decrease brightness, press button to increase brightness
Color
Press
to decrease the chroma and to increase it.
Tint
Press
to select the appropriate tone for the image.
Red
Press button to lighten red tint and button to darken it.
Green
Press button to lighten green tint and button to darken it.
Blue
Press button to lighten blue tint and button to darken it.
Sharpness
Press button to soften image and button to sharpen it.
Color adjust
Image mode
Contrast
Brightness
Color
Tint
Red
Green
Blue
Sharpness
Standard
32
32
32
32
32
32
32
8
Setting
The projector comes with convenient adjustment function.
1 Press the MENU button on remote controller and the OSD displays. Press
button to select
Setting icon, press
button or OK button to confirm the selection.
2 Press
button to point to required item and press OK button to confirm the selection.
On start
Setting the projector to be turned on automatically
just by connecting the AC power cord.
On .......... Start the projection with countdown
immediately.
Off .......... Start up in the standby mode.
Standby mode
Press
button to select the item below:
Eco.......... Restrict some functions in the
standby mode to reduce power
consumption. In this case, you
cannot use network functions and
RS-232C commands (expect Power
ON).
Normal ... No restrict network and serial
communication function via "Wake
on LAN" software while the standby
mode.
High land
Control the fan speed through the Setting menu.
Off ...... Normal speed. Set it so if the projector is operated at normal altitude.
On ...... Faster speed than the setting as "Off". Set it so if the projector is operated at high altitude.
Note:
●
Please change the setting as "ON", while operating the projector at an altitude around
1400~2700m.
Light source control
Change the brightness of the projection.
Normal .... Normal brightness.
OSD setting-Setting
Eco .......... Lower brightness, reducing
power consumption and
extending the life time of the light
source.
Cooling fast
provides the following options in the cooling
fans' operation after turning off the projector.
Normal(60 sec) .... As default cooling time.
30 sec .... Faster cooling time and louder
noise of fan.
0 sec. ...... Allow to unplug the AC power cord
immidiately without the cooling.
Setting
On start
Standby mode
High land
Light Sourcecontrol
Cooling fast
Closed caption
Key lock
Contrast optimization
Remote control
Sound
HDMI Setup
Off
Eco
Off
Normal
Off
On
Setting
On start
Standby mode
High land
Light source control
Cooling fast
Closed caption
Key lock
Contrast optimization
Remote control
Sound
HDMI Setup
Off
Eco
Off
Normal
Off
On
OSD setting-Color Adjust (Video, Component and S-video signal)


