28
29
Basic operation
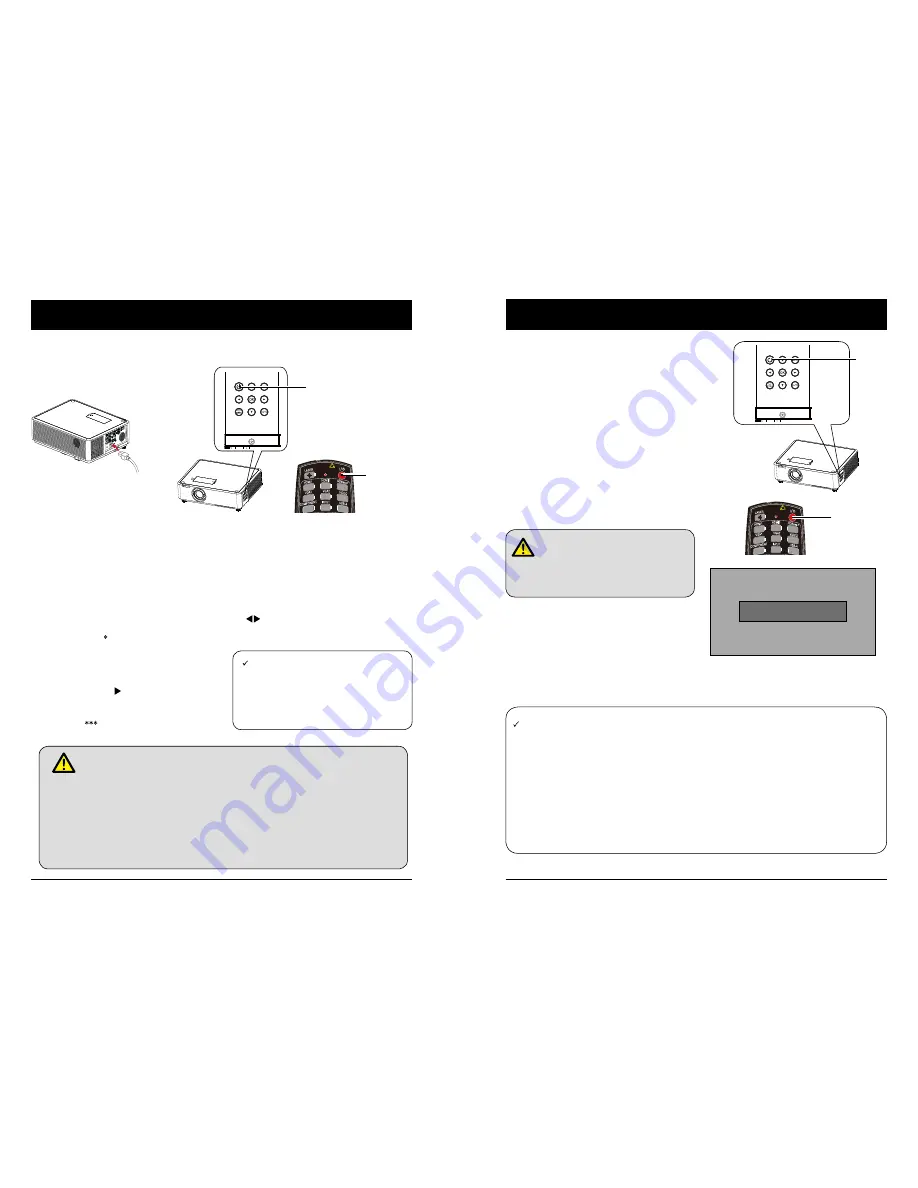
Power on the projector
1. Connect all external equipment to the projector (e.g. computer or media player)
before powering it on.
2. Connect AC power cord of the projector to an AC power socket.
The Power indicator turns on in red.
3. Press the Power button on the control panel or the remote controller.
The Power indicator lights in green and the cooling fan starts running.
4. If the projector is setting as password protected, the password dialog box displays.
Enter the password as instructed below.
Enter password (PIN)
Press ENTER button to start input the PIN code. Press
button to select a number, then press
ENTER button to select and the cursor would move to next field automatically. The number you typed
is displayed as “
”. Repeat this step to fill in a 3-digit number. If any mistake, press MENU button to
reset.
After fill in the PIN code, the cursor would
move to the "Set" selection. Press the EN-
TER button and now you are ready to use the
projector. Or press button select "Cancel" to
give up the setting.
If the password is invalid, the password dis-
played as “
” will be in red. Please try again
with a valid one.
Note:
● In case the “Logo Select” option is set
to OFF, then no welcome image will
display in screen.
● You can do nothing but powering
off the projector during the welcome
image is displaying.
What is a password (PIN)?
A password (PIN) is an ID code for identifying people with knowledge about it to
operate the projector. A password (PIN) setting may help preventing the projector from
unauthorized use.
You password (PIN) code is a 3-digit number. To find out more about protecting the
projector with a password (PIN), please refer to the PIN Code Lock function in the
Setup menu on Page 50 for details.
Precautions on password (PIN) operation
You cannot operate a password (PIN) protected projector without correct password
(PIN) Please set up a new password (PIN) and keep the operation manual in safe
place. In case the password (PIN) is lost or forgotten, call the dealer or service center.
Power
Power
Power off the projector
Power
Power
1. Press the Power button at the control panel
or the remote controller, the “Power off?”
message displays.
2. Press the Power button again in 4 seconds
after the “Power off?” message prompted
to you. The POWER indicator flashes red
while the cooling fan continues running.
(You may set up noise level and speed of
the fan.) Unplug the power cord until the fan
stops running. Failure to do so may shorten
life cycle of the projector or lead to power
on failures or operation abnormalities.
3. The POWER indicator stops flashing once
the projector has been cooled down to
ready for power on again.
Do not use the projector without stop.
As it may hurt the life cycle of the
LED light source. Power off the pro-
jector at least once every 24 hours
and have it idle for an hour.
Power off?
“Power off?” message disappears
in 4 seconds.
Note:
●
If the “On Start” function is set to “On”, the projector will power on once it is connected to an
AC power socket. (Refer to page 43)
●
Speed of the cooling fan varies with internal temperature of the projector.
●
Do not place the projector in any box before it is fully cooled down.
●
In case the STATUS indicator flashes or turns red, refer to the “Light indicator status” for
instructions. (Refer to page 77)
●
The POWER indicator flashes when the LED light source is cooling down. Do not power on
the projector at this time. Power on the projector only after the POWER indicator turns red.
●
Unplug the power cord after the projector has been turned off. The fan stops running.
●
The POWER indicator turns red when the projector is ready for power on again.
Basic operation


