5 EyesMap Modules
User Manual
34
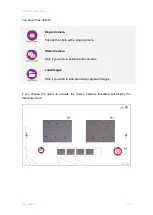
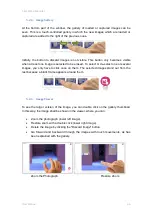
At this step, you must take three photographs which shall be used for the entire
process. In all photogrammetric captures, the following considerations should be taken
into account:
Take clear photos, try not to move while you are capturing. Avoid the sun facing
you. Capture the entire object to be measured, try to place said object in the
centre of the image.
Take different shots from the left to the right of the object, from the right to the
left, from the top to the bottom or from the bottom to the top. Try to have
displacement between the shots (never take two shots from the same position).
The overlapping area between the two images should be 80%. If this
overlapping can get to be almost 100%, it would be better for improved
orientation.
Not all objects are good for photogrammetry: for example, areas with a very
homogeneous texture like walls painted a single colour, plastic or glass objects
or water are not good for photogrammetry as the system has trouble finding
common points in the images due to reflection.
Whenever possible, we recommend taking photographs as perpendicularly to
the object as possible. This shall eliminate noise in the 3D model.
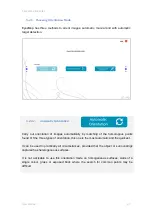
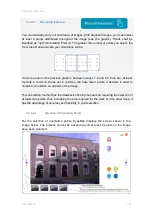
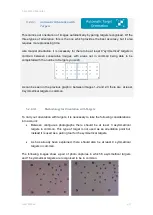
Even so, in certain cases with difficult textures, like glass or white walls, it is possible to
carry out point-to-point photogrammetry. In this case, you can use manual orientation
or automatic orientation with targets.
At minimum, 2 photographs should be taken. It is important to review each one of
them to delete those which are poorly-focused, poorly-lighted or blurry (accuracy can
go down notably).
Remember that you can modify the properties of each camera, adjusting them to the
light conditions which exist at the time of the shot. It is important for there not to be
significant differences between the two cameras.
Содержание eyesmap
Страница 1: ...USER MANUAL EYESMAP Version 1 0 Revision A June 2015...
Страница 9: ...2 Technical Specifications In this chapter we shall see Tablet Cameras Depth Sensor GPS IMU 2...
Страница 108: ...6 Viewers In this chapter we shall see MeshLab Touch Filters o Remove Outliers o Create Mesh o Clean Noise 6...
Страница 118: ...7 Practical cases User Manual 118 Medium Object...
Страница 119: ...7 Practical cases User Manual 119 Small Object...
Страница 120: ...7 Practical cases User Manual 120 7 1 1 2 Photo Development and Management...
Страница 121: ...7 Practical cases User Manual 121 Small Objects...
Страница 126: ...7 Practical cases User Manual 126 9 Orientation Points...
Страница 129: ...7 Practical cases User Manual 129 Click on Confirm...
Страница 130: ...7 Practical cases User Manual 130 The distance of the stereoTarget will be saved Click on Next...
Страница 134: ...7 Practical cases User Manual 134...
Страница 191: ...7 Practical cases User Manual 191...

