7 Practical cases
User Manual
158
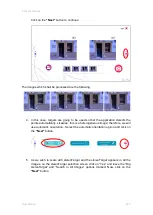
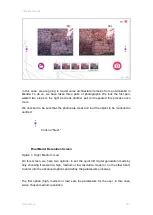
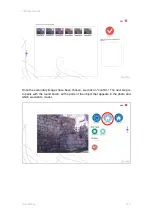
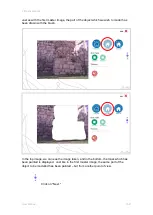
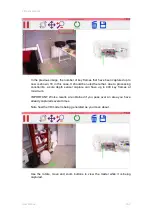
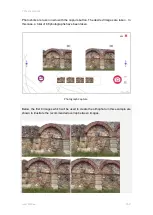
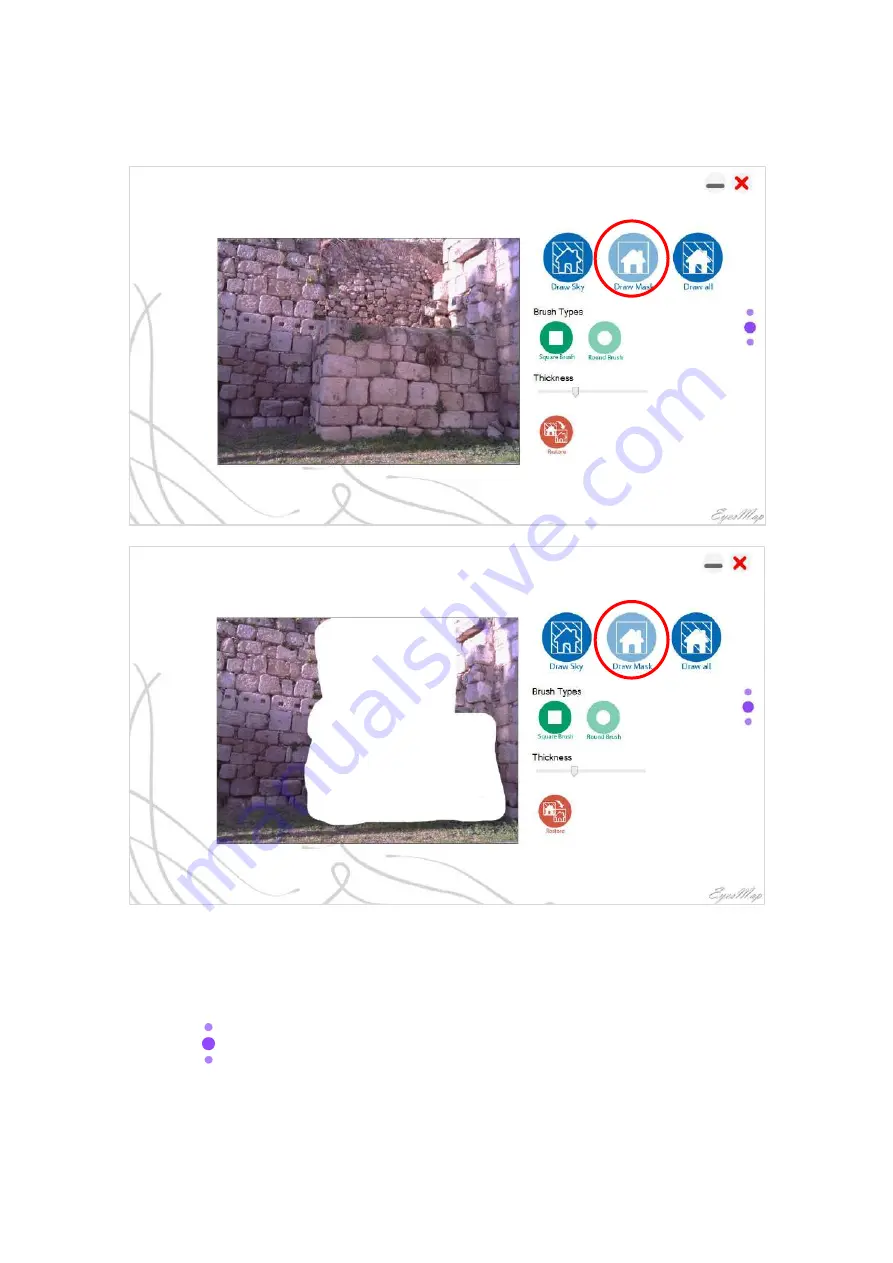
Just as with the first master image, the part of the object which we wish to model has
been drawn with the brush.
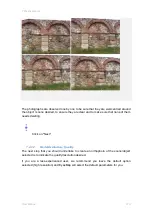
In the top image, we can see the image taken, and in the bottom, the mask which has
been painted is displayed. Just like in the first master image, the same part of the
object to be modelled has been painted
–
but from another point of view.
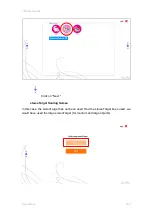
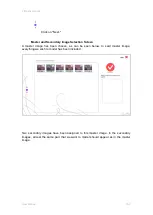
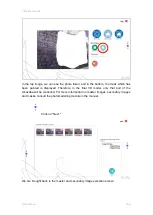
Click on "Next."
Содержание eyesmap
Страница 1: ...USER MANUAL EYESMAP Version 1 0 Revision A June 2015...
Страница 9: ...2 Technical Specifications In this chapter we shall see Tablet Cameras Depth Sensor GPS IMU 2...
Страница 108: ...6 Viewers In this chapter we shall see MeshLab Touch Filters o Remove Outliers o Create Mesh o Clean Noise 6...
Страница 118: ...7 Practical cases User Manual 118 Medium Object...
Страница 119: ...7 Practical cases User Manual 119 Small Object...
Страница 120: ...7 Practical cases User Manual 120 7 1 1 2 Photo Development and Management...
Страница 121: ...7 Practical cases User Manual 121 Small Objects...
Страница 126: ...7 Practical cases User Manual 126 9 Orientation Points...
Страница 129: ...7 Practical cases User Manual 129 Click on Confirm...
Страница 130: ...7 Practical cases User Manual 130 The distance of the stereoTarget will be saved Click on Next...
Страница 134: ...7 Practical cases User Manual 134...
Страница 191: ...7 Practical cases User Manual 191...

