ALL ABOUT IMAGE RECOGNITION & PROCESSING
Table of Contents
1.About this document
…………………………………………………
2
2. Before reading this document
………………………………………
2
3. Unit Description
………………………………………………………
3
1) Front Panel ………………………………………………………
3
2) Rear Panel ………………………………………………………
4
4.
Installation
………………………………………………………………
5
5. Operation
………………………………………………………………
9
1) Log-in ……………………………………………………………
9
2) Record ……………………………………………………………
10
3) Play ……………………………………………………………
13
4) System setup ……………………………………………………
15
Basic Operation………………………………………………
①
15
②
DISPLAY SETUP ……………………………………………
16
③
CAMERA SETUP ……………………………………………
17
④
TIME/DATE SETUP …………………………………………
19
⑤
ALARM/MOTION SETUP ……………………………………
20
⑥
RECORD SETUP ……………………………………………
23
⑦
TCP/IP SETUP ………………………………………………
⑧
MISCELLANEOUS SETUP …………………………………
24
25
6. Specification & Configuration
……………………………………
29
1) SPECIFICATIONS
…………………………………………….
29
2) Configuration …………………………………………………..
30
3) RS-232C Hex-codes table ……………………………………
30
4) Arrangement RS-232C pin ……………………………………
31
7. Manual for Remote viewer software
……………………………
32
7. Manual for Remote
viewer software
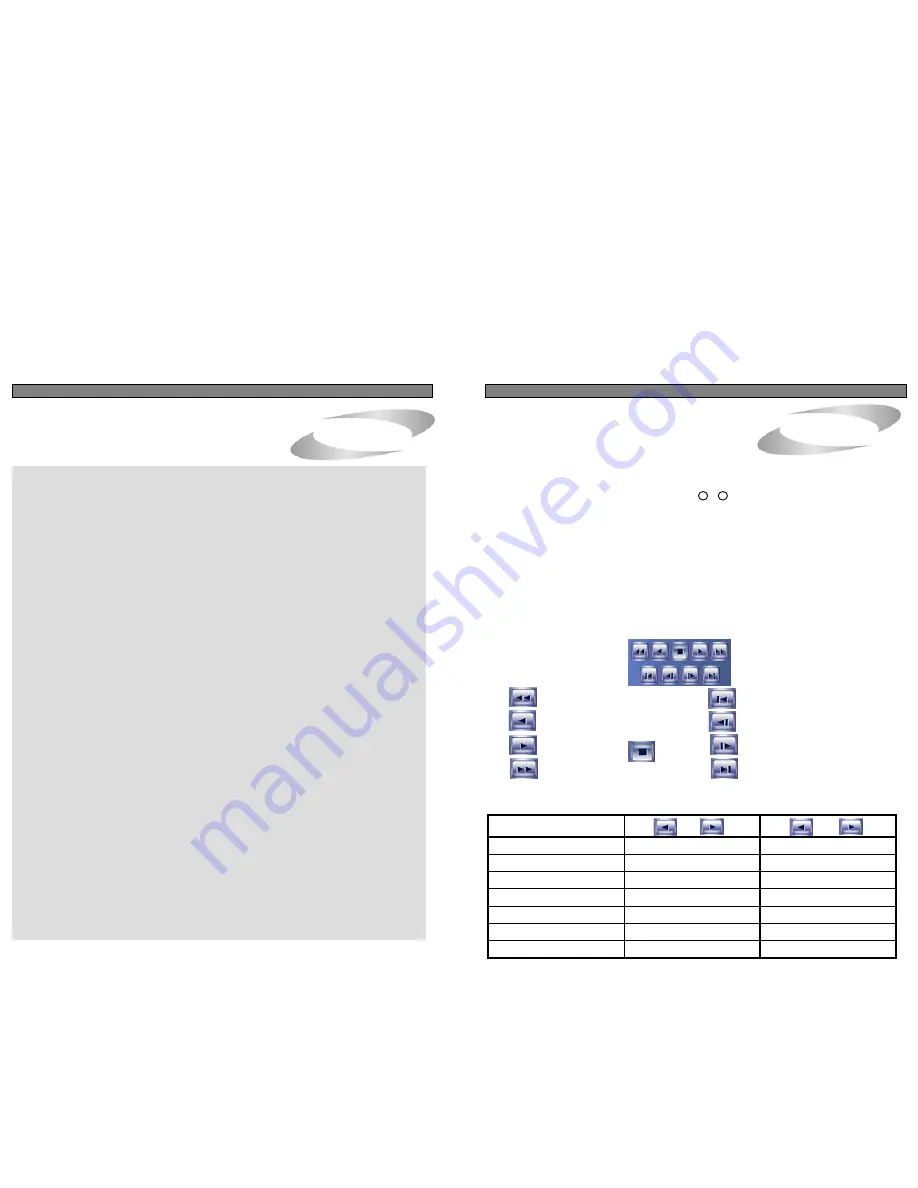
Function of each button in search window :
①
Power switch
: Press power switch to quit.
②
Full screen button :
Press full screen button to search recorded picture channel by channel in full screen.
③
Quad button
: Press Quad button to search recorded pictures in quad screen, 4 pictures
from 4 channels at the same time.
④
Enlargement scale
: You can adjust size by pressing or button and you will see separate picture to be
shown in enlargement window(
⑦
). By increasing or decreasing size of enlargement scale, you will see picture
to be shown in enlargement window shall be increased or decreased.
Further you can drag enlargement scale you adjusted to the position to see enlarged picture of corresponding
part.
⑤
Channel selection button
: Press any one from 1 to 4 to see picture of corresponding channel, if you first
chose full screen button(
②
).
Time displayed in green color is the time picture recorded.
⑥
Time selection button
: You can set time to search pictures recorded at set time by dragging vertical line to
the left or right. See time to be displayed on the left(
⑤
) in green color and find an exact location for the time
from which you want to search.
+
-
⑦
Start and end of recording
: It shows time from which recording started and recording ended. Further it show
time from which search will start.
⑧
Search operation button
: You can search recorded data using various buttons useful for searching
effectively as follows.
Upper row
Bottom row
: Play fast backward
(Speed set in SYSTEM SETTING (5-
⑦
) )
: Play backward(x1)
: Play forward (x1)
: Play fast forward
: Move to previous hour (on the hour)
: Pause/Reverse play in set speed
: Pause/Play in set speed
: Move to next hour (on the hour)
: Stop
(Speed set in SYSTEM SETTING (5-
⑦
) )
Speed of playback according to scan rate set in 5-
⑦
-b).
Scan rate set in 5-
⑦
-b)
1x
1x
1x
2x
1x
2x
4x
1x
4x
8x
1x
8x
16x
1x
16x
32x
1x
32x
64x
1x
60x
or
or
ALL ABOUT IMAGE RECOGNITION & PROCESSING
Maximum playback speed of DVMR is 60x.
1
38


