ALL ABOUT IMAGE RECOGNITION & PROCESSING
ALL ABOUT IMAGE RECOGNITION & PROCESSING
5. Operation
5. Operation
5. ALARM/MOTION SETUP
4. TIME/DATE SETUP
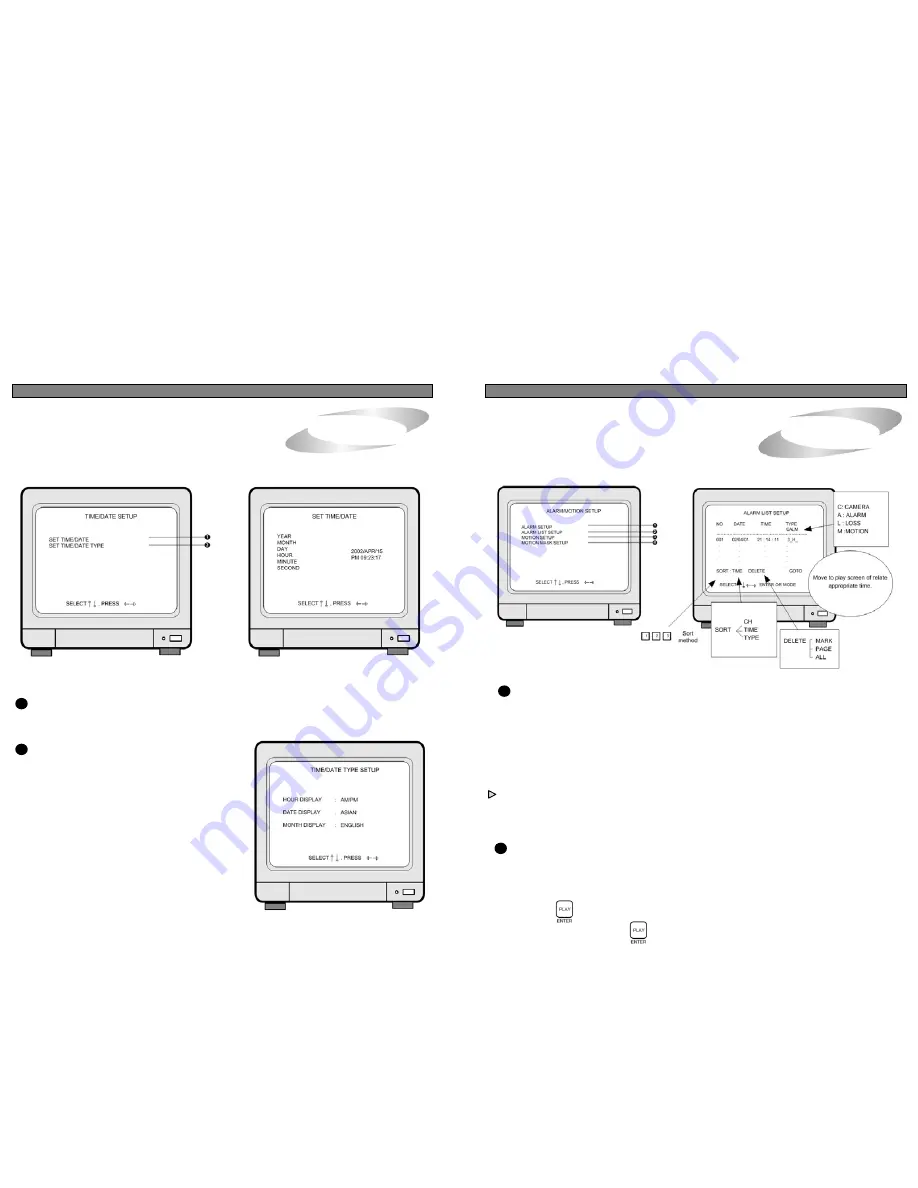
Display of ALARM/MOTION SETUP
1
ALARM SETUP : Sets type of alarm sensors connected to DVMR unit.
OFF : No alarm sensor is connected.
NC : Normal Closed alarm sensor. When an event happens, Contact is opened.
NO : Normal Open alarm sensor. When an event happens, Contact is closed.
ALARM DURATION : Duration of recording, when an ALARM is activated.
SELECT LIST TYPE : Select type of event to be enlisted in the event list. “A” indicates Alarm, “L”
indicates Loss, and “M” indicates Motion. You can select NONE if you do not
want to have event list, and ALM if you want all of Alarm, Loss and Motion are
enlisted in event list, by pressing [LEFT] and [RIGHT] button.
ALARM POP-UP : When an alarm is activated, display screen is switch to full screen of image from
relevant channel, and a color of camera number is changed to red.
If an alarm is activated from 2 channels, display screen is changed to quarterly split
screen (Quad screen), and a color of camera number of relevant channel is change
to red.
2
ALARM LIST SETUP : Shows list of alarms up to 400. If total alarm exceeds 400, it overwrites from the
beginning.
Alarm list is very helpful to manage DVMR system.
1. With [LEFT]/[RIGHT] button, select SORT, DELETE or GO TO.
2. SORT
Press button to select submenu of SORT ,that are CH ,TIME and TYPE.
[RIGHT] button and press button.
Display of TIME/DATE SETUP
1
SET TIME/DATE : Can set year/month/time/minute/second
Use [UP]/[DOWN] button to assign Year/Month/Time/Minute/Second and use
[LEFT]/[RIGHT] button to change the value.
.
2
SET the notation of TIME/DATE :
Display of Time/Date TYPE
Converts into Asian type/American type/European type
3. MONTH DISPLAY :
Month indication is changed to English or Number
1. HOUR DISPLAY :
Changes to AM/PM or 24hour time indication
2. DATE DISPLAY :
1) MARK : Deletes marked item in the list.
19
20


