35 Helvar 924 LCD TouchPanel: Installation and User Guide
Doc. 7860137,
issue 6, 2014-08-28
10.3 Editing a Sequence or Cycle
1. From Main Menu select the following:
2.
to display the Sequences and Cycles menu. Select the Sequence or Cycle to edit.
3. Select a Link to edit.
4.
to rename the Link. The first Link name is also used as the name for Sequence or Cycle.
5.
to set the Link Duration. This value determines how long this scene will remain in use until the next scene in the
Sequence or Cycle is selected. This setting is not available for the last Link in a Sequence because the scene
remains selected when the Sequence ends.
6.
to select a Fade Time to be used when the selected scene is called by another Link. This is not available in
Imagine Slave mode, or for the first scene in a Sequence.
7.
to save the changes.
When you create a Link, Fade Time defaults to Link Duration. This means that if Link Duration is 5 seconds,
then Fade Time will also be 5 seconds. You can make these values different if you wish.
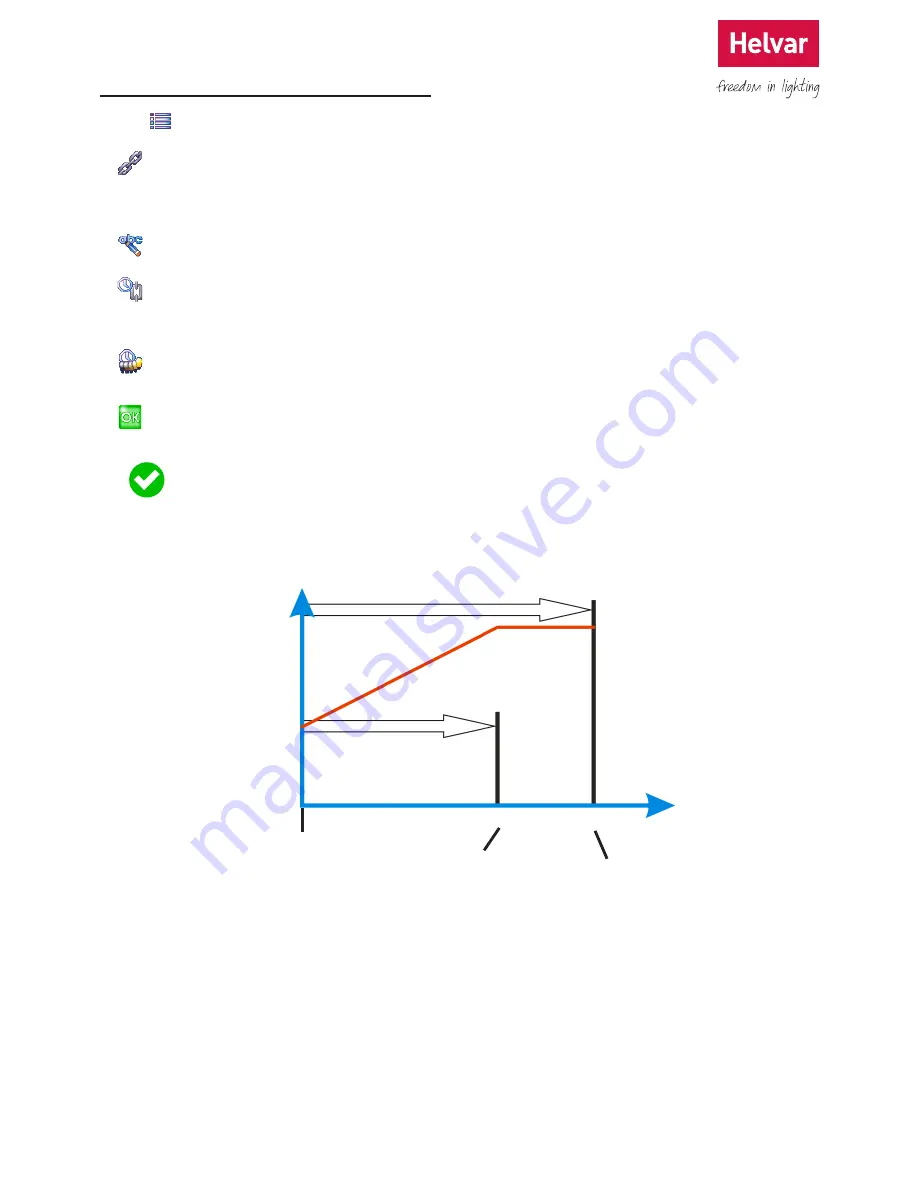
The example below shows the relationship between Fade Time and Link Duration, in a Link between Scene 1 and Scene 2
in a given Group.
In this example, the levels start at
50 %, and Scene 1 sets the levels
to 75 %. Fade Time is 20 seconds
and Link Duration is 30 seconds.
Link Duration
Level
75 %
25 %
Fade Time
Time
20 sec
30 sec
Scene 1
recalled
Scene 1 levels
reached
Scene 2
recalled
When Scene 1 is recalled, Fade
Time and Link Duration begin.
The relevant light levels fade for
20 seconds, changing from their
starting level to 75 %. The levels
then remain the same until the
end of Link Duration, when Scene
2 is recalled.
A simple lighting effect can
be achieved by setting Fade
Time and Link Duration the
same, causing the lights to fade
continuously from scene to scene.


