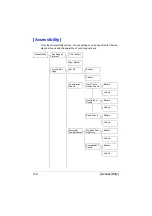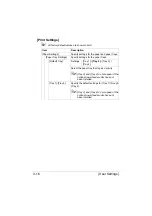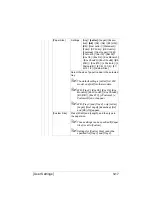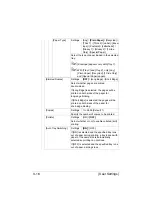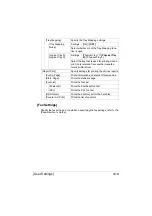
[Accessibility]
3-6
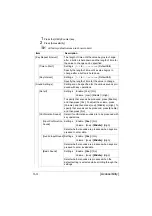
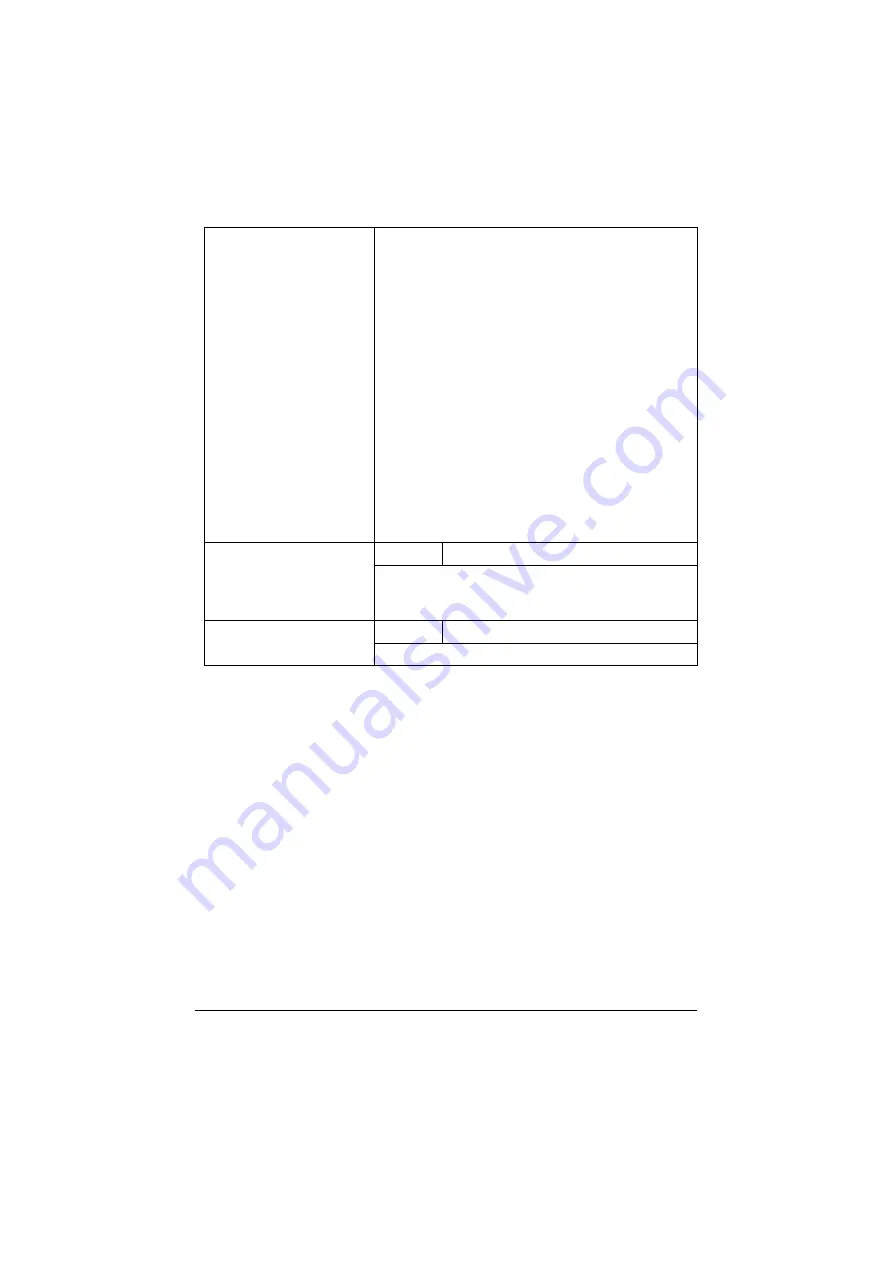
[Panel Adjust]
If the touch panel buttons do not respond correctly,
the position of buttons in the touch panel may not be
correctly aligned with the position of the actual touch
sensor and may need to be adjusted.
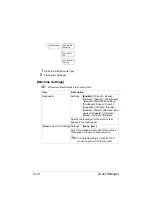
Press the four check points ([+]) in the touch
panel adjustment screen, making sure that a
sound is produced with each, and then press
the [Start] key.
The check points ([+]) can be pressed in any
order.
To reset the adjustment, press the [C] key, and
then press the four check points ([+]) again.
To cancel the touch panel adjustment, press the
[Stop] key.
If the touch panel cannot be adjusted, contact
the service representative.
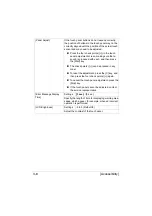
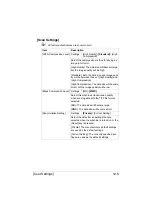
[Error Message Display
Time]
Settings
[3 sec.]
/ [5 sec.]
Specify the length of time for displaying warning mes-
sages, which appear, for example, when an incorrect
operation is performed.
[LCD Brightness]
Settings
-3 to 3 (Default:
0
)
Adjust the contrast of the touch panel.
Содержание ineo+35
Страница 1: ...Dynamic balance www develop eu ineo 35 User s Guide Printer Copier Scanner ...
Страница 2: ... ...
Страница 8: ...x 6 ...
Страница 18: ...Contents x 16 ...
Страница 19: ...1Introduction ...
Страница 32: ...Getting Acquainted with Your Machine 1 14 ...
Страница 33: ...2Control panel and touch panel screens ...
Страница 49: ...3Utility Settings ...
Страница 126: ... Admin Settings 3 78 ...
Страница 127: ...4Media Handling ...
Страница 164: ...Loading a Document 4 38 ...
Страница 165: ...5Using the Printer Driver ...
Страница 176: ...Using the Postscript PCL and XPS Printer Driver 5 12 ...
Страница 177: ...6Proof Print and Memory Direct functions ...
Страница 181: ...7Performing Copy mode operations ...
Страница 195: ...8Additional copy operations ...
Страница 199: ...9Scanning From a Computer Application ...
Страница 212: ...Using a Web Service 9 14 ...
Страница 213: ...10 1Scanning with the machine ...
Страница 248: ...Registering destinations 10 36 ...
Страница 249: ...Registering destinations 10 37 ...
Страница 250: ...Registering destinations 10 38 ...
Страница 251: ...11 Replacing Consumables ...
Страница 285: ...Replacing Consumables 11 35 7 Lift up the 2 levers 8 Remove the packing material 9 Push down the 2 levers ...
Страница 289: ...12 Maintenance ...
Страница 294: ...Cleaning the machine 12 6 3 Clean the media feed rollers by wiping them with a soft dry cloth 4 Close the tray ...
Страница 302: ...Cleaning the machine 12 14 ...
Страница 303: ...13 Troubleshooting ...
Страница 316: ...Clearing Media Misfeeds 13 14 4 Remove any misfed media 5 Close the ADF cover 6 Close the ADF feed cover ...
Страница 321: ...Clearing Media Misfeeds 13 19 5 Close the fuser unit cover 6 Push down the 2 levers 7 Close the right door ...
Страница 324: ...Clearing Media Misfeeds 13 22 3 Close the right door ...
Страница 348: ...Status error and service messages 13 46 ...
Страница 349: ...14 Installing Accessories ...
Страница 355: ...Appendix ...
Страница 361: ...Technical specifications A 7 Service Replaceable Item Average Life Expectancy Media feed roller 300 000 pages ...
Страница 364: ...Our Concern for Environmental Protection A 10 ...
Страница 368: ...Index A 14 W Waste toner bottle 1 4 WIA Driver 9 7 ...

