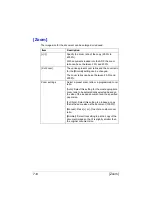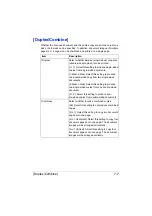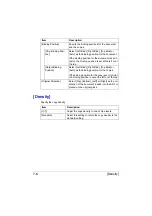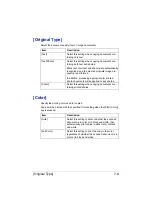
[Paper Margin]
7-13
"
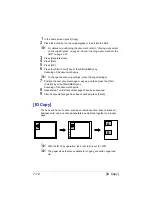
The card can only be placed on the original glass. Position the card to
be scanned aligned at the upper-left corner of the original glass. Since
the image is printed 4 mm from the top and left side, reposition the
card as necessary
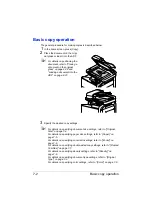
1
In the home screen, press [Copy].
2
Press [ID Copy].
3
Place the card, front side down, on the original glass.
"
For details on positioning the document, refer to “Placing a document
on the original glass” on page 4-36.
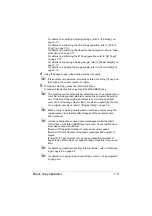
4
Press the [Start (Color)] key or the [Start (B&W)] key.
Scanning of the front side begins.
5
Position the card, back side down, at the same location on the original
glass.
"
To copy only the front side, press [Print].
6
Press the [Start (Color)] key or the [Start (B&W)] key.
Scanning of the back side begins.
The copy is fed out.
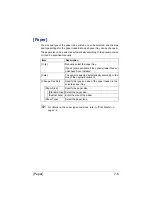
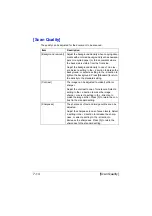
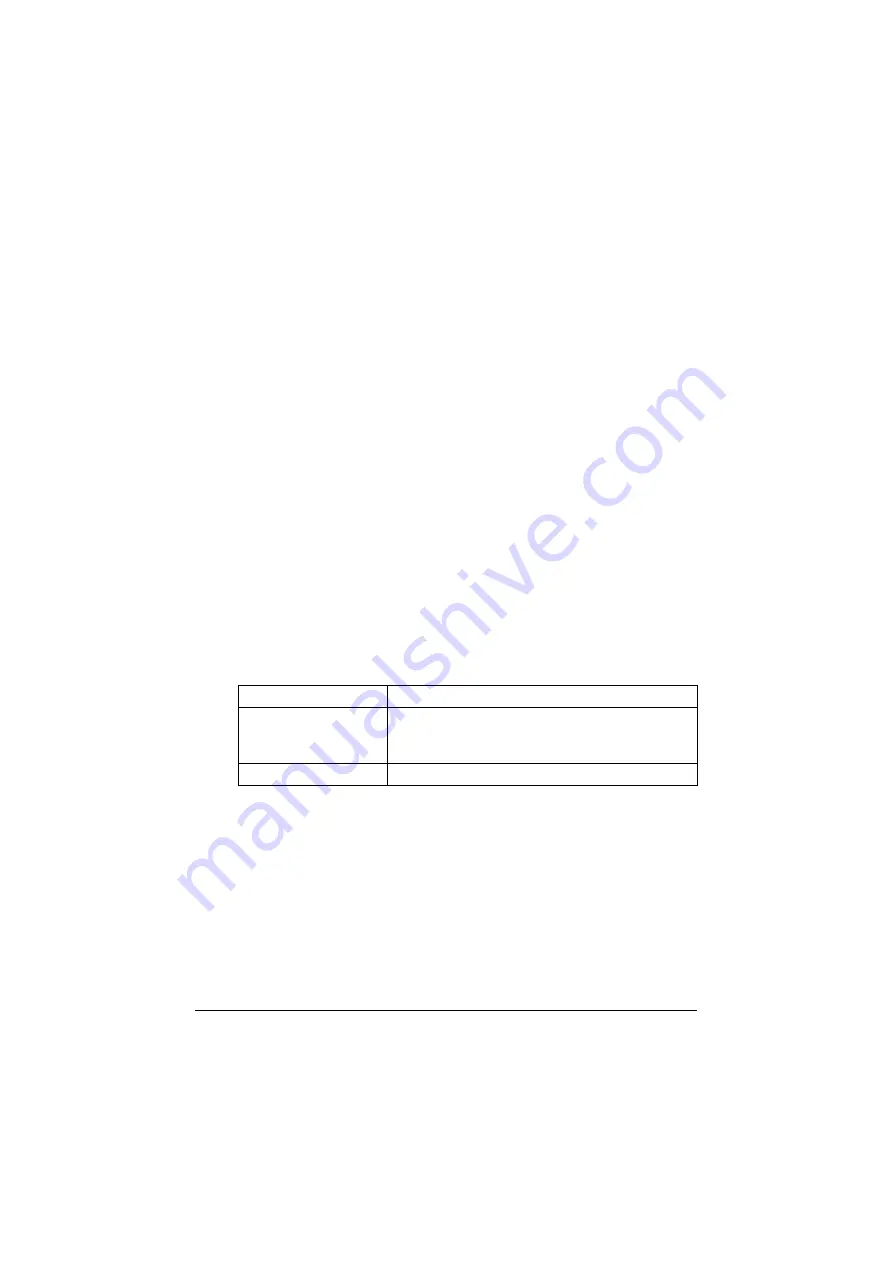
[Paper Margin]
Copies can be printed with a binding margin so they can easily be stored in
filing binders.
"
If part of the image is lost due to the binding margin setting, reduce the
zoom ratio before printing copies.
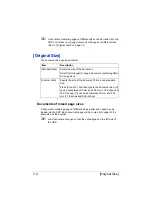
Item
Description
[+]/[-]
Specify the width of the binding margin between
0.1 mm and 20.0 mm (0.001 inches and 0.787
inches).
[None]
Select this setting to leave no binding margin.
Содержание ineo+35
Страница 1: ...Dynamic balance www develop eu ineo 35 User s Guide Printer Copier Scanner ...
Страница 2: ... ...
Страница 8: ...x 6 ...
Страница 18: ...Contents x 16 ...
Страница 19: ...1Introduction ...
Страница 32: ...Getting Acquainted with Your Machine 1 14 ...
Страница 33: ...2Control panel and touch panel screens ...
Страница 49: ...3Utility Settings ...
Страница 126: ... Admin Settings 3 78 ...
Страница 127: ...4Media Handling ...
Страница 164: ...Loading a Document 4 38 ...
Страница 165: ...5Using the Printer Driver ...
Страница 176: ...Using the Postscript PCL and XPS Printer Driver 5 12 ...
Страница 177: ...6Proof Print and Memory Direct functions ...
Страница 181: ...7Performing Copy mode operations ...
Страница 195: ...8Additional copy operations ...
Страница 199: ...9Scanning From a Computer Application ...
Страница 212: ...Using a Web Service 9 14 ...
Страница 213: ...10 1Scanning with the machine ...
Страница 248: ...Registering destinations 10 36 ...
Страница 249: ...Registering destinations 10 37 ...
Страница 250: ...Registering destinations 10 38 ...
Страница 251: ...11 Replacing Consumables ...
Страница 285: ...Replacing Consumables 11 35 7 Lift up the 2 levers 8 Remove the packing material 9 Push down the 2 levers ...
Страница 289: ...12 Maintenance ...
Страница 294: ...Cleaning the machine 12 6 3 Clean the media feed rollers by wiping them with a soft dry cloth 4 Close the tray ...
Страница 302: ...Cleaning the machine 12 14 ...
Страница 303: ...13 Troubleshooting ...
Страница 316: ...Clearing Media Misfeeds 13 14 4 Remove any misfed media 5 Close the ADF cover 6 Close the ADF feed cover ...
Страница 321: ...Clearing Media Misfeeds 13 19 5 Close the fuser unit cover 6 Push down the 2 levers 7 Close the right door ...
Страница 324: ...Clearing Media Misfeeds 13 22 3 Close the right door ...
Страница 348: ...Status error and service messages 13 46 ...
Страница 349: ...14 Installing Accessories ...
Страница 355: ...Appendix ...
Страница 361: ...Technical specifications A 7 Service Replaceable Item Average Life Expectancy Media feed roller 300 000 pages ...
Страница 364: ...Our Concern for Environmental Protection A 10 ...
Страница 368: ...Index A 14 W Waste toner bottle 1 4 WIA Driver 9 7 ...


