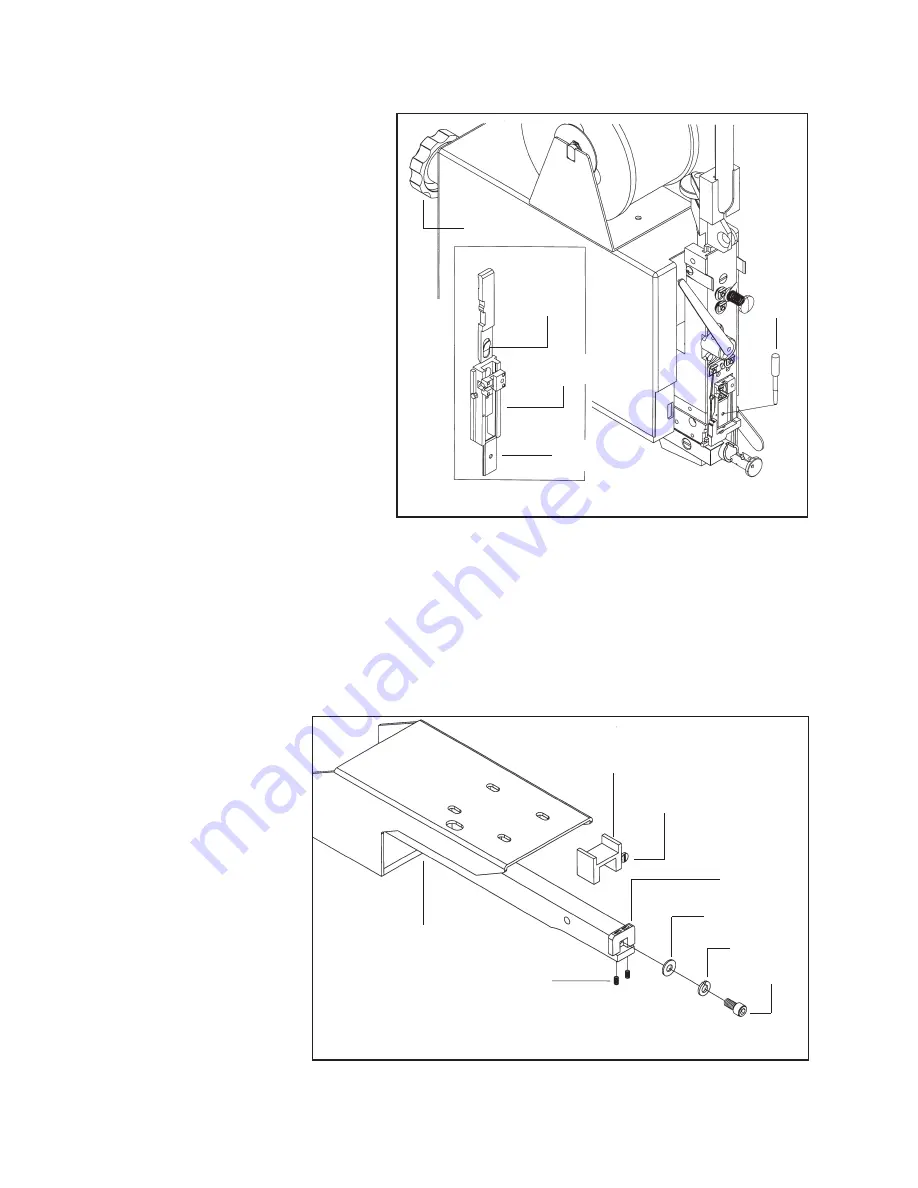
Changing the Solid Clincher (Figure 14)
When worn, the Solid Clincher (MG10178) will need to be replaced. Raise the plastic Head Guard
(PG10003) and loosen and
remove the Screw
(UA4808.3), the Lock
Washer (CB371A) and the
Plain Washer (PW10.3) so
that the Solid Clincher can
be removed from the
Clincher Arm. Replace the
Solid Clincher and loosely
secure it with the Washer
and Screw. There are two
(2) leveling Screws
(UA2804.6) which come
up through the bottom of
the Clincher Arm which
may have to be adjusted.
Manually turn the
20
Removing and Replacing the Driver
(Figure 13)
The Driver (9009-25 or 9009-21x25)
is also double-ended so that when it is
worn, it can be reversed to provide a
new driving surface and increase the
life of the part. The Driver can be
removed and replaced without having
to remove the Head from the
StitchMaster. Rotate the Shaft
Extension Handle (PG10211)
manually until the Driver is at the top
of its stroke. Insert the supplied Driver
Release Pin (5160) into the hole in the
Driver. This will depress the Driver
Retaining Spring (9010) so that you
will be able to push the Driver down
along the Bender Bar (9013BA-25 or
9013BA-21x25) until it can be pulled
out from the bottom of the Head.
Either reverse the existing Driver or replace it with a new one. Slide the Driver back up through the
Bender Bar until you hear the Driver Retaining Spring click, indicating that the Driver is in its cor
-
rect position.
Figure 13 - Replacing the Driver
PG10211
5160
9010
9013BA25 or
9013BA2125
9009-25 or
9009-21X25
Figure 14 - Changing the Solid Clinch
MG10176
UA2804.6 (2)
UA4808.3
CB371A
PW10.3
MG10170A
P2731
MG10178
Содержание IMSHP-A25
Страница 2: ...0...
Страница 28: ...26 The MiniStitcher...
Страница 29: ...27...
Страница 38: ...36 Face Plate Assembly CA9103C 2 CA9124 4 CA172 CA9065A CA9066A CA9098 CA9134 CA9103A CAA2132W CAAA2132W...
Страница 54: ...52 NOTES...
Страница 55: ...53...


