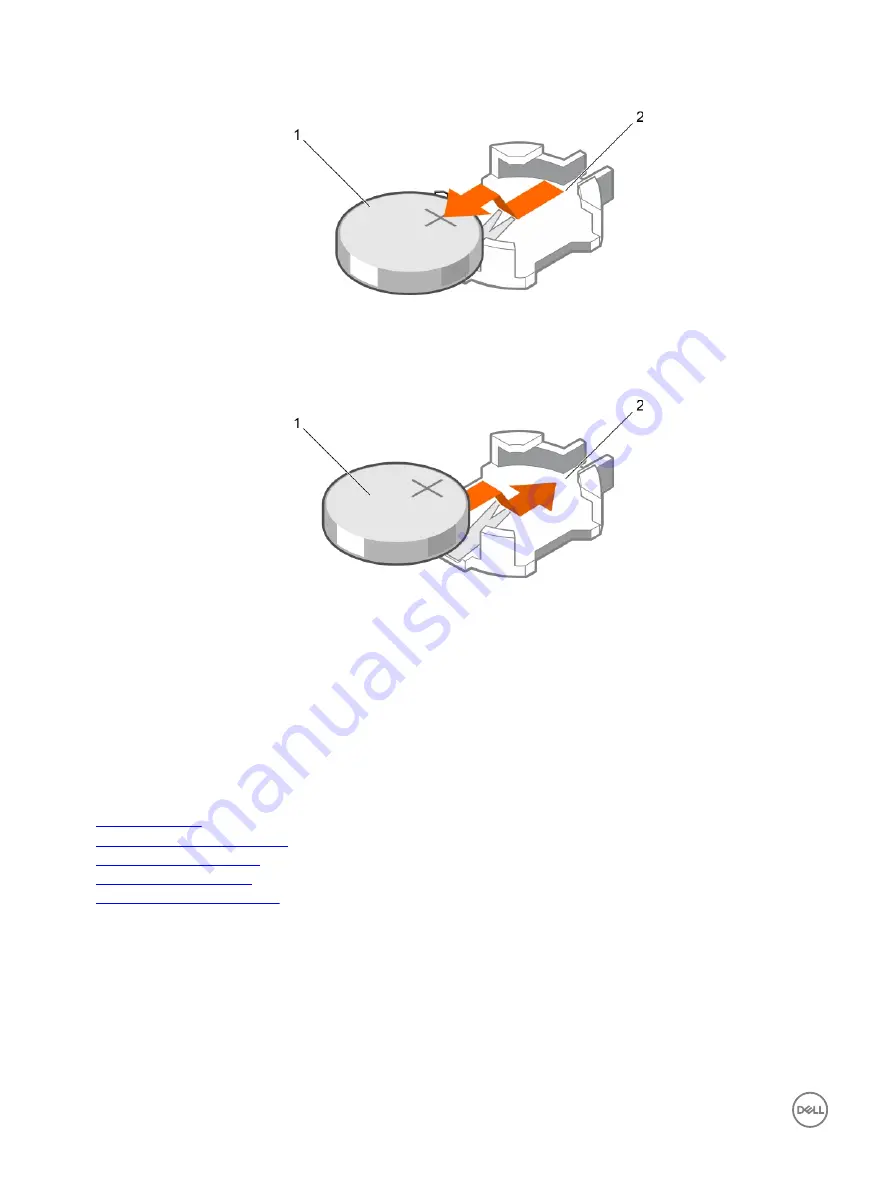
Figure 69. Removing the system battery
1.
system battery
2.
system battery slot
3.
To install a new system battery, hold the battery with the "+" facing up and slide it under the securing tabs.
4.
Press the battery into the connector until it snaps into place.
Figure 70. Installing the system battery
1.
system battery
2.
system battery slot
Next steps
1.
Install the cooling shroud.
2.
Follow the procedure listed in the After working inside your system section.
3.
While booting, press F2 to enter System Setup and ensure the battery is operating properly.
4.
Enter the correct time and date in the System Setup
Time
and
Date
fields.
5.
Exit System Setup.
Related links
Safety instructions
Before working inside your system
Removing the cooling shroud
Installing the cooling shroud
After working inside your system
Hard drives
Your system supports entry hard drives and enterprise-class hard drives. Entry hard drives are designed for 5x8 operating
environment with less workload rating to drives and enterprise-class drives are designed for 24x7 operating environment. Selecting
the correct drive class will enable the critical areas of quality, functionality, performance, and reliability to be optimized for the target
implementation.
128


