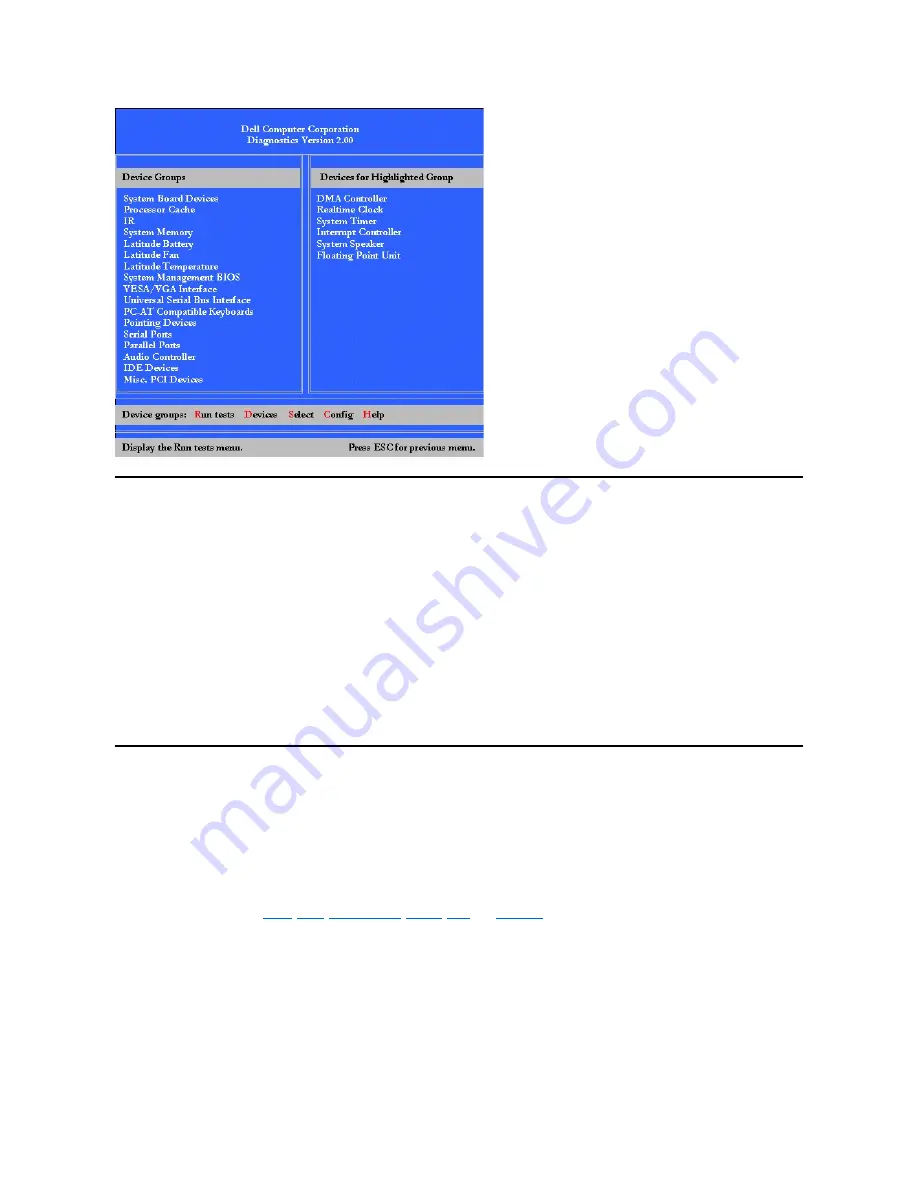
Confirming the System Configuration Information
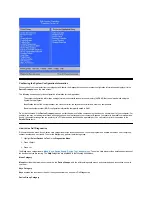
When you boot your computer from your diagnostics diskette, the diagnostics checks your system configuration information and displays it in the
Device Groups
area on the main screen.
The following sources supply this configuration information for the diagnostics:
l
The system configuration information settings (stored in nonvolatile random-access memory [NVRAM]) that you selected while using the
System Setup program
l
Identification tests of the microprocessor, the video controller, the keyboard controller, and other key components
l
Basic input/output system (BIOS) configuration information temporarily saved in RAM
Do not be concerned if the
Device Groups
area does not list the names of all the components or devices you know are part of your computer. For
example, you may not see a printer listed, although you know one is attached to your computer. Because your printer is a parallel communications
device, the computer recognizes the printer by its LPT1 address and identifies it as a parallel port. You can test your printer connection in the
Parallel Ports
tests.
How to Use Dell Diagnostics
Six comprehensive, menu-driven, online Help categories provide instructions on how to use the program and explain each menu item, test group,
subtest, and test and error result. To enter the
Help
menu, perform the following steps:
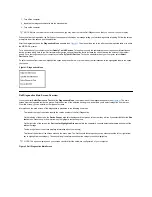
1. Highlight
Select Devices to Test
in the
Diagnostics
Menu
.
2. Press <Enter>.
3. Press <h>.
The
Help
menu categories are
Menu
,
Keys
,
Device
Group
,
Device
,
Test
, and
Versions
. The online Help also provides detailed descriptions of
the devices that you are testing. The
Help
categories are explained in the following subsections.
Menu Category
Menu
describes the main menu screen area, the
Device
Groups
, and the different diagnostic menus and commands and instructions on how to
use them.
Keys Category
Keys
explains the functions of the all of the keystrokes that can be used in Dell Diagnostics.
Device Group Category
Содержание Latitude CS
Страница 38: ......
Страница 43: ......
Страница 69: ...The S2D partition was successfully created Back to Contents Page ...


