background image

Copyright © 2008 – 2019 DARE!! International 

Page 6 


1.


Introduction 

1.1


Product Introduction 

The RadiSense 10 E-field sensor is the most accurate ultra-wideband sensor designed for electric 
field strength measurements. The sensor is small and fully optically isolated to minimize field 
perturbation.  
 
Applications for the E-field sensor are: 


Radiated immunity field monitoring 


Anechoic chambers calibration 


Field homogeneity measurements 


RF broadcast and welding radiation-hazard monitoring 


Long term field monitoring 


1.2


Related Products 


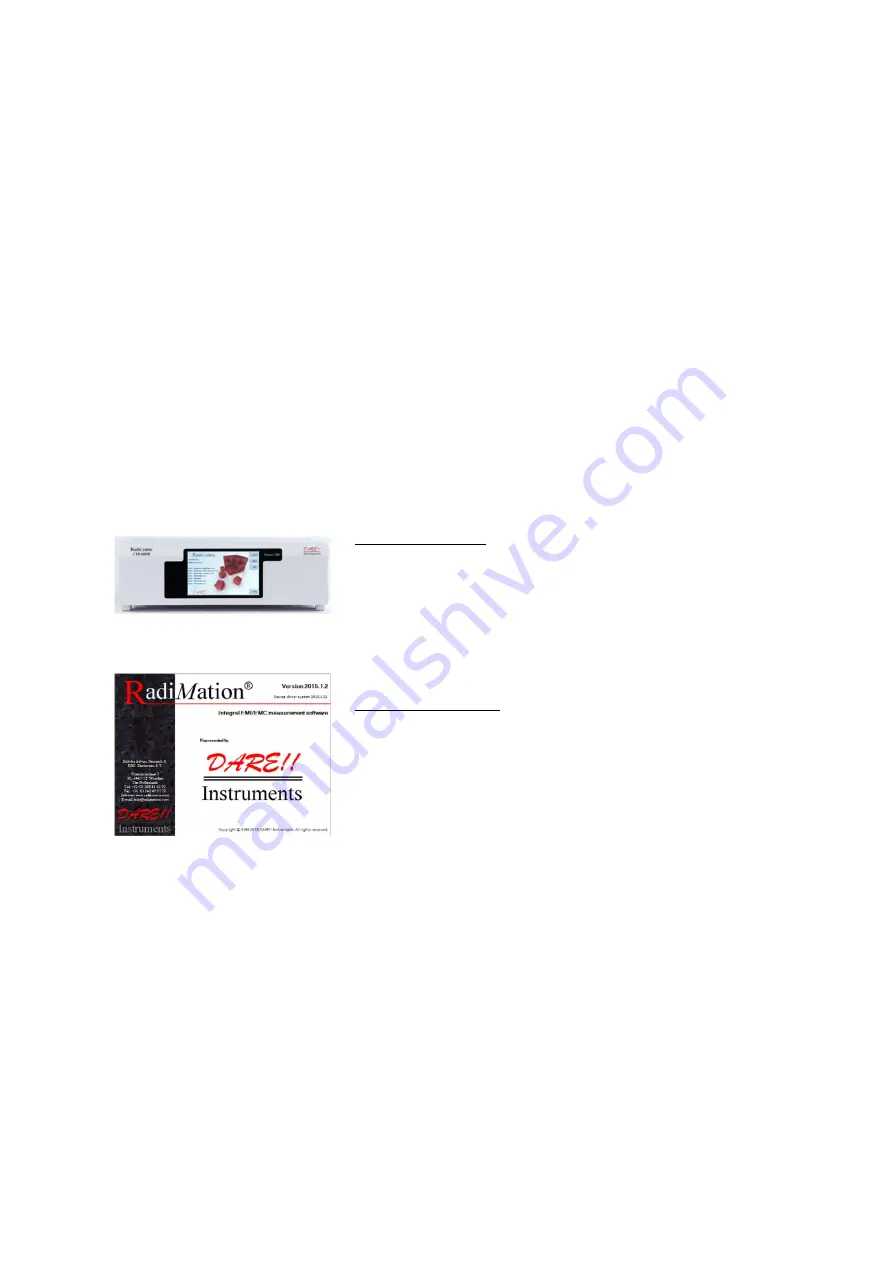
RadiCentre system 
The RadiCentre is a modular EMC test system that serves as 
the user and computer interface for all the RadiCentre plug-in 
cards and modules (such as the RadiSense field sensor). 


RadiMation software 

RadiMation is the EMC software package from DARE!! 
Instruments used for remote control and automated testing of 
the RadiCentre plug-in cards and modules (such as the 
RadiSense field sensor). 


Содержание RadiSense Series

Страница 1: ...ts dare eu DARE Products B V CoC number 30138672 VAT number NL8056 13 390 B01 Eori number NL805613390 Rabobank Utrechtse Waarden e o IBAN NL31RABO0158313585 SWIFT code RABONL2U RadiSense Product Manua...

Страница 2: ...rror codes We ask that you read both manuals carefully before operating your new product and adhere to any safety instructions it might contain A Quick Start Guide has been added to this product for y...

Страница 3: ...aintenance 12 2 7 Probe stand 14 3 Installation 16 3 1 Hardware Configuration 16 3 2 LASER code 17 3 3 Software Configuration 19 4 Using the RadiSense 23 4 1 Manual Control 23 5 RadiSense 10 User corr...

Страница 4: ...not use this card in combination with any other main frame The RadiSense contains materials that can be recycled and reused to minimize material waste At the end of life specialized companies can dism...

Страница 5: ...a safety precaution products that use a LASER can only be turned on using a LASER Code This code can be entered using the touchscreen of the RadiCentre system In combination with the RadiCentre CTR100...

Страница 6: ...ng Anechoic chambers calibration Field homogeneity measurements RF broadcast and welding radiation hazard monitoring Long term field monitoring 1 2 Related Products RadiCentre system The RadiCentre is...

Страница 7: ...accuracy As part of the ISO9001 quality procedure each RadiSense 10 field sensor is factory adjusted and verified where default linearity adjustment data is stored inside the RadiSense 10 field sensor...

Страница 8: ...y plug in card including small probe stand model PST2000A with 10 cm and 15 cm poles RadiSupply plug in card Model LPS2001B An electric field sensor plug in card to be used in the RadiCentre system Fi...

Страница 9: ...ith the original supplied or ordered fibres Do not use other fibres than those supplied by DARE Instruments Fibre extension cables with different lengths up to 100 meters are available on request Cont...

Страница 10: ...ure to direct or scattered radiation Assign a LASER safety officer in your company The LASER safety officer is responsible for reviewing the safety precautions Check and connect all fibre cables befor...

Страница 11: ...1 Press the Start button on the back panel of the RadiCentre and hold it for at least 3 seconds 2 Five loud beeps can be heard four short beeps followed by one long beep 3 On the fifth beep the LASER...

Страница 12: ...l wipes to clean it before usage Never drop the fibre connectors as this may damage the core surface Never bend the fibres exceed the minimum bend radius 5 cm as this will break the fibre core Never p...

Страница 13: ...nditions Use the examples and instructions in the following figure as a guideline for further fibre maintenance If you have doubts about the condition of the fibre optic cables please contact your loc...

Страница 14: ...3 feet can be screwed into the side of the base The probe stand can also be used without these feet Three poles with different size are delivered to mount the probe at either 50 mm 100 mm or 150 mm h...

Страница 15: ...easurements of electrical field with a known polarization the mounting angle can be used to position one axis of the RadiSense parallel to the field See right picture In most situations this is the wa...

Страница 16: ...and two at the bottom 3 Gently insert the plug in card into the slot of the RadiCentre and reinsert the four screws 4 Switch on the RadiCentre system The new plug in card will automatically be detect...

Страница 17: ...iCentre The hardware installation for the plug in card is now complete The user can control the plug in card either through the touchscreen on the RadiCentre system only available for the 2 and 7 slot...

Страница 18: ...n be changed by the customer in the main configuration screen see below To change the laser code the user will be asked to enter the current code once and the new code twice for confirmation Press Clo...

Страница 19: ...d If RadiMation software is used select the required device driver for the RadiSense 3 3 1 RadiMation Freeware driver 1 After the RadiMation software is installed and started select Devices in the men...

Страница 20: ...his example we use USB 5 To enable the USB communication make sure the RadiSense probe is connected to the PC USB port and press the Detect button After pressing Detect the Device Identifier ID will b...

Страница 21: ...rresponding slot number in which the RadiSense probe is installed In this example the probe is installed in slot number 4 8 Upon completion of the correct settings of the communication interface click...

Страница 22: ...ommunication can now be verified by clicking the Check button on the right 13 If all settings are correct the message The check for the device connection has passed will be shown If an error is shown...

Страница 23: ...started from the main window of the RadiCentre To activate the sensor press the Start button for the required sensor and within 4 seconds the ACK button A short sound will be audible until the safety...

Страница 24: ...zero the probe whenever the probe temperature changes by more than 5 degrees Celsius 4 1 3 Reading probe data Readings from the probe can be taken directly from the touchscreen display with the RadiM...

Страница 25: ...128 times depending on value 1 4 times average 2 8 times average 3 16 times average 4 32 times average 5 64 times average 6 128 times average Pressing the Zero button will arrange that the RadiSense...

Страница 26: ...orrection factors is that the data is in one place and making it easier to maintain the correct calibration information Apart from this the corrections can be applied to each individual axis instead o...

Страница 27: ...each other That can be done with references to the original data in the excel calibration file For example the following formulas can be used Frequency A14 1000000 A14 is the cell where the frequency...

Страница 28: ...This can be done using the following formula CONCAT AD14 AE14 AF14 AG14 AD14 must be the cell where the frequency is stored AE14 must be the cell where the CF of the X axis is stored AF14 must be the...

Страница 29: ...92 0 92 400000000 0 93 0 94 0 94 450000000 0 91 0 92 0 92 500000000 0 89 0 90 0 90 550000000 0 87 0 88 0 88 600000000 0 90 0 91 0 91 650000000 0 91 0 92 0 92 700000000 0 88 0 89 0 90 750 000000 0 90...

Страница 30: ...ection type Serial Then click on Open to open the serial port to the RadiSense 10 probe Type IDN and press ENTER The response should be D A R E RadiSense LPS2001B 2 0 7 Turn the laser ON Send the CALD...

Страница 31: ...0000000 0 95 0 97 0 96 200000000 0 95 0 96 0 96 250000000 0 94 0 95 0 95 300000000 0 93 0 93 0 93 350000000 0 91 0 92 0 92 400000000 0 93 0 94 0 94 450000000 0 91 0 92 0 92 500000000 0 89 0 90 0 90 55...

Страница 32: ...he table is programmed correctly into the RadiSense 10 probe by dumping the table Send the CALDUMP command The response should be the table which is programmed by the CALSTORE command Turn the correct...

Страница 33: ...e the following steps to create a correction file in RadiMation 5 2 1 Create a User correction file To create a new correction file first start RadiMation When RadiMation is started select File New Co...

Страница 34: ...ues or by using the Copy Paste function when calibration data is available as a Microsoft Excel file WARNING Make sure that the correction file contains Exactly and only the columns Frequency X axis c...

Страница 35: ...When opening the device driver settings for the RadiSense 10 probe in RadiMation the following screen shall be presented Click on the Advanced button to open the advanced configuration dialog for the...

Страница 36: ...is will start the uploading of the correction file into a RadiSense 10 probe which is connected Any returned errors during the programming of the user correction table into the probe will be displayed...

Страница 37: ...re used in the correction file Correction file is not found The selected correction file could not be found CAL Dump is not matching The uploaded correction file does not match the returned table from...

Страница 38: ...al Please note that every command must be terminated with a carriage return CR Example RadiCentre 2 7 To get a reading from the RadiSense card in slot 1 using the RadiCentre serial port or the GPIB po...

Страница 39: ...3 dB to 1 dB 1 dB to 1 5 dB 3 dB to 3 5 dB Isotropy 0 5 dB up to 1 GHz typical 0 25 dB 1 dB from 1 GHz up to 3 GHz 5 dB from 3 GHz up to 10 GHz Linearity 0 5 dB 0 5 V m Temperature error 23 C 5 C 0 1...

Страница 40: ...GHz 1 dB to 1 5 dB 3 dB to 3 5 dB Isotropy 0 5 dB up to 1 GHz typical 0 25 dB 1 dB from 1 GHz up to 3 GHz 5 dB from 3 GHz up to 10 GHz Linearity 0 5 dB 0 5 V m Temperature error 23 C 5 C 0 1 dB C aft...

Страница 41: ...GHz usable to 12 GHz Accuracy Frequency response 9 kHz to 10 GHz 1 dB Isotropy 0 25 dB up to 1 GHz 0 5 dB from 1 GHz up to 3 GHz 1 dB from 3 GHz up to 6 GHz 2 dB from 6 GHz up to 10 GHz Linearity 0 5...

Страница 42: ...GHz usable to 12 GHz Accuracy Frequency response 20 MHz to 10 GHz 1 dB Isotropy 0 25 dB up to 1 GHz 0 5 dB from 1 GHz up to 3 GHz 1 dB from 3 GHz up to 6 GHz 2 dB from 6 GHz up to 10 GHz Linearity 0...

Страница 43: ...ion with couplings Other lengths available on request Safety LASER product classification Class 1M according to EN 60825 1 and EN60825 2 Safety measures Code RadiCentre Remote interlock system RadiCen...

Страница 44: ...anty term The customer will need to cover the costs for returning the product to DARE such as shipping and or any applicable duties and taxes DARE Instruments will arrange the courier and cover the co...

Страница 45: ...ion EN 61326 1 2013 Class A1 Electrical equipment for measurement control and laboratory use Immunity EN 61326 1 2013 Industrial level performance criteria A Electrical equipment for measurement contr...

Отзывы: