37
Maintenance
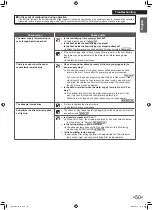
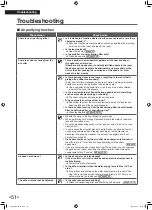
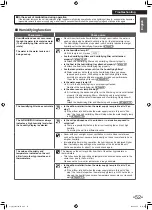
Maintenance
Water tank
Wash/Rinse
Inside the water tank
Every day for Humidifying Operation
CAUTION
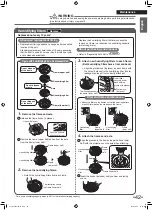
If the water tank lid was removed when cleaning, check that the rubber packing is properly attached to the lid. Attach the water
tank to the unit with the lid securely attached to the water tank.
(If the water tank is attached to the unit without the lid attached, it may close vigorously and pinch your fingers)
• Clean the water tank by shaking a small amount of water inside with the lid of the
water inlet closed. After washing, remove the lid of the water tank before discarding
the water.
• For areas with water scales, remove the water scales with a soft cloth or brush or
cotton bud soaked in lukewarm or room temperature water in which citric acid has
been dissolved.
(From the bottom of the water tank, push the valve part up and check the gap
around the valve, too)
Finally, rinse with water.
Water tank lid
Water
inlet lid
•
If dirt is difficult to remove, clean with a soft brush or diluted kitchen-use neutral
detergent and thoroughly rinse off the detergent so that no detergent remains.
If dirt has built-up in the metal filter of the water tank lid, remove it with a soft brush.
• From the bottom of the water tank, push the valve part up and check that the valve
moves smoothly.
• Do not apply excessive force when cleaning.
(Damage or deformation of the metal filter may result)
Metal filter
Attention
Be careful not to push the metal filter from the
reverse side while cleaning etc., as it may
become detached.
Do not push
metal filter
from reverse
side.
Wrong
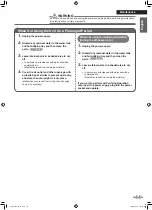
If the metal filter becomes detached, reattach
it in accordance with “If metal filter detaches
from water tank lid”.
►
Page 38
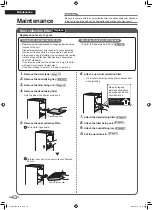
• If dirt is trapped in the valve inside the water tank, remove it with a cotton bud.
(If dust is trapped, it may cause water leakage)
After cleaning, fill the water tank with water and let it sit for a while (about 30 seconds)
to ensure there is no water leakage from the bottom of the tank.
Attention
Please heed the following 2 precautions
when cleaning the valve to reduce the risk of
water leakage:
Do not remove the
rubber valve.
Do not pull the valve
from the above; instead
push it from below
using your finger.
If the valve becomes detached, reattach it in
accordance with “If valve becomes detached
from the water tank”.
►
Page 38
01_EN_3P693798-1B.indd 37
2023/06/26 13:34:13
Содержание MCK70ZVM-W
Страница 114: ...57 MEMO 02_TR_3P693798 1B indd 57 2023 06 26 13 39 11...
Страница 115: ...58 02_TR_3P693798 1B indd 58 2023 06 26 13 39 11...

