xStack® DGS-3620 Series Managed Switch Web UI Reference Guide
414
The fields that can be configured are described below:
Parameter
Description
Mode
Use the drop-down menu to select that the MA will work in the CFM software or
hardware mode.
Software
- The MA works in CFM software mode. This is the default value.
Hardware
- The MA works in CFM hardware mode.
MIP
This is the control creation of MIPs.
None
- Don’t create MIPs.
Auto
- MIPs can always be created on any ports in this MA, if that port is not configured
with a MEP of that MA.
Explicit
- MIP can be created on any ports in this MA, only if the next existent lower
level has a MEP configured on that port, and that port is not configured with a MEP of
this MA.
Defer
- Inherit the setting configured for the maintenance domain that this MA is
associated with. This is the default value.
NOTE:
In CFM hardware mode, the default value is None.
SenderID
This is the control transmission of the sender ID TLV.
None
- Don’t transmit sender ID TLV. This is the default value.
Chassis
- Transmit sender ID TLV with chassis ID information.
Manage
- Transmit sender ID TLV with manage address information.
Chassis Manage
- Transmit sender ID TLV with chassis ID information and manage
address information.
Defer
- Inherit the setting configured for the maintenance domain that this MA is
associated with. This is the default value.
NOTE:
In CFM hardware mode, the default value is None.
CCM
This is the CCM interval.
3.3ms
- 3.3 milliseconds. This only works in CFM hardware mode.
10ms
- 10 milliseconds. This only works in CFM hardware mode.
100ms
- 100 milliseconds. Not recommended. For test purpose.
1sec
- One second.
10sec
- Ten seconds. This is the default value.
1min
- One minute.
10min
- Ten minutes.
MEP ID(s)
This is to specify the MEP IDs contained in the maintenance association. The range of
the MEP ID is 1-8191.
Add
- Add MEP ID(s).
Delete
- Delete MEP ID(s).
By default, there is no MEP ID in a newly created maintenance association.
Click the
Apply
button to accept the changes made.
After clicking the
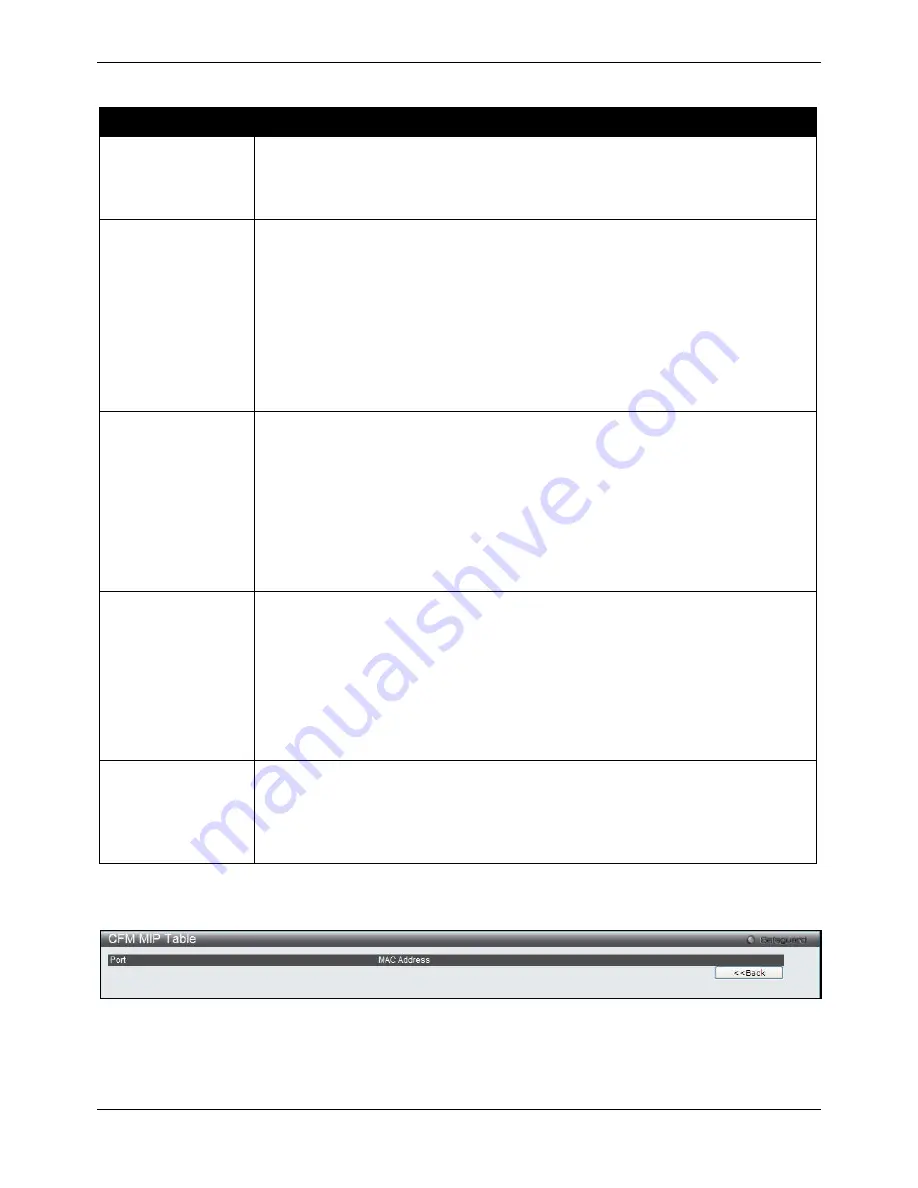
MIP Port Table
button, the following page will appear:
Figure 10-4 CFM MIP Port Table Window
Click the
<<Back
button to return to the previous page.
After clicking the
Add MEP
button, the following page will appear:
Содержание DGS-3620-28PC-EI
Страница 1: ......


