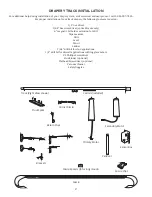
16
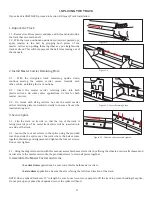
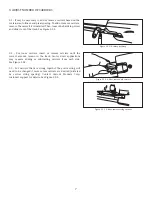
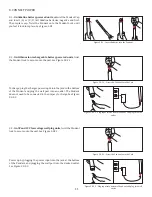
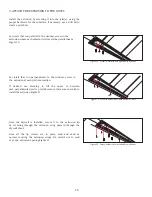
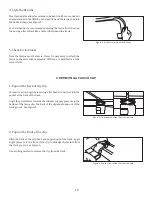
Figure 14 - Retain track in extrustion using temporary clips
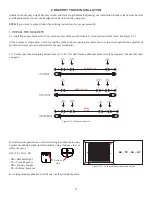
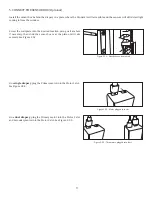
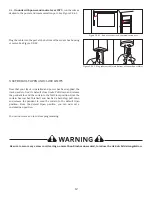
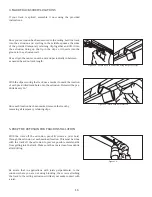
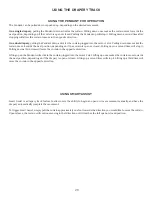
Figure 16 - Mark each hole location.
4.
MARK TRACK SCREW LOCATIONS
If your track is spliced, assemble it now using the provided
instructions.
Once your extrusion has been secured to the ceiling, hold the track
into the extrusion and, starting in the middle, squeeze the sides
of the
provided temporary retaining
clip together and lift it into
the extrusion, lining up the lip in the clip so it inserts into the
groove in the extrusion wall.
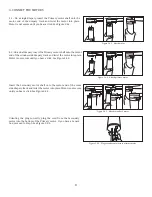
Use a clip in the center, on each end, and periodically in between
as needed based on track length.
With the clips securing the track, use a marker to mark the location
of each pre-drilled track hole onto the extrusion. Holes will be pre-
drilled every 36”.
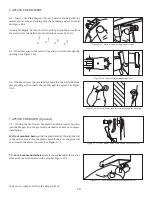
Once each location has been marked, remove the track by
removing all temporary retaining clips.
Figure 14 -
5.. PREP THE EX
T
USION FOR TRACK INSTALLATION
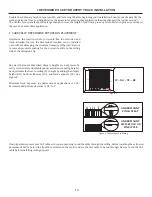
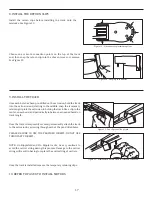
With the track off the extrusion, pre-drill (create a pilot hole)
through the extrusion at each marked location. This must be done
with the track off the extrusion to prevent possible metal shards
from getting into the track. Make sure the area is clean from debris
after drilling.
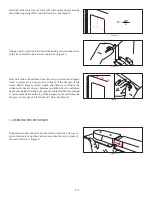
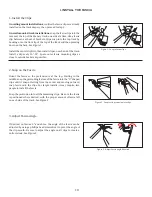
Be aware that in applications with joists perpendicular to the
window where you are not using blocking, the screws attaching
the track to the ceiling extrusion will likely not make contact with
a joist.

