5
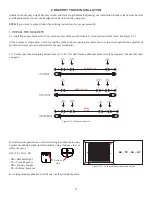
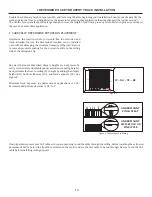
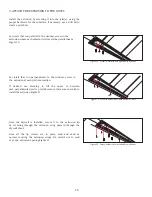
Figure 2.1.3- Be aware of pin setting differences
Be aware of the desired pin setting, as the track exposure may be
a negative number for front mount applications. See Figure 2.1.3.
Front Mount
Pinch Pleat
Under Mount
Pinch Pleat
Pin Ripple
Ripplefold
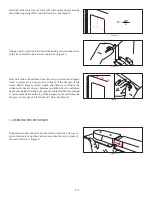
Pro Tip:
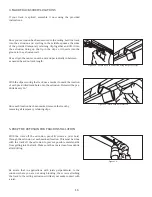
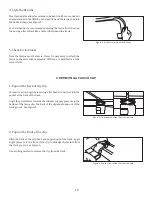
Use a laser level to make sure the brackets are installed in a straight line for both ceiling and wall mount applications.
Figure 2.1.4
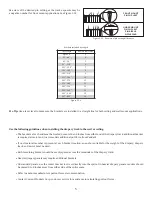
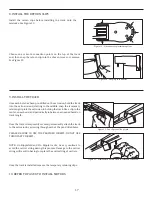
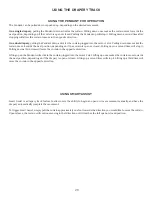
Use the following guidelines when installing the drapery track to the wall or ceiling.
Brackets Included by Length
Track Length
Number of Brackets
Up to 30"
31" - 60"
61" - 90"
91" - 120"
121" - 150"
151" - 180"
181" - 210"
211" - 240"
3
4
5
6
7
8
9
10
241" - 270"
271" - 300"
301" - 330"
11
12
13
331" - 360"
361" - 396"
14
15
397" - 432"
16
The brackets at each end must be located no more than 6 inches from either end of the drapery track, additional bracket
is required at motor end to accomodate additional pull force from Pendant.
If no structural member is present at each bracket location, an anchor suitable for the weight of the drapery, drapery
track, and motor must be used.
Each remaining bracket should be evenly spaced across the remainder of the drapery track.
Heavier drapery panels may require additional brackets.
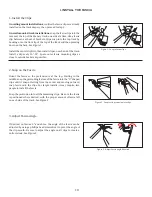
On standard panels, use the center bracket to screw directly into the splice. On heavier drapery panels, mounts should
be placed 6 to 8 inches away from either side of the splice seam.
Refer to anchor manufacturers pull out forces recommendation.
Contact Current Products Corp. customer service for assistance in calculating pull out forces.


