LINC PAN0RAY
LINC PAN0RAY
80
81
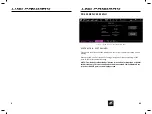
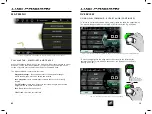
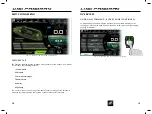
MAP MENU
MINI MAP TAB
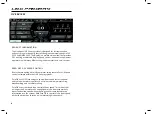
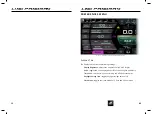
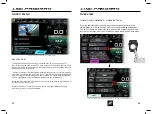
The Map Menu displays an overhead map of the boat, represented by a green
boat icon, and shows surrounding bodies of water. Latitude and Longitude
coordinates are displayed at the bottom of the pages in the gray transparent box.
Also, a scale bar is shown in the lower left corner of the page to reference scale of
land masses and bodies of water.
The Mini Map tab contains four mapping functions:
Enable Joystick
- if selected, enables the operator to move around the
map by moving the Helm Command knob like a joystick. The operator
can joystick in four directions: up, down, left, and right
Course Up/North Up
- toggles orientation of the map. Course Up will
rotate the map according to where the front of the boat is pointed to.
North Up will always orient the map to where North is at the top of the
screen.
Zoom In (plus sign)
- Zooms in on the map
Zoom Out (minus sign)
- Zooms out on the map
FIG. K1 - MINI MAP ON THE MAP MENU
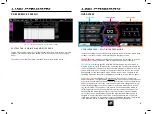
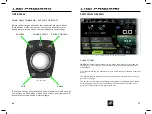
MAP MENU
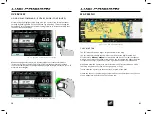
FULL MAP TAB
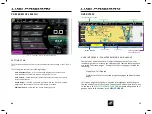
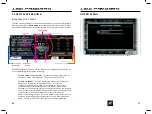
The Full Map tab shows a larger, fullscreen view of the map.
The Full Map tab includes the same four functions as the Mini Map tab, but
also features a
slideout window
for waypoints and tracks. To view the slideout
window, either press the yellow arrow icon on the screen (on the right side of the
screenshot above) or joystick over to the right with the Helm Command knob
Waypoints allow the operator to mark certain areas of interest with one of the
four map waypoint icons (fish, anchor, gas pump, or flag).
Tracks allow the operator to save the track, or path, of the boat.
Please see the next couple of pages to learn about the operation of the slideout
menu, waypoints, and tracks on the full map tab.
FIG. K2 - FULL MAP ON THE MAP MENU
LINC PAN0RAY
LINC PAN0RAY
16
17
OVERVIEW
OVERVIEW
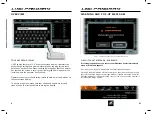
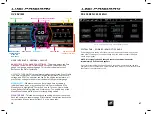
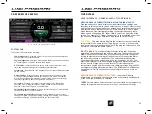
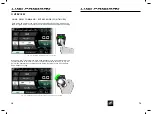
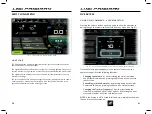
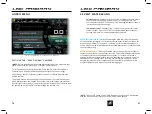
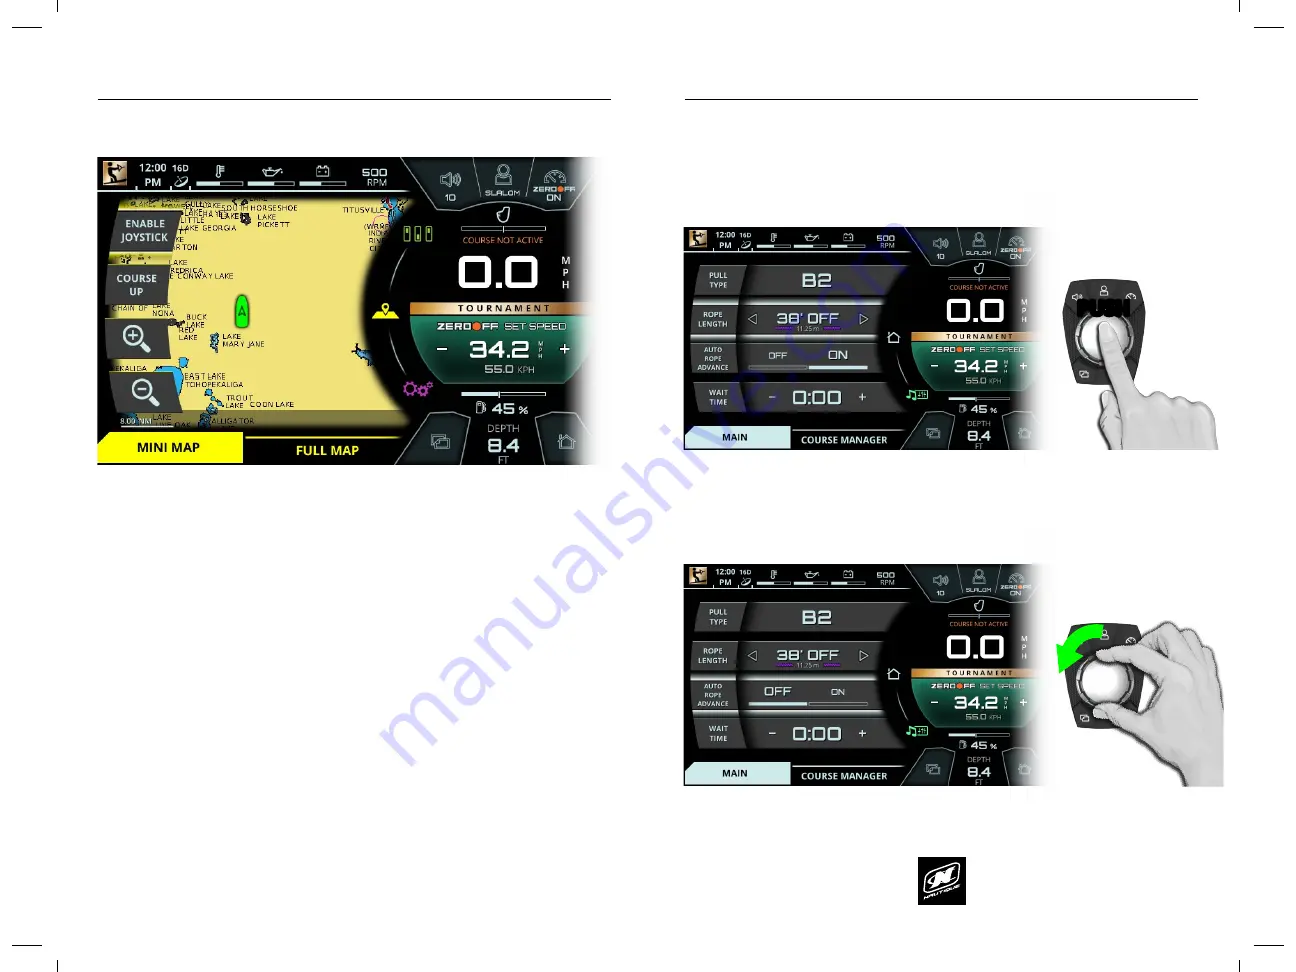
When a setting is selected, simply rotate clockwise or counter-clockwise to
increase or decrease that setting. In Fig. A5 below, the operator has rotated
counter-clockwise twice to change the Rope Length setting to 38 feet off (or 14.25
meters in total length).
USING HELM COMMAND - ROTARY KNOB (CONTINUED)
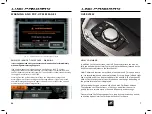
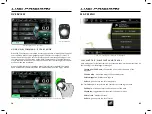
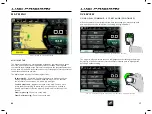
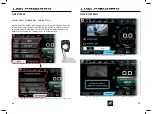
After moving the highlight to the page area, the operator can select functions/
settings by pushing down on the knob. (see Fig. A4 below). This will change the
background color behind the function/setting to white to increase visibility over
the other functions/settings.
USING HELM COMMAND - ROTARY KNOB (CONTINUED)
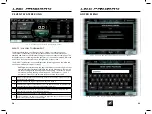
When the operator is comfortable with where the setting is at, he/she may push
down on the knob to de-select from the setting (see Fig, A6 below).
The operator may now rotate the knob to highlight another setting. In the image
below (Fig. A7) the operator has rotated counter-clockwise once to highlight the
Auto Rope Advance setting.
FIG. A5 - ROTATING TO CHANGE A SETTING
FIG. A4 - PUSHING DOWN TO SELECT A SETTING
FIG. A6 - PUSHING DOWN TO DE-SELECT A SETTING
FIG. A7 - ROTATING COUNTER-CLOCKWISE TO HIGHLIGHT A DIFFERENT SETTING
PUSH
PUSH

