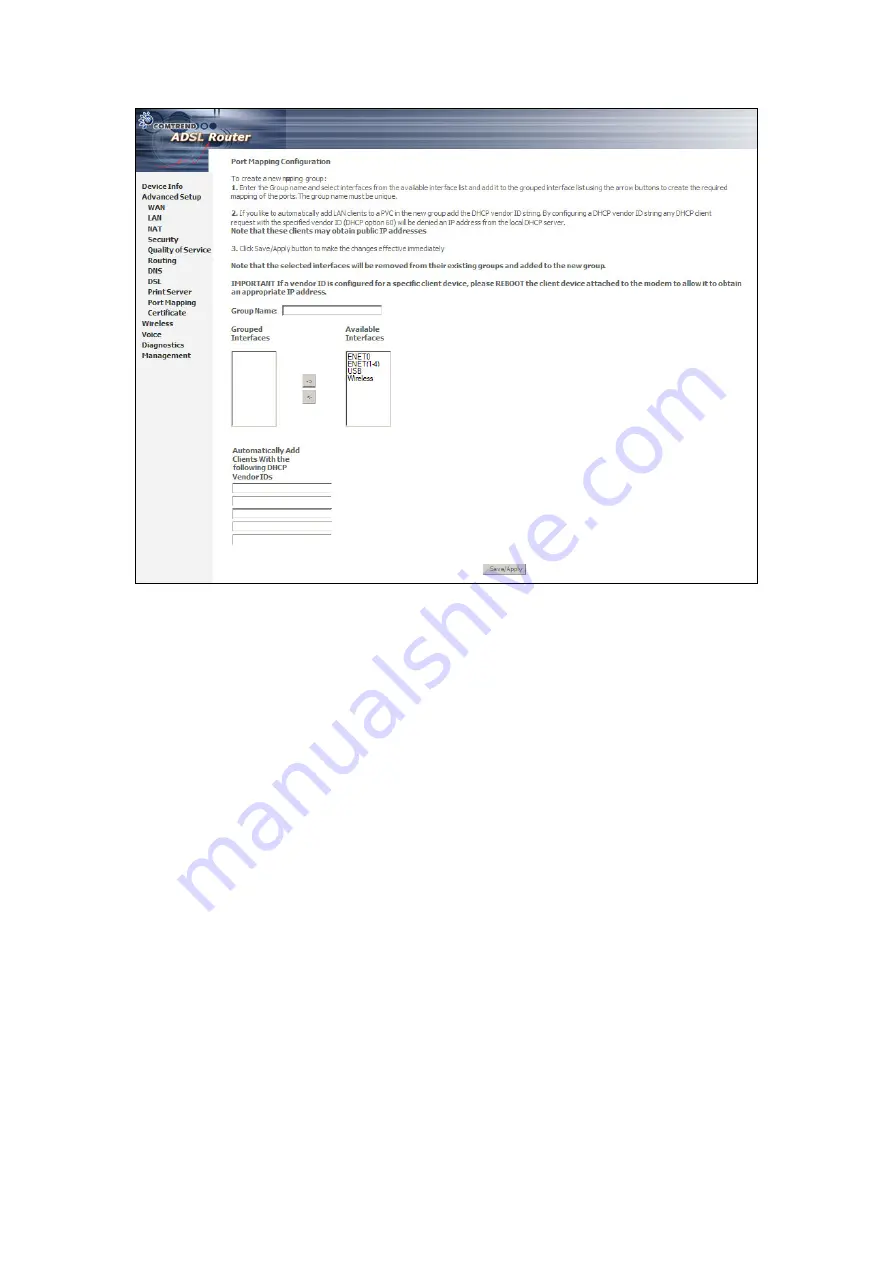
To create a group from the list, first enter the group name and then select from the
available interfaces on the list.
Automatically Add Clients With the Following DHCP Vendor IDs:
Add support to automatically map LAN interfaces including Wireless and USB to
PVC's using DHCP vendor ID (option 60). The local DHCP server will decline and
send the requests to a remote DHCP server by mapping the appropriate LAN
interface. This will be turned on when PortMapping is enabled.
There are 4 PVCs (0/33, 0/36, 0/37, 0/38). VPI/VCI=0/33 is for PPPoE and the
others are for IP set-top box (video). The LAN interfaces are ENET1, ENET2, ENET3,
ENET4, Wireless and USB.
Port mapping configuration is:
1. Default: ENET1, ENET2, ENET3, ENET4, Wireless and USB.
2. Video: nas_0_36, nas_0_37 and nas_0_38. The DHCP vendor ID is "Video".
The CPE deco server is running on "Default". And ISP's deco server is running on
PVC 0/36. It is for set-top box use only.
On the LAN side, the PC can get IP address from CPE deco server and access the
Internet via PPPoE (0/33).
If the set-top box was connected with interface "ENET1" and send a deco request
with vendor id "Video", the CPE deco server would forward this request to ISP's deco
server. Then the CPE will change the PortMapping configuration automatically.
The PortMapping configuration would become:
1. Default: ENET2, ENET3, ENET4, Wireless and USB.
2. Video: nas_0_36, nas_0_37, nas_0_38 and ENET1.
76
Содержание CT-6373
Страница 1: ...CT 6373 Wireless Multi DSL VoIP WLAN IAD User Manual Version A2 0 October 7 2009 261082 003...
Страница 16: ...15...
Страница 17: ...STEP 7 Click the Finish button when the window displays as below STEP 8 Installation is complete 16...
Страница 40: ...Front Panel LED Indicators 39...
Страница 41: ...Chapter 5 Device Info Select Device Info from the main menu to display Summary information as below 40...
Страница 49: ...5 3 Route 5 4 ARP 48...
Страница 50: ...5 5 DHCP 49...
Страница 56: ...55...
Страница 113: ...Step 7 Select driver file directory on CD ROM and click OK 112...
Страница 115: ...Step 11 Check the status of printer from Windows Control Panel printer window Status should show as Ready 114...


