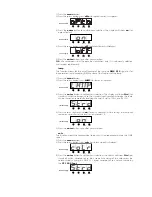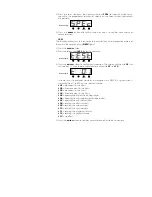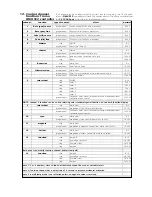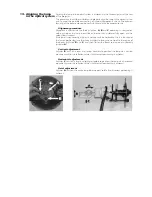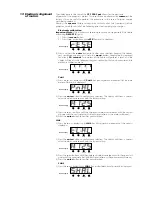
2) Press the
enter
button to confirm your selection. The display will show a numeri-
cal value which corresponds with the factory setting.
3) Press the
+
or
-
buttons until the displayed number corresponds with the correct
alignment of the black-out shutter in the optical path of the projector (note that
with each press of
+
or
-
the black-out shutter will move).
4) Press the
enter
button to confirm your selection.
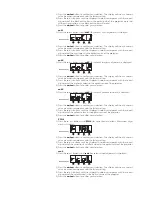
coL1
1) Press the
+
or
-
buttons until
coL1
(for colour 1 cyan alignment) is displayed.
2) Press the
enter
button to confirm your selection. The display will show a numeri-
cal value which corresponds with the factory setting.
3) Press the
+
or
-
buttons until the displayed number corresponds with the correct
alignment of the cyan colour in the optical centre of the projector
4) Press the
enter
button to confirm your selection.
coL2
1) Press the
+
or
-
buttons until
coL2
(for colour 2 magenta alignment) is displayed.
2) Press the
enter
button to confirm your selection. The display will show a numeri-
cal value which corresponds with the factory setting.
3) Press the
+
or
-
buttons until the displayed number corresponds with the correct
alignment of the magenta colour in the optical centre of the projector
4) Press the
enter
button to confirm your selection.
coL3
1) Press the
+
or
-
buttons until
coL3
(for colour 3 yellow alignment) is displayed.
2) Press the
enter
button to confirm your selection. The display will show a numeri-
cal value which corresponds with the factory setting.
3) Press the
+
or
-
buttons until the displayed number corresponds with the correct
alignment of the yellow colour in the optical centre of the projector
4) Press the
enter
button to confirm your selection.
F1AL
1) Press the
+
or
-
buttons until
FIAL
(for correction and effects filter wheel align-
ment) is displayed.
2) Press the
enter
button to confirm your selection. The display will show a numeri-
cal value which corresponds with the factory setting.
3) Press the
+
or
-
buttons until the displayed number corresponds with the correct
alignment of the correction and effects wheel in the optical centre of the projector
4) Press the
enter
button to confirm your selection.
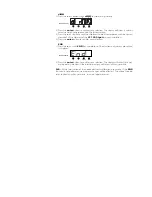
rcoL
1) Press the
+
or
-
buttons until
rcoL
(for colour wheel alignment) is displayed.
2) Press the
enter
button to confirm your selection. The display will show a numeri-
cal value which corresponds with the factory setting.
3) Press the
+
or
-
buttons until the displayed number corresponds with the correct
alignment of the colour wheel in the optical centre of the projector
4) Press the
enter
button to confirm your selection.
function display
menu
+
-
enter
function display
menu
+
-
enter
function display
menu
+
-
enter
function display
menu
+
-
enter
function display
menu
+
-
enter

