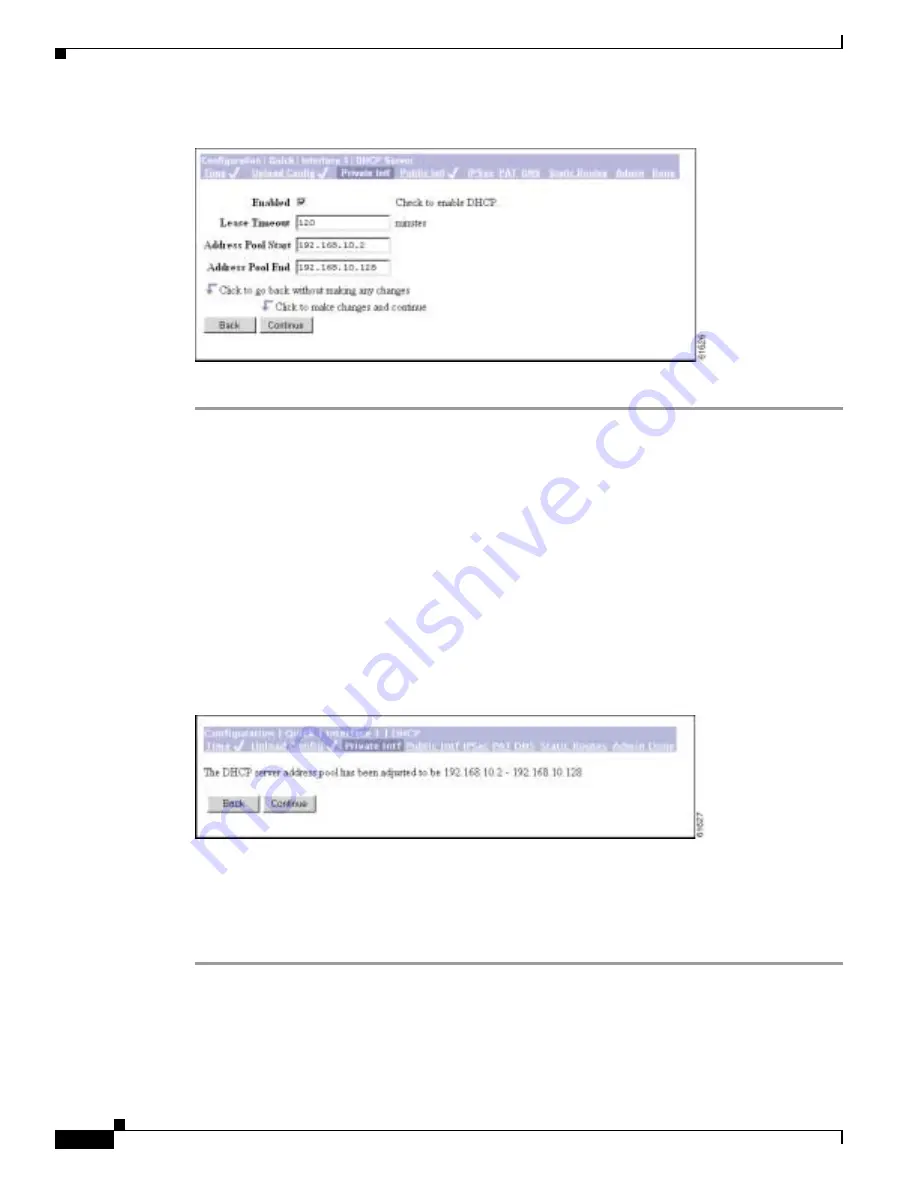
3-8
VPN 3002 Hardware Client Getting Started
OL-2854-01
Chapter 3 Using the VPN 3002 Hardware Client Manager for Quick Configuration
Configuring the Private Interface
Figure 3-8
Configuration | Quick | Private Interface | DHCP Server Screen
Step 1
Check the Enabled box to enable DHCP services for this interface.
Step 2
In the Lease Timeout field, enter the amount of time, in minutes, that DHCP clients own the IP address
the DHCP server assigns. The minimum is 5, maximum is 500,000 and default is 120 minutes.
The Lease Timeout period you configure applies only when the tunnel to the VPN Concentrator is
established. When the tunnel is not established, the Lease Timeout period is 5 minutes.
Step 3
In the Address Pool Start/End fields enter the range of IP addresses that this DHCP server can assign,
using dotted decimal notation (for example, 10.10.99.51 - 10.10.99.178). Be sure no other device is
using these addresses on the network. The default address pool is 127 IP addresses, and the start of the
range is next IP address after that of the private interface. You can configure another range of IP
addresses for the pool, but in no case can the pool have more than 127 addresses.
Step 4
Click Continue to save your changes.The Manager displays the Configuration | Quick |
Private Interface | DHCP server address pool screen.
Figure 3-9
Configuration | Quick | Private Interface | DHCP Server Address Pool Screen
This screen confirms the DHCP server address pool range you entered.
Step 5
Click Continue to apply your choice and proceed. Click Back to return to the Configuration | Quick |
Private Interface | DHCP Server screen.
Step 6
You might need to restart the Manager and quick configuration from the login screen.


