3-4
VPN 3002 Hardware Client Getting Started
OL-2854-01
Chapter 3 Using the VPN 3002 Hardware Client Manager for Quick Configuration
Setting the Time and Date
If you make a mistake and see an Error screen with the message, “An error has occurred while attempting
to perform the operation,” and you return to the screen where you were working, carefully check all your
previous entries on that screen. The Manager attempts to retain valid entries, but invalid entries are lost.
See
Appendix A, “Troubleshooting and System Errors”
for more details.
Do not use the browser navigation toolbar buttons Back, Forward, or Refresh / Reload with the VPN
3002 Hardware Client Manager unless instructed to do so. To protect access security, clicking Refresh /
Reload automatically logs out the Manager session. Clicking Back or Forward may display stale
Manager screens with incorrect data or settings. We recommend that you hide the browser navigation
toolbar to prevent mistakes while using the VPN Hardware Client Manager.
Setting the Time and Date
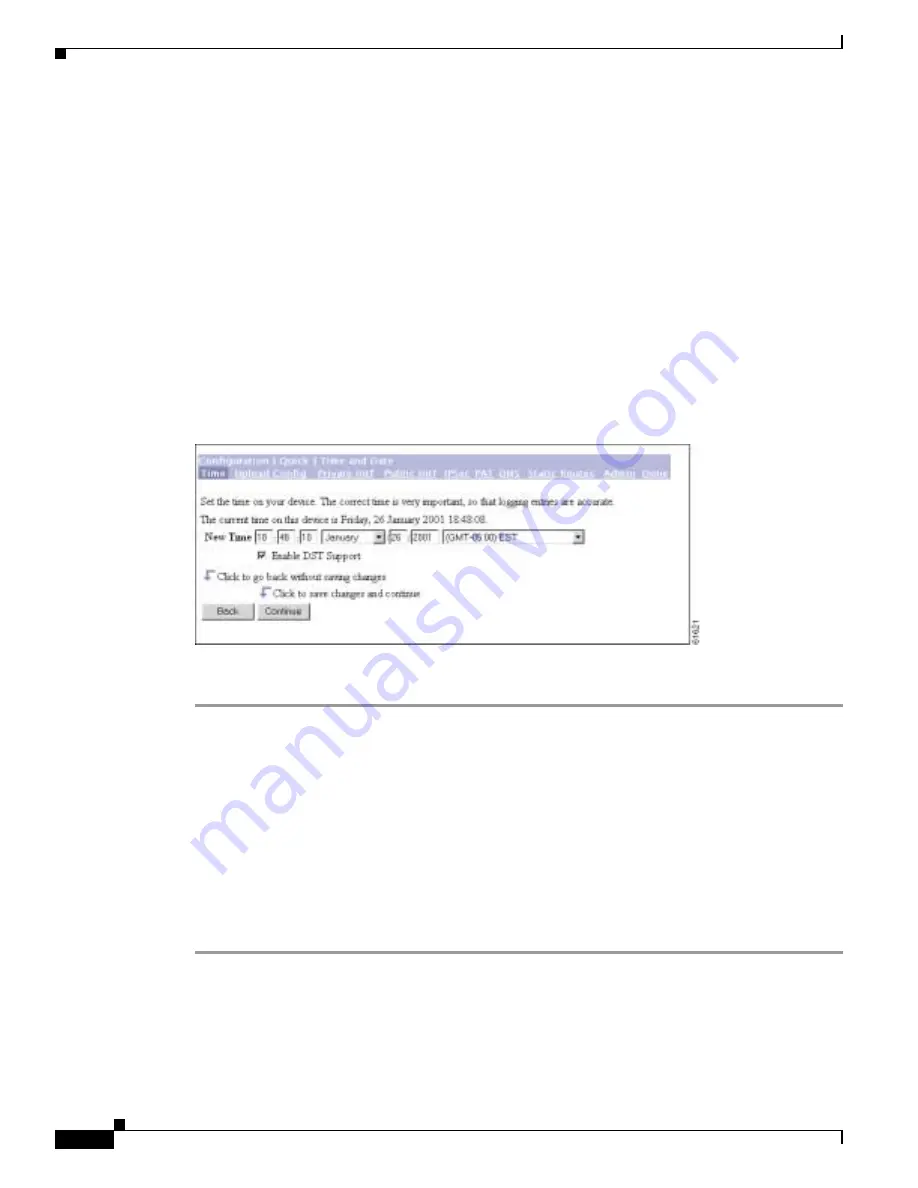
The Manager displays the Configuration | Quick | Time and Date screen.
Figure 3-3
VPN 3002 Configuration | Quick | Time and Date Screen.
This screen lets you set the time and date on this device.
Step 1
The screen shows the current time and date on the device. The values in the New
Time fields are the time
on the browser PC, but any entries you make apply to the VPN 3002.
–
Use the pull-down menus to make any changes. The fields are, in order: Hour : Minute :
Second AM/PM Month / Day / Year Time Zone.
–
The time zone selections are offsets in hours relative to Greenwich Mean Time (GMT), which
is the basis for Internet time synchronization. Enter the Year as a four-digit number.
–
To enable DST Support, check the box. During Daylight-Saving Time (DST), clocks are set one
hour ahead of standard time. Enabling DST support means that the VPN 3002 automatically
adjusts the time zone for DST or standard time. If your system is in a time zone that uses DST,
you must enable DST support.
Step 2
Click Continue to save your changes and proceed with quick configuration.


