3-7
VPN 3002 Hardware Client Getting Started
OL-2854-01
Chapter 3 Using the VPN 3002 Hardware Client Manager for Quick Configuration
Configuring the Private Interface
Configuration | Quick | Private Interface | Address
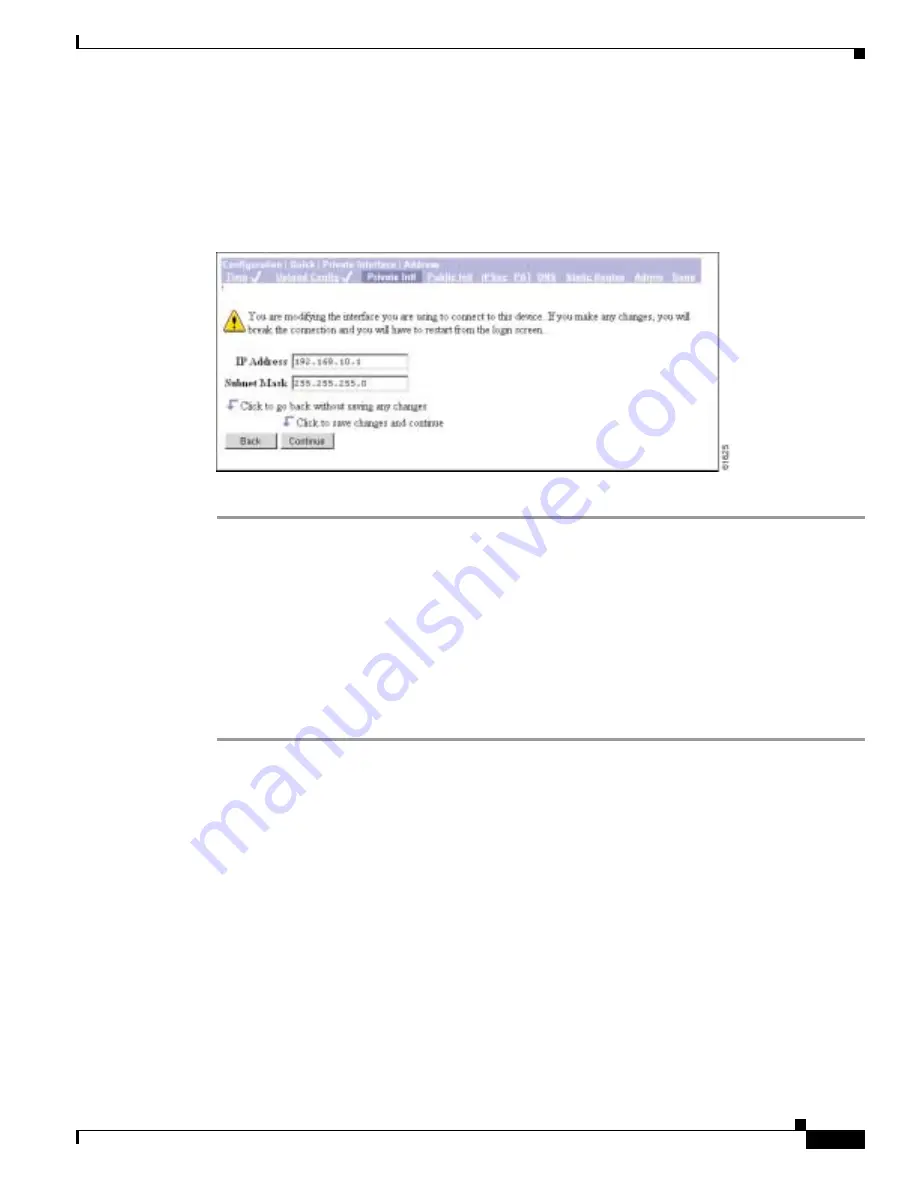
The Configuration | Quick | Private Interface | Address screen lets you enter a new IP address and subnet
mask for the private interface.
Figure 3-7
Configuration | Quick | Private Interface | Address Screen
Step 1
In the IP Address field, enter the IP address for this interface, using dotted decimal notation (for
example,
192.168.12.34
). Be sure no other device is using this address on the network.
Step 2
In the Subnet Mask field, enter the subnet mask for this interface, using dotted decimal notation (for
example,
255.255.255.0
). The Manager automatically supplies a standard subnet mask appropriate for
the IP address you just entered. For example, an IP address of
192.168.12.34
is a Class C address, and
the standard subnet mask is
255.255.255.0
. You can accept this entry or change it.
Step 3
Click Continue to save your changes. You must now restart the Manager and quick configuration from
the login screen.
Click Back if you don’t want to save your changes. You return to the Configuration | Quick | Private
Interface screen.
Configuration | Quick | Private Interface | DHCP Server
The Configuration | Quick | Private Interface | DHCP Server screen lets you enable and configure the
VPN 3002 to serve as a Dynamic Host Configuration Protocol (DHCP) server for the private network.
The DHCP server for the Private interface lets IP hosts in its network automatically obtain IP addresses
from a limited pool of addresses for a fixed length of time, or lease period. Before the lease period
expires, the VPN 3002 displays a message offering to renew it. If the lease is not renewed, the connection
terminates when the lease expires, and the IP address becomes available for reuse. Using DHCP
simplifies configuration since you do not need to know what IP addresses are considered valid on a
particular network.


