Page 26 of 53
Operation
VIP Drive 10-5 Nova User Manual Rev. 1
Vertical Offset
This setting defines the vertical placement of the panels connected to the selected port.
1. Access and enable the
menu.
2. Follow the instructions under
to select which port to configure.
3. Turn the
<MENU>
knob until
Start Y
is selected.
4. Press the
<MENU>
knob.
5. Turn the
<MENU>
knob to set the vertical offset, from
0–8064
. (The highest number that can be
selected is determined by the Row Quantity of the selected port and the firmware of the connected
panels.)
6. Press the
<MENU>
knob.
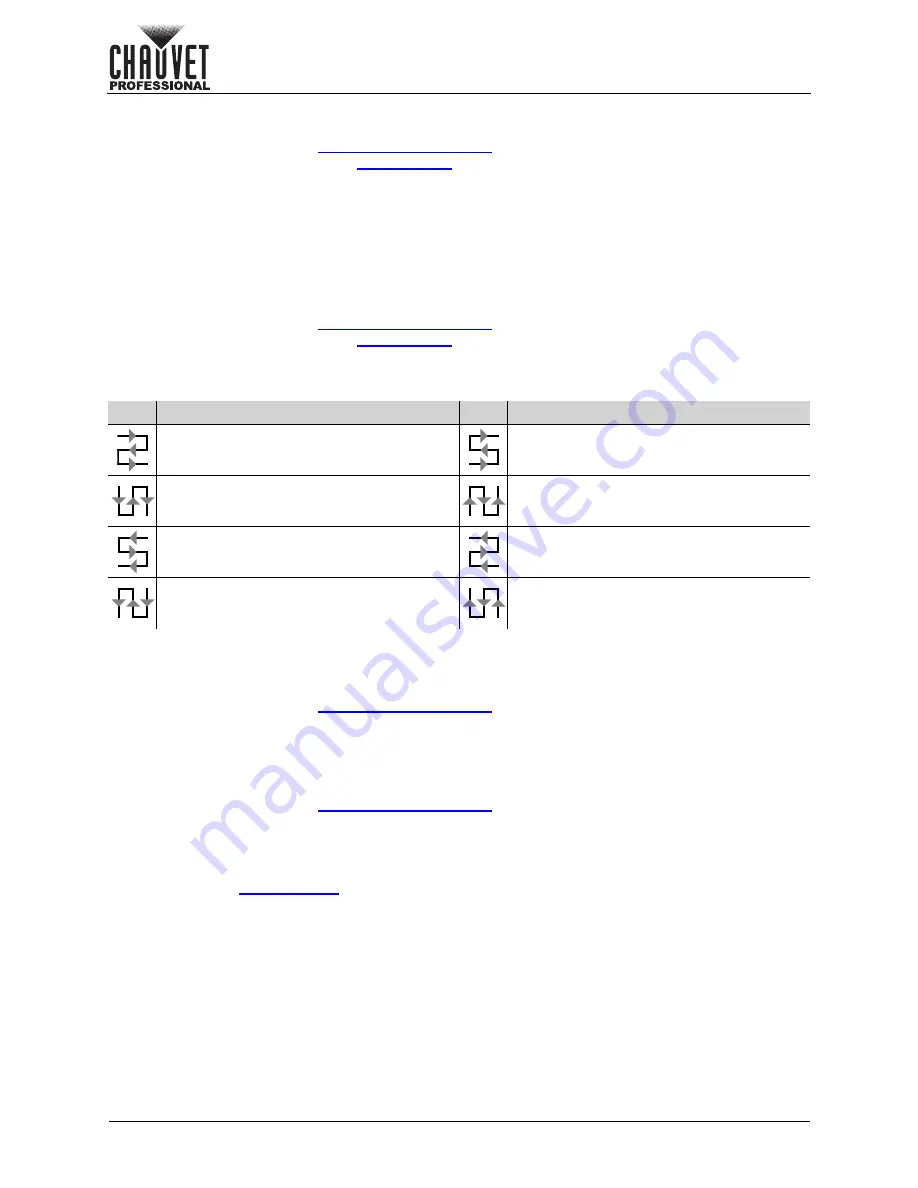
Data Flow
This setting addresses the panels connected to the selected port by selecting a starting point and a
direction of flow, as seen from the front of the assembly.
1. Access and enable the
menu.
2. Follow the instructions under
to select which port to configure.
3. Turn the
<MENU>
knob until
Data Flow (Front View)
is selected.
4. Press the
<MENU>
knob.
5. Turn the
<MENU>
knob to select from the following options:
6. Press the
<MENU>
knob.
Apply Advanced Configuration
The Advanced Configuration options are not fully set until the Apply option is selected. To apply the
Advanced Configuration to the connected panel assembly:
1. Access and enable the
menu.
2. Set all advanced configurations for each port as desired.
3. Turn the
<MENU>
knob to select
Apply
.
4. Press the
<MENU>
knob.
Reset Advanced Configuration
To reset the Advanced Configuration options to their default settings:
1. Access and enable the
menu.
2. Turn the
<MENU>
knob to select
Reset
.
3. Press the
<MENU>
knob.
Mapping
To have every connected video product display its mapping address (port number and cabinet number):
1. Access the
menu.
2. Turn the
<MENU>
knob until
Mapping
is selected.
3. Press the
<MENU>
knob.
4. Turn the
<MENU>
knob to select from
Off
(do not display addresses) or
Yes
(display addresses).
5. Press the
<MENU>
knob.
Icon Meaning
Icon Meaning
Starts at top left, goes all the way right, down
by one, all the way left, down by one, and
repeats.
Starts at bottom left, goes all the way right,
up by one, all the way left, up by one, and
repeats.
Starts at top left, goes all the way down, right
by one, all the way up, right by one, and
repeats.
Starts at bottom left, goes all the way up,
right by one, all the way down, right by one,
and repeats.
Starts at top right, goes all the way left, down
by one, all the way right, down by one, and
repeats.
Starts at bottom right, goes all the way left,
up by one, all the way right, up by one, and
repeats.
Starts at top right, goes all the way down, left
by one, all the way up, left by one, and
repeats.
Starts at bottom right, goes all the way up,
left by one, all the way down, left by one, and
repeats.


