21
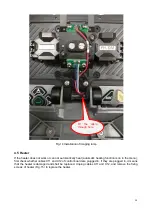
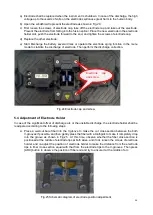
Fig.20 Camera plate
5 Repair and calibration of Instrument
5.1 Software Upgrade
Fusion splicer comes with the system upgrade function, and the operating steps are as follows:
In the power-off state, first hold on
, and then click
, the instrument will enter the upgrade
state in about 2s (as shown in Fig.21).
Insert the USB flash drive with upgrade information into the USB port and the system will automatically
upgrade. After the upgrade is complete, the system prompts "Upgrade is complete. Please unplug the
USB flash drive and then reboot."
If the USB flash drive is not in the format of FAT16/FAT32 , the system prompts "Please insert an
upgrade USB flash drive."
If the FAT16/FAT32 USB flash drive has no upgrade information, the system prompts “Please check the
USB flash drive and upgrade file”.
After the upgrade is complete, restart the fusion splicer to work properly.
Note:
1) The upgrade USB flash drive shall be FAT16 or FAT32 formatted, and other formats may
not be recognized by the system.
2) Do not unplug the USB flash drive during the software upgrade process of fusion splicer.
Otherwise the system will be out of service.
3) Restart the fusion splicer regardless of whether the fusion splicer is upgraded
successfully. Otherwise the system will be out of service.
Screws
of
camera plate
Содержание 6481 Series
Страница 8: ...6 Fig 4 Jam of propel motor...
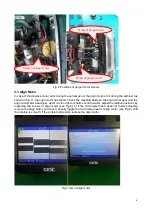
Страница 11: ...9 Fig 8 Align motor Screws of align motor...
Страница 14: ...12 Fig 11 Imaging lamp Screws fixing the imaging lamp Cable at spindle may be damaged Weld point may be broken...
Страница 16: ...14 Fig 13 Replacement of spindle...
Страница 21: ...19 Fig 18 Main control panel FPGA load indicator V17 X4 socket...

