12 Self Test Mode
39
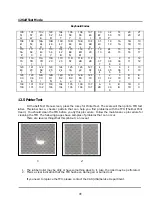
< SELF TEST >
1.DISPLAY
6.MEMORY SIZE
2.LOADCELL
7.FLASH MEMORY TEST
3.KEYBOARD
8.SERIAL PORT
4.PRINTER
9.FIRMWARE VERSIONS
5.PEEL-OFF
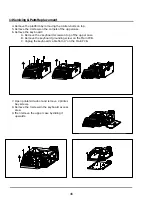
< LOAD CELL TEST >
RAW RAW EXTERNAL
COUNTS INTERNAL COUNTS
12369 0 0
12 Self Test Mode
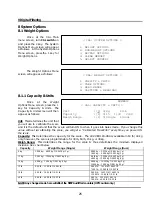
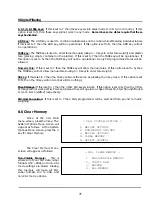
12.1 Self Test Menu
Once at the CAL Main
menu screen, press the 6 key. The
Self Test Menu screen will appear
as follows.
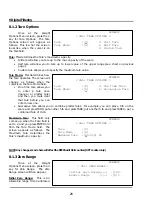
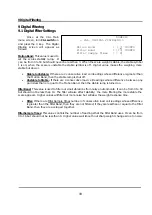
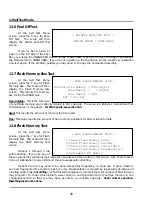
12.2 Display Test
At the Self Test Menu screen,
press the 1 key for Display Test. The
Display Test screen will show until
you press any key. It will keep
alternating the checker pattern so
that you may spot a possible
problem with a segment.
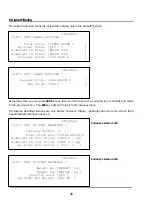
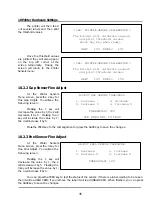
12.3 Load Cell Test
At the Self Test Menu
screen, press the 2 key for Load
Cell Test. The Load Cell Test
screen will be displayed.
Zero Adjusted:
These are the raw
ADC (Analog to Digital
Converter) counts minus the
Current Zero. In the example to
the right, the Current Zero is 3569 counts.
Internal Counts:
This is the raw count coming from the ADC. The Zero Adjusted and the Internal Counts
are the same except that the Zero Adjusted starts at 0 when you enter this screen. In the example
above, the Current Zero is 3569 & the Zero Adjusted is 3569 – 3569 = 0. If the Internal Counts went up to
4000, then the Zero Adjusted would be 4000 – 3569 = 431 (RAW – CURRENT ZERO = ZERO ADJUSTED).
The external weight is calculated using theses very simple values. First, the
Calibrated Zero
is
calculated by reading the raw counts while there is nothing on the platter. Lets say in this case that the
Calibrated Zero
is 3562. The scale also stores the
Span Value
, which is obtained by reading the raw
counts while the full capacity is on the platter and then subtracting the
Calibrated Zero
. Lets say in this
case that the
Span Value
is 74062. This is what happens when you Span calibrate the scale. After you
are done in CAL mode, the scale saves all your changes in the EEPROM.
When we turn the scale ON, it reads the platter weight and sets the
Current Zero
. It makes sure
that the
Current Zero
is at most
+5% of 60 lb
from the
Calibrated Zero
. Let us assume that the
Current
Zero
is equal to the
Calibrated Zero
. Once the scale is ON, it simply takes the raw counts and puts it into
the following formula:
Содержание LP-2G
Страница 2: ......
Страница 8: ......
Страница 11: ...1 General 3 Note Specifications are subject to change without notice ...
Страница 46: ...11 Network Options 38 11 Network Options Refer to Network manual ...
Страница 66: ...16 Troubleshooting 58 16 2 Versioning Changes ...
Страница 69: ...17 Schematic Diagrams 61 17 3 Main PCB ...
Страница 70: ...17 Schematic Diagrams 62 17 4 Ethernet Memory Expansion PCB ...
Страница 71: ...17 Schematic Diagrams 63 17 5 Power Supply PCB ...
Страница 72: ...18 Exploded Views 64 18 Exploded Views 18 1 Scale ...
Страница 73: ...18 Exploded Views 65 18 2 Printer Assembly ...
Страница 74: ......
Страница 89: ...Appendix C 85 ...
Страница 90: ...Appendix C 86 ...
Страница 91: ...Appendix C 87 ...
Страница 92: ...Appendix C 88 ...
Страница 93: ...Appendix C 89 ...
Страница 94: ...Appendix C 90 ...
Страница 95: ...Appendix C 91 ...
Страница 96: ...Appendix C 92 ...
Страница 97: ...Appendix C 93 ...
Страница 98: ...Appendix C 94 ...
Страница 99: ...Appendix C 95 ...
Страница 100: ...Appendix C 96 ...
Страница 101: ...Appendix C 97 ...
Страница 102: ...Appendix C 98 ...
Страница 103: ...Appendix C 99 ...
Страница 104: ...Appendix C 100 ...

