7 Calibration the Scale
21
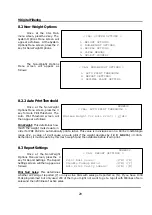
< CAL: CALIBRATION MENU >
1. SPAN CALIBRATION (60 lb)
2. SPAN/ZERO FINE ADJUST
3. GRAVITY CONSTANT
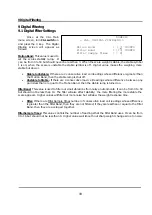
ZERO CALIBRATION
1. Remove all weight from the platter.
2. Press ENTER when ready.
0
3569
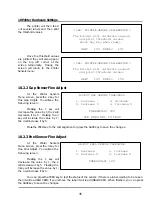
SPAN CALIBRATION
1. Place 60 lb on the platter.
2. Press ENTER when ready.
0
3569
< CAL: MAIN MENU >
1.CALIBRATION 4.PRINTER HARDWARE SETTINGS
2.SYSTEM OPTIOINS 5.NETWORK OPTIONS
3.DIGITAL FILTERING 6.SELF TEST
7 Calibration the Scale
7.1 Calibration Menu
Once at the CAL Main
Menu screen, turn
CAL switch
on
and press the 1 key.
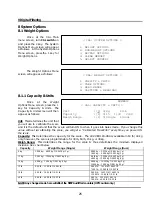
The Calibration Menu
screen will appear as follows:
Span Calibration
: Requires the
use of weights. The display will
indicate the amount of weight
that you will need. LP-2 VER 1.03
USA models will need 60 lb to
calibrate. You will need the full capacity. If kilo weights are required the scale will display 30 kg.
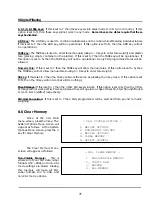
Span Fine Adjust
: Does not require weights but they are recommended for checking the Fine
Adjustment.
Gravity Constant
: This is a value that causes automatic compensation for different altitudes. If the scale
is calibrated in NY and shipped to CA, you can simply enter the Gravity Constant for CA and the scale
will be calibrated for CA even though it was calibrated in NY.
7.2 Span Calibration
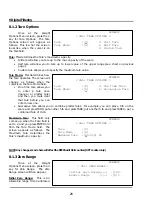
Once at the CAL Main
Menu screen, press the 1 key. The
Calibration Menu screen will
appear. Press the 1 key from the
Calibration menu screen to select
Span Calibration. The first Span
Calibration screen will appear as
follows:
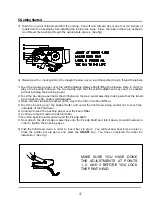
Once you press the ENTER
key, the scale checks the zero
weight and stability. If the scale is
unstable or there is excessive
weight on the platter the ZERO
Calibration will fail and will then
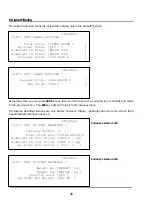
be repeated. If all is well the
second Span calibration screen
will appear as follows:
Содержание LP-2G
Страница 2: ......
Страница 8: ......
Страница 11: ...1 General 3 Note Specifications are subject to change without notice ...
Страница 46: ...11 Network Options 38 11 Network Options Refer to Network manual ...
Страница 66: ...16 Troubleshooting 58 16 2 Versioning Changes ...
Страница 69: ...17 Schematic Diagrams 61 17 3 Main PCB ...
Страница 70: ...17 Schematic Diagrams 62 17 4 Ethernet Memory Expansion PCB ...
Страница 71: ...17 Schematic Diagrams 63 17 5 Power Supply PCB ...
Страница 72: ...18 Exploded Views 64 18 Exploded Views 18 1 Scale ...
Страница 73: ...18 Exploded Views 65 18 2 Printer Assembly ...
Страница 74: ......
Страница 89: ...Appendix C 85 ...
Страница 90: ...Appendix C 86 ...
Страница 91: ...Appendix C 87 ...
Страница 92: ...Appendix C 88 ...
Страница 93: ...Appendix C 89 ...
Страница 94: ...Appendix C 90 ...
Страница 95: ...Appendix C 91 ...
Страница 96: ...Appendix C 92 ...
Страница 97: ...Appendix C 93 ...
Страница 98: ...Appendix C 94 ...
Страница 99: ...Appendix C 95 ...
Страница 100: ...Appendix C 96 ...
Страница 101: ...Appendix C 97 ...
Страница 102: ...Appendix C 98 ...
Страница 103: ...Appendix C 99 ...
Страница 104: ...Appendix C 100 ...


