


10
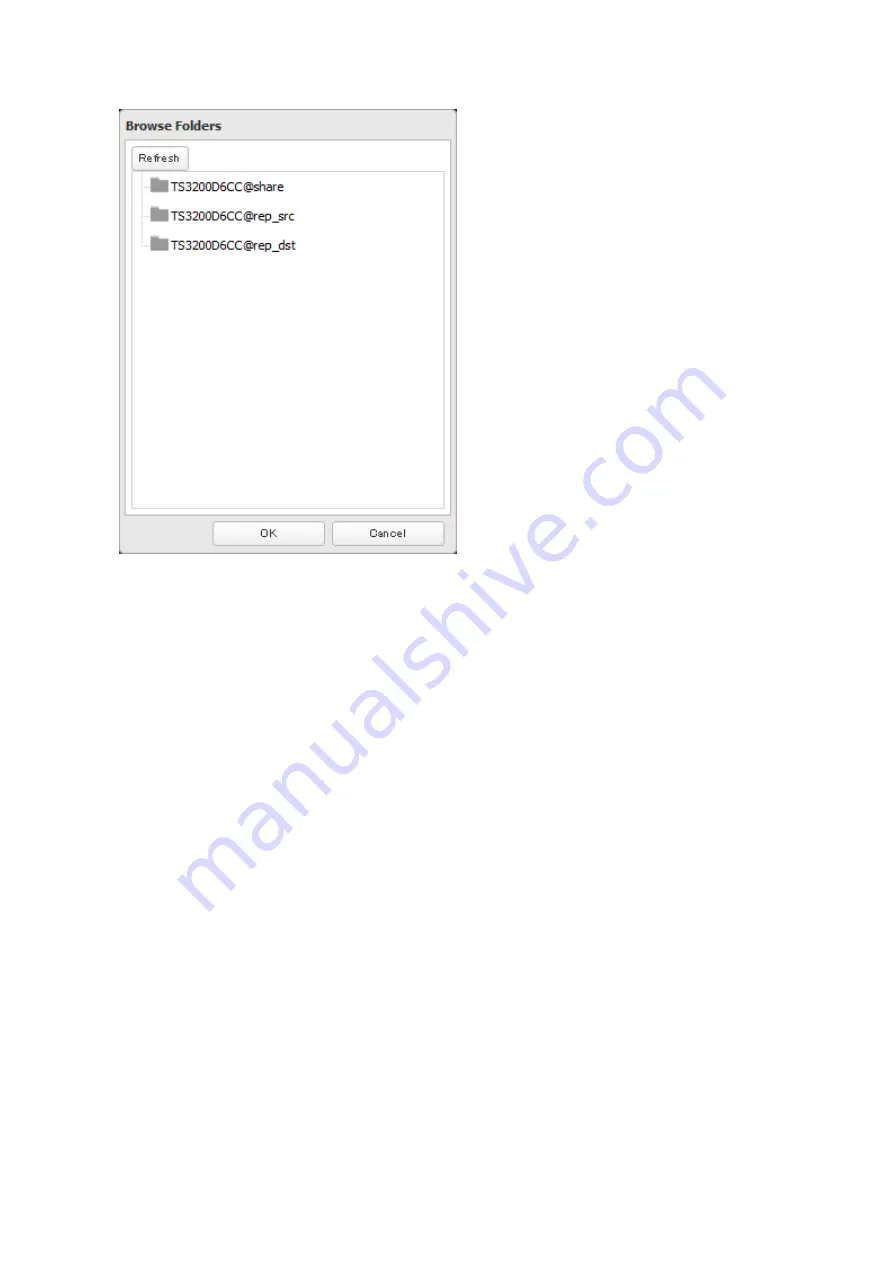
Select the shared folder that will be the replication destination, then click
OK
.
11
Click
OK
, then
Yes
.
Notes:
• During setup, you may choose to encrypt and/or compress replication data. Encrypted data will be transferred
securely on the network. Compressed data will ease network loading and is recommended for slow or heavily
loaded network connections. Either will increase the CPU load on the source TeraStation. Encrypted and
compressed data will be decrypted and decompressed on the destination TeraStation.
• A maximum of 64 shared folders can be configured for replication.
• Replication can also be used to copy all data from a share to a share on an attached external drive. Format
the drive with ext3 or XFS before using it for replication. Drives with FAT, NTFS, and HFS file systems are not
supported with replication.
• You can select the first and second levels of shared folders and USB drives connected to the TeraStation as the
replication source. Folders whose names contain more than 80 alphanumeric characters cannot be selected.
• Do not use the same TeraStation for both failover and replication, or replication and Time Machine.
• Don’t configure replication from one source folder to multiple destination folders.
97
Содержание terastation 3000
Страница 23: ...4 Configure the desired settings then click OK 22...
Страница 26: ...3 Click Create User 25...
Страница 29: ...3 Click Add Group 28...
Страница 109: ...6 Click Time Machine 108...
Страница 110: ...7 Click Select Backup Disk 8 Select the shared folder and click Use Disk 109...
Страница 128: ...3 Click Edit 4 Click Browse 5 Select the shared folder that you want to make available to iTunes then click OK 127...
Страница 129: ...6 Click OK then OK again 7 Move the iTunes server switch to the position to enable the iTunes server 128...
Страница 134: ...4 Open the License tab then click Activate Free License To deactivate the license click 133...
Страница 136: ...3 Click Next 4 Click Find Cameras 135...
Страница 142: ...2 Select the search criteria on the left side of the search screen then click Search 141...
Страница 143: ...3 The search results are displayed Click a thumbnail to start the media viewer 142...
Страница 161: ...14Check that the license pack was added to Installed Licenses This completes authentication of an additional license 160...
Страница 187: ...9 Click the Client Settings tab 186...
Страница 191: ...4 Click Edit Note The settings of the PHP language interpreter can be changed from Edit php ini 5 Click Browse 190...
Страница 209: ...3 Click the LAN port where the jumbo frames will be used 4 Select the desired Ethernet frame size and click OK 208...


