EN
| 24
Bosch Security Systems | 02 April 2004
LTC 8850 |
Instruction Manual
|
Allegiant Server
Example: How to change the background color for
multiple seeded Allegiant icons.
1. Change the background color for one Allegiant
icon (the source icon).
2. Select the icons you want to have the same
background color (see How to Select Icons below).
3. Right click the
source
icon and select
Replicate
Icon Properties
. Check
Color
and click
OK
.
4. All selected Allegiant icons now have the same
background color.
How to select icons (when Allegiant icons are selected,
they are drawn with a thicker border). There are three
ways to select Allegiant icons
1. Pick
Select All
from the
Edit
menu.
2. Use the selection rectangle. While holding the left
mouse button down, drag the cursor until the
selection rectangle covers the correct icons.
3. A left mouse button click on an icon will select it.
You can select additional icons by holding down
the
SHIFT
key while clicking on an icon.
3.1.3.6 Disconnect
Once you have connected an icon to a physical
device, the
Connect
command in the icon right-click
menu is replaced by the
Disconnect
command.
Selecting the
Disconnect
command, causes the
connecting link to be broken between the device icon
and the physical device. The icon title will be replaced
by the note:
not tied with any camera, monitor or
alarm
(see example below).
Figure 55 Disconnect Icons
3.1.3.7 Go ONLINE
This command will only appear when the Allegiant is
not online. This will make the Allegiant server
program attempt to go online with Allegiant hardware.
Connected Allegiant icons will no longer be dimmed
when the Allegiant goes online.
3.1.4
Camera Controls
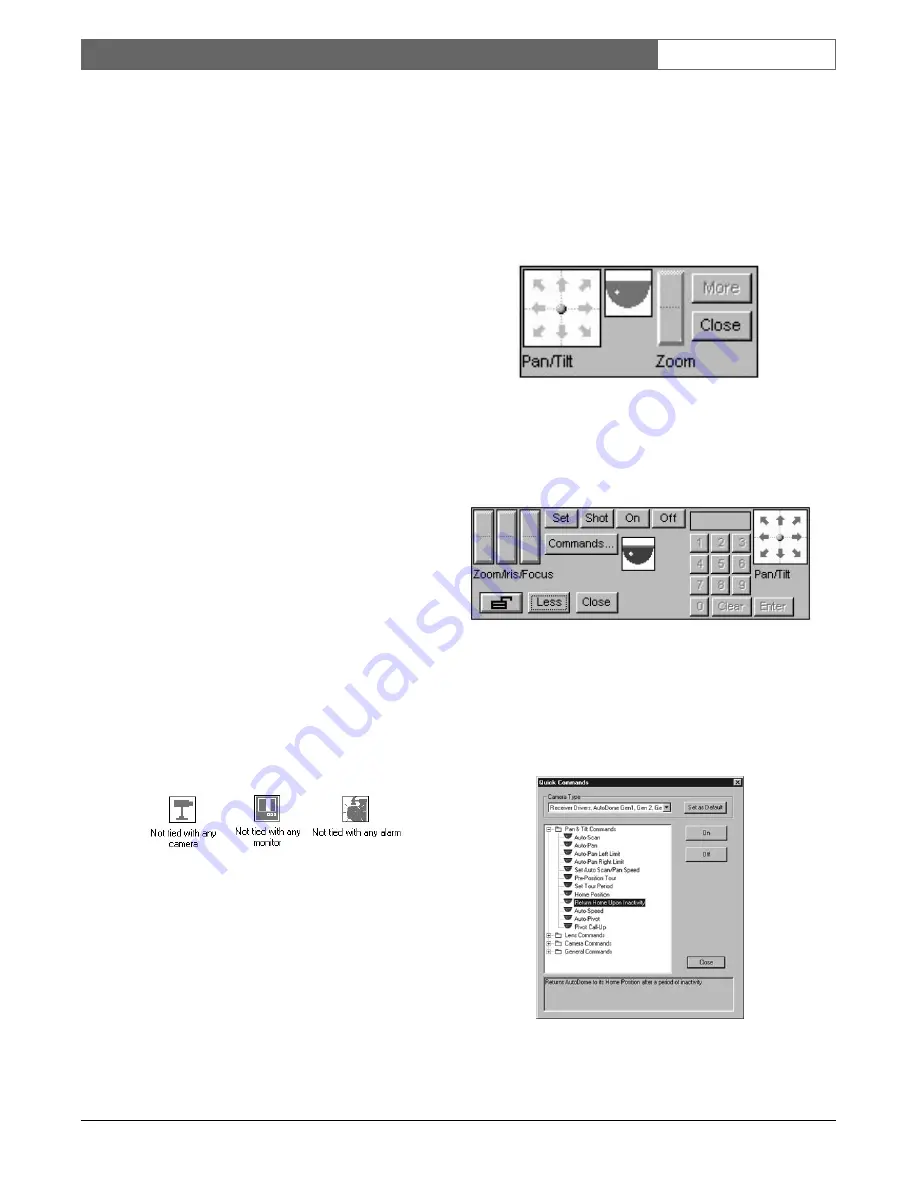
Double-clicking on a camera icon will cause the
camera control panel to appear. In this example, an
operator can control the AutoDome Camera by
moving the cursor to the appropriate button or by
clicking and dragging the joystick control within the
icon. The most frequently used control functions are
shown on this panel.
Figure 56 Camera Control Panel
By clicking
More
, all controls can be accessed such as
pan/tilt, zoom/focus/iris, pre-positions, auxiliaries, and
more. Click
Close
to close the control panel.
Figure 57 Expanded Camera Control Panel
NOTE:
Commands
... will only appear if
Supports
Quick Commands
is checked in the camera icon’s
Device
property page (see SECTION 3.1.3.4).
Clicking
Commands
... will display a dialog box for
entering camera commands.
Figure 58 Quick Commands Dialog Box


