23
BA-077/1EN M6X.20XX
3 - How to operate the machine
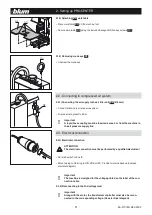
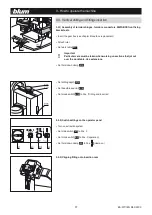
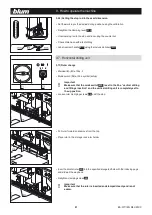
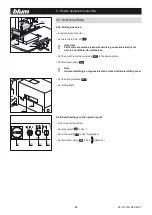
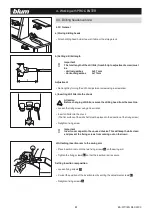
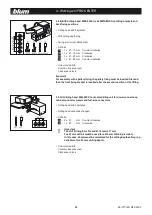
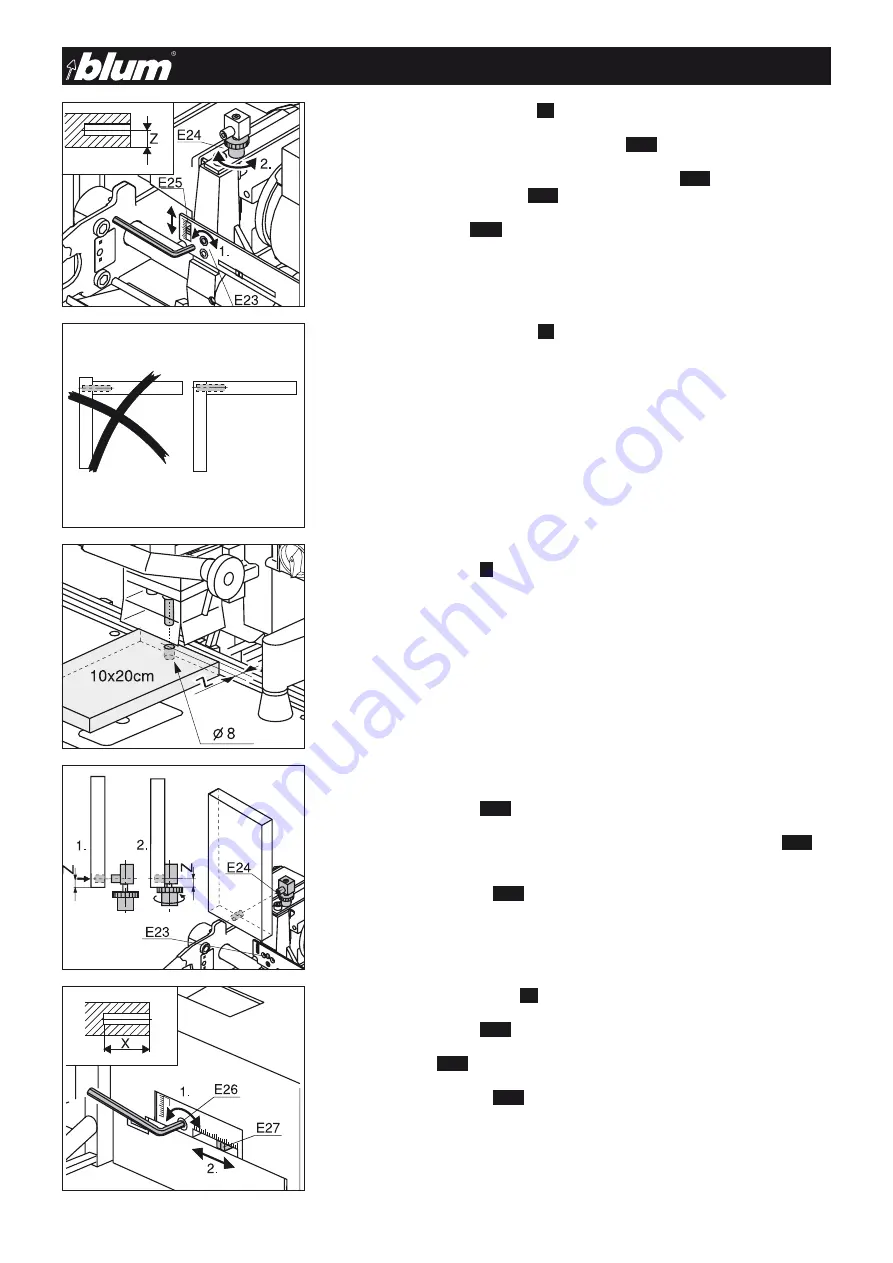
3.7.6) Setting the drilling distance
(Z)
(rough setting)
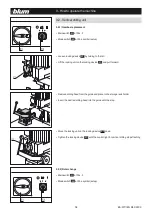
• Loosen the horizontal drilling unit clamping screw
(E23)
• Set the desired dimension by turning the adjustment screw
(E24)
. (Dimension can be
read directly from the calibration
(E25)
)
• Retighten fixing screw
(E23)
• Close horizontal drilling unit cover
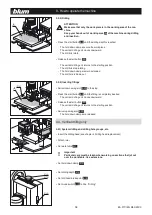
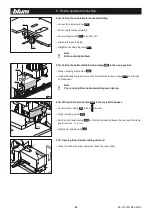
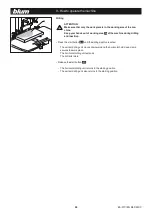
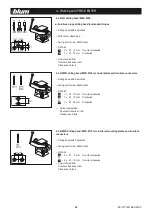
3.7.7) Setting the drilling distance
(Z)
(fine setting)
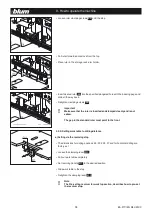
• For flush overlay connections
• Make vertical drilling (8 mm) in the sample board (approx.10 cm x 20 cm) using the
desired drilling distance
(z)
.
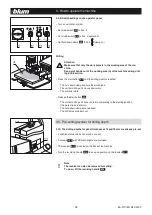
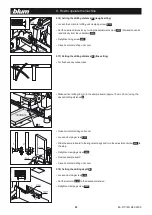
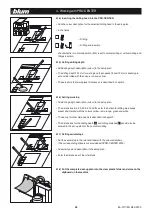
• Open horizontal drilling unit cover
• Loosen clamping screw
(E23)
• Slide the sample board to the alignment pegs and turn the adjustment screw
(E24)
to
the stop.
• Retighten clamping screw
(E23)
• Remove sample board
• Close horizontal drilling unit cover
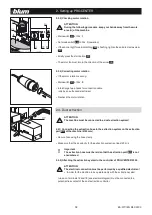
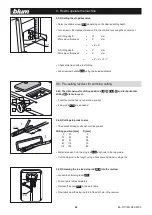
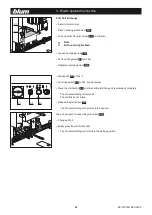
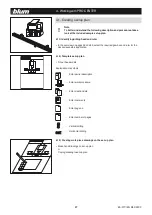
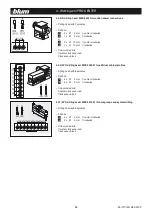
3.7.8) Setting the drilling depth
(X)
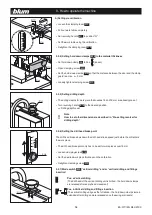
• Loosen clamping screw
(E26)
• Set the indicator
(E27)
to the desired dimension
• Retighten clamping screw
(E26)

