21
BA-077/1EN M6X.20XX
3 - How to operate the machine
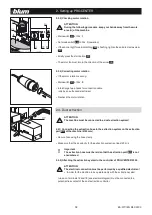
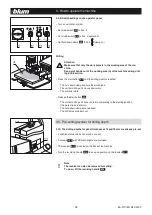
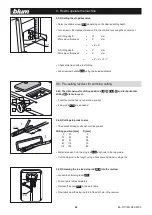
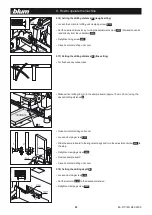
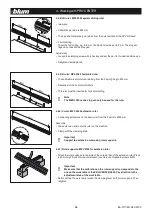
3.6.4) Setting the stop rod to the exact dimension
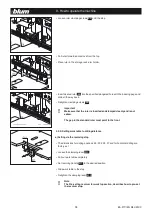
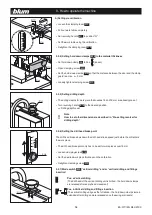
• Set the work top to the desired drilling position using the calibration
• Retighten the clamping lever
(E10)
• Unscrew stop rod to the stop and lock using the counter nut
• Check dimension with a test drilling
• Label revolver handle
(E11)
using the included stickers
(E13)
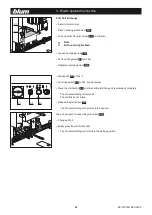
3.7 - Horizontal drilling unit
Important
Make sure that the mode switch
(E19)
is set to the Pos. “vertical drilling
and fittings insertion” and the vertical drilling unit is completely set to
the up position.
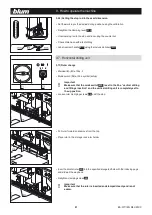
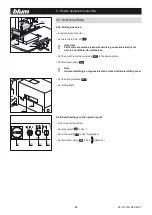
3.7.1) Ruler change
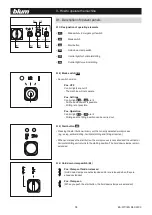
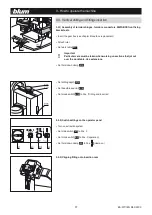
• Main switch (E1) at Pos.
I
• Mode switch (E2) at Pos. symbol (setup)
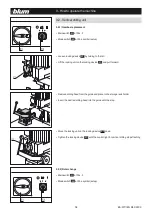
• Loosen ruler clamping screws
(E8)
until the stop
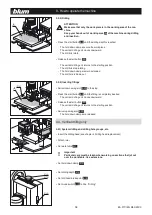
• Pull ruler forward and remove from the top
• Place ruler in the storage rack ruler holder
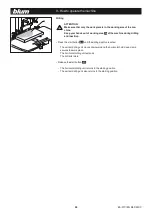
• Insert horizontal ruler
(E9)
into the specified elongated hole with the indexing pegs
and slide all the way back.
• Retighten clamping screw
(E8)
Important
Make sure that the ruler is inserted and clamped cleanly and is not
askew.
!
!

