16
BA-077/1EN M6X.20XX
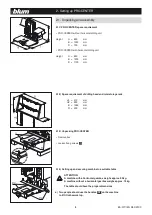
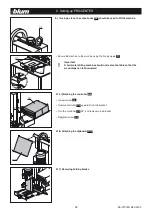
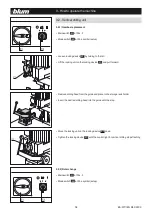
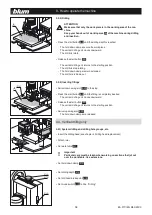
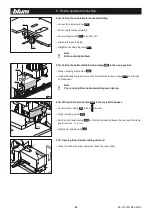
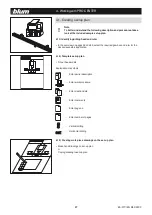
b) Setting via calibration
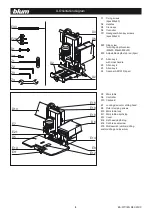
• Loosen the clamping lever
(E10)
• Pull out work table completely
• Set revolving handle
(E11)
to position "H"
• Set the work table using the calibration
• Retighten the clamping lever
(E10)
3 - How to operate the machine
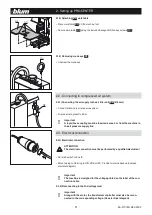
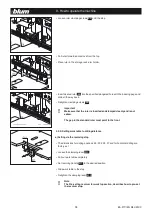
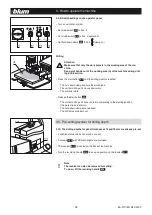
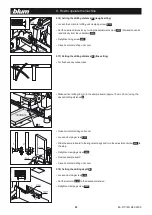
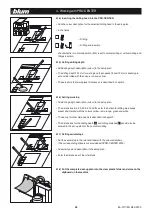
3.2.4) Setting hold down clamps
(E14)
to the material thickness
• Set hold down clamp
(E4)
to Pos. (loosen)
• Open clamping screw
(E15)
• Set the hold down clamps
(E14)
so that the distance between the door and the clamp
guard is a max. x = 3 mm
• Loosely tighten clamping screw
(E15)
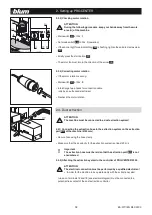
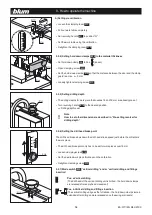
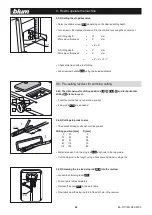
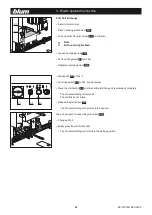
3.2.5) Setting drilling depth
• The drilling depths for work piece thicknesses 16 and 19 mm are already pre-set
• Turn revolving handle
(E16)
to the desired position.
=> Drilling depth is set
Note
How to set other dimensions is described in “Pre-setting revolver for
drilling depth.”
3.2.6) Setting the drill head brake point
The drill head brake slows down the drill head stroke speed just before the drill enters
the work piece.
• The drill head brake point only has to be set for work pieces over 19 mm
• Loosen clamping screw
(E18)
• Set the desired work piece thickness on the calibration
• Retighten clamping screw
(E18)
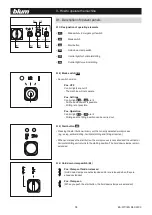
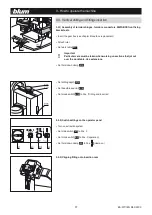
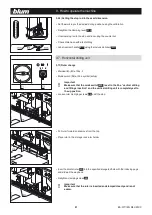
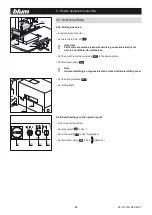
3.2.7) Mode switch
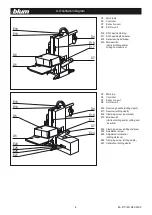
(E19)
“vertical drilling” and/or “vertical drilling and fittings
insertion”
Pos. a Vertical drilling
(The drill head of the vertical drilling unit is limited - the hold down clamps
are released after every head movement)
Pos. b Vertical drilling and fittings insertion
(The vertical drilling unit goes the full stroke - the hold down clamps remain
extended after drilling and are released once the swing arm resets)
!

