6. Advanced picture adjustments
To keep the subtitles
You can also use the manual cropping to include part of the bottom black bar just enough to include the subtitles when that is being
used.
Select the “top” value, and enter a suitable numeric value. If necessary, do several iterations in order to match the correct value to
remove the complete black bar.
Then do the same for the “bottom” value until you have removed just enough to still see the subtitles.
6.4
16:9 to center function
About
This function is available (and necessary) only for the 16:9 variant of the projector.
Must be used only in cases where the input format is 16:9, in combination with a Cinemascope screen. (2.35:1, 2.37:1, 2.39:1,
2.40:1)
The 16:9 to center functionality explained.
When a 16:9 content is projected on a Cinemascope screen, the lower and upper part of the picture will go outside the screen.
(Overshoot).. When 16:9 to center function is enabled, the picture will downsize to
fi
t the height of the screen. Therefore, in order
to keep the aspect ratio, the image will not exploit the entire screen width.
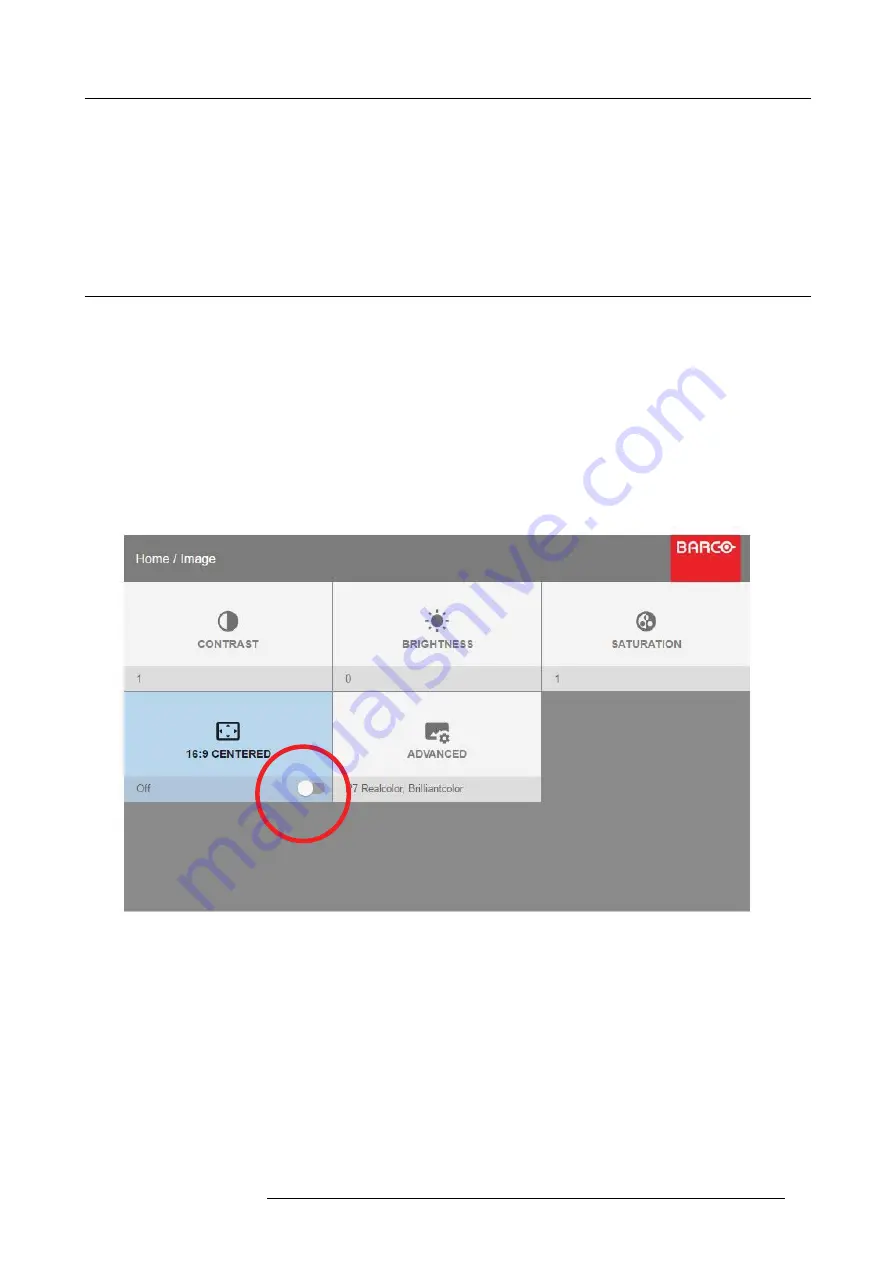
How to enter the 16: to center function
Home/Image/16:9 to center
Image 6-3
Select this function by entering the menu path shown above.
Enter the slider switch to enable. The menu will show the status of the function, On of Off.
601–0442 BALDER 13/09/2017
39
Содержание Balder
Страница 1: ...Balder Installation Manual 601 0442 00 13 09 2017 ...
Страница 32: ...3 Physical Installation 28 601 0442 BALDER 13 09 2017 ...
Страница 44: ...6 Advanced picture adjustments 40 601 0442 BALDER 13 09 2017 ...
Страница 52: ...7 Installation menu 48 601 0442 BALDER 13 09 2017 ...
Страница 54: ...8 Status menu Lists the projector IP address 50 601 0442 BALDER 13 09 2017 ...


