Programmable Safety Controller SCR P
56
www.bernstein.eu
- Tel: + 49 571 793 0
3.
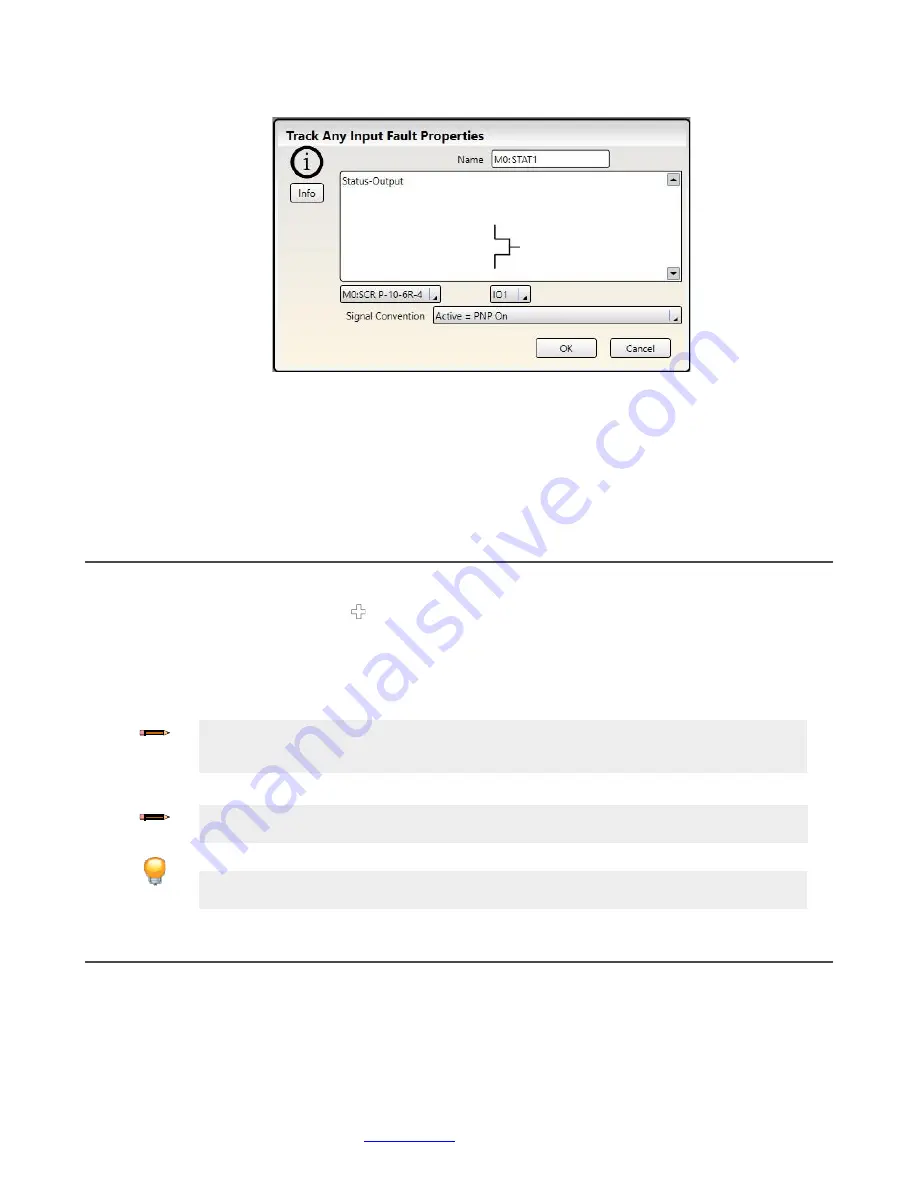
Select appropriate Status Output settings:
•
Name
•
Module
•
I/O (where applicable)
•
Terminal
•
Input or Output (where applicable)
•
Signal Convention
7.3 Designing the Control Logic
To
design the control logic
:
1. Add the desired
Safety
and
Non-Safety Inputs
:
• On the
Equipment
tab: click
under the module to which the input will be connected (the module can be
changed in the input
Properties
window)
• On the
Functional View
tab: click any of the empty placeholders in the left column
See
Adding Inputs and Status Outputs
on p. 52 for more information and device properties.
2. Add
Logic
and/or
Function Blocks
on p. 68) by clicking any of
the empty placeholders in the middle area.
Note:
The response time of the Safety Outputs can increase if a large number of blocks are added
to the configuration. Use the function and logic blocks efficiently to achieve the optimum
response time.
3. Create the appropriate connections between added inputs,
Function
and
Logic Blocks
, and Safety Outputs.
7.4 Saving and Confirming a Configuration
Confirmation is a verification process where the Safety Controller analyzes the configuration generated by the Software for
logical integrity and completeness. The user must review and approve the results before the configuration can be saved and
used by the Safety Controller. Once confirmed, the configuration can be sent to a Safety Controller or saved on a PC or an
SCR P-FPS drive.
Note:
The
Check List
on the left displays connections that are required for a valid configuration
and all items must be completed. The Safety Controller will not accept an invalid configuration.
Tip:
To aid with creating a valid configuration, the program displays helpful tooltips if you attempt
to make an invalid connection.
Figure 38: Status Output Properties


