5-20
Chapter 5: RAID configuration
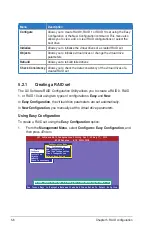
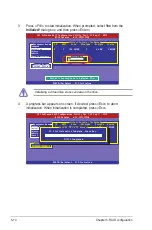
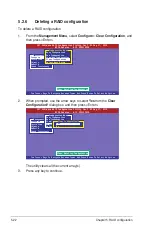
3. When prompted, use the arrow keys to select
Yes
from the
Consistency
Check?
dialog box, and then press <Enter>.
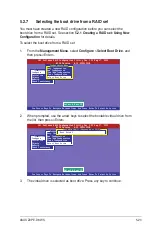
A progress bar appears on screen.
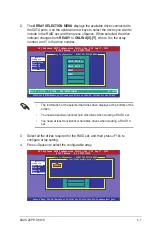
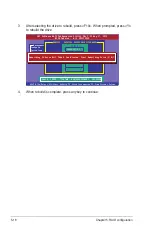
4. While checking the disk consistency, press <Esc> to display the following
options.
• Stop
- Stops the consistency check. The utility stores the
percentage of disk checked, and when you restart checking,
it continues from the last percentage completed rather than
from zero percent.
• Continue
- Continues the consistency check.
• Abort
- Aborts the consistency check. When you restart checking, it
continues from zero percent.
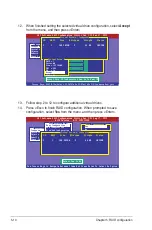
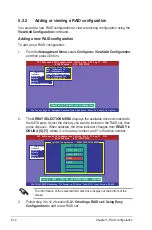
5. When checking is complete, press any key to continue.
Management Menu
Configure
Initialize
Objects
Rebuild
Check Consistency
Virtual Drive(s) Configured
LD RAID Size #Stripes StripSz Status
0 10 154494MB 4 64 KB ONLINE
Virtual Drives
Virtual Drive 0
Consistency Check?
Yes
No
Select VD
LSI Software RAID Configuration Utility Ver C.05 Sep 17, 2010
BIOS Version A.10.09231523R
SPACE-(De)Select, F10-Check Consistency
Management Menu
Configure
Initialize
Objects
Rebuild
Check Consistency
Virtual Drive(s) Configured
LD RAID Size #Stripes StripSz Status
0 10 154494MB 4 64 KB ONLINE
Virtual Drives
Virtual Drive 0
CC Under Process
VD 0 Consistency Check. Press Esc to Abort.
¦
85 % Completed
The Data On The Drives Is Inconsistency. Repair Done!
LSI Software RAID Configuration Utility Ver C.05 Sep 17, 2010
BIOS Version A.10.09231523R
SPACE-(De)Select, F10-Check Consistency
Содержание Z9PE-D8 WS
Страница 1: ...Motherboard Z9PE D8 WS ...
Страница 15: ...1 Product introduction This chapter describes the motherboard features and the new technologies it supports ...
Страница 22: ...1 8 Chapter 1 Product introduction ...
Страница 27: ...ASUS Z9PE D8 WS 2 5 2 2 3 Motherboard layout Z9PE D8 WS ...
Страница 51: ...ASUS Z9PE D8 WS 2 29 2 9 Connectors 2 9 1 Rear panel connectors ...
Страница 63: ...ASUS Z9PE D8 WS 2 41 17 ASMB6 header ASMB6 This connector supports the ASUS Server Management Board 6 series ...
Страница 64: ...2 42 Chapter 2 Hardware information ...
Страница 65: ...3 Chapter 3 Powering up This chapter describes the power up sequence and ways of shutting down the system ...
Страница 66: ...ASUS Z9PE D8 WS Chapter summary 3 3 1 Starting up for the first time 3 3 3 2 Powering off the computer 3 4 ...
Страница 195: ...ASUS Z9PE D8 WS 6 29 9 Click Finish to complete the installation ...
Страница 198: ...6 32 Chapter 6 Driver installation 6 Click Finish to complete the installation and exit the wizard ...
Страница 201: ...ASUS Z9PE D8 WS 6 35 7 Click Install to begin installation 8 Click Finish to complete the installation ...
Страница 222: ...Appendix summary A ASUS Z9PE D8 WS A 1 Z9PE D8 WS block diagram A 3 ...
Страница 223: ...ASUS Z9PE D8 WS A 3 A 1 Z9PE D8 WS block diagram ...
Страница 224: ...A 4 Appendix A Reference information ...

